|
IFR 1200 SS
Cushman CE-5
Airwave Inc.
My Collection
HP-01
Test Equipment
Model Rocketry
| |
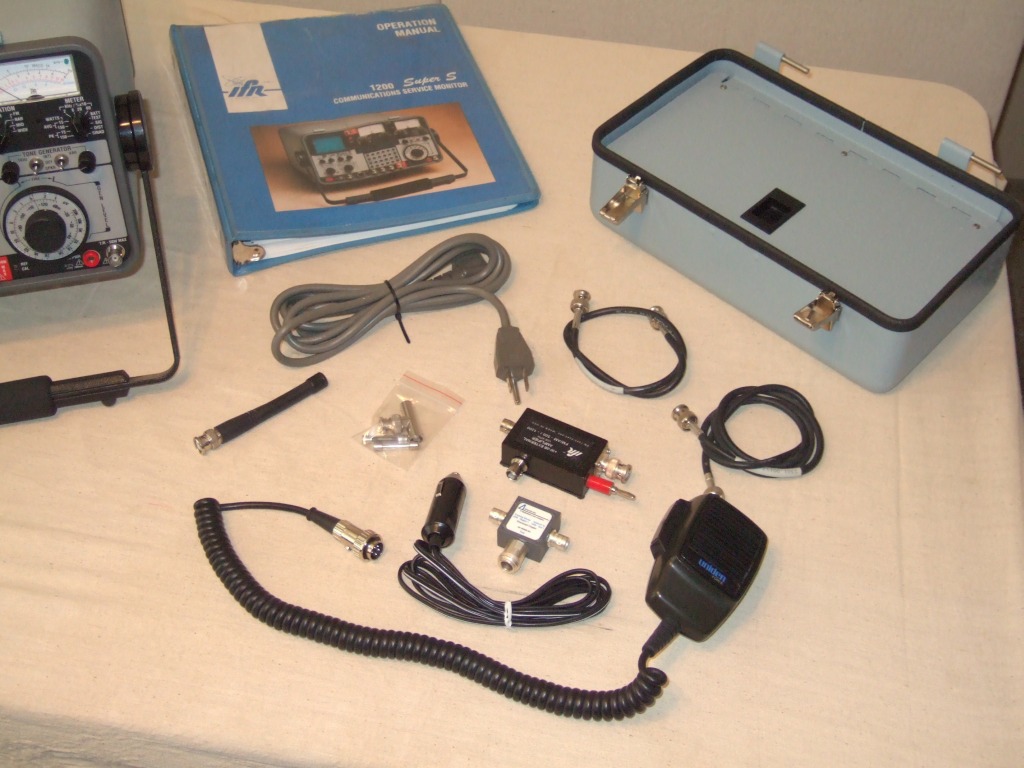
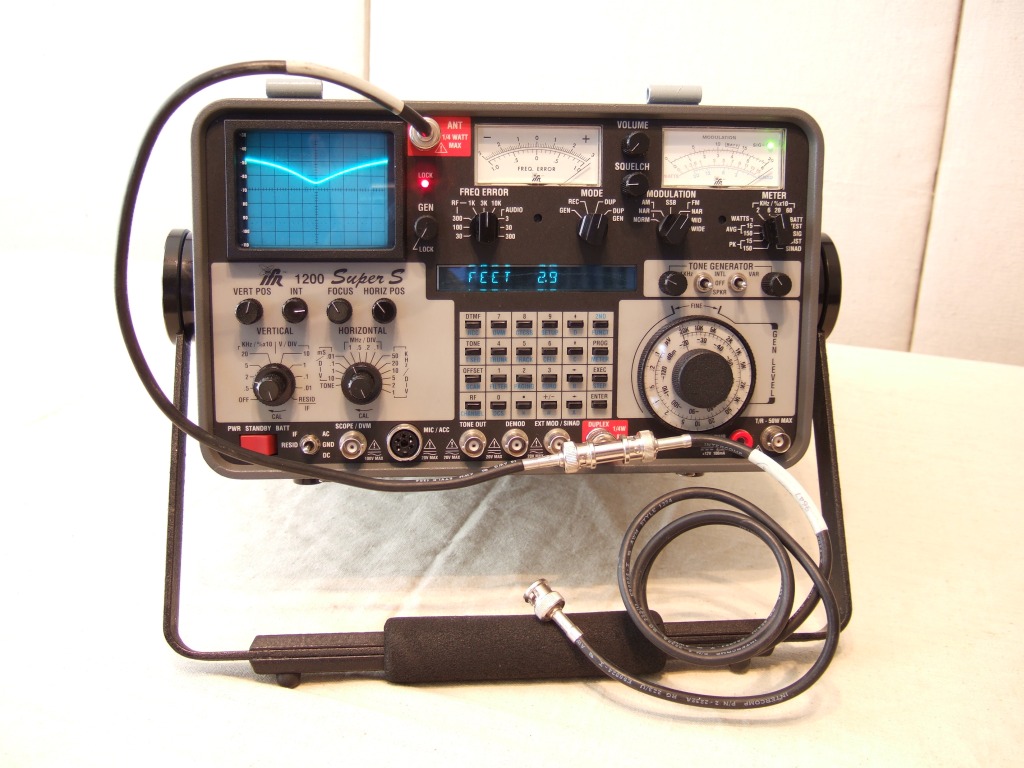
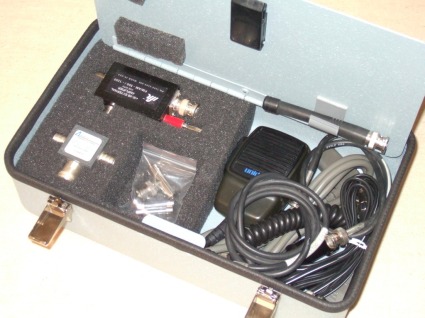
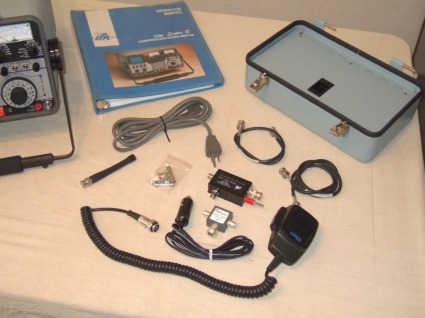
| IFR 1200 Super S Restoration
In 2004 I picked up a IFR1200 Super S in a trade deal. This is the
upgraded version of what might be the most popular communications service
monitor ever made. (I'm not sure why though--the HP8920 was far more
functional, and many orders of magnitude more accurate and capable. They
were also comparably priced. Go figure. --Well, back to my story...)
The "Super" S is a little more rare than the standard 1200 S.
It included a spectrum analyzer, and sweet options like built in cable
test, harmonics test and Bessel functions. They came out near the end of
the 1200 product life, and they were pricey. This one had been owned by a
paging company that I did some work for, and had been used strictly as an
over the air monitor to observe signal quality. (Again, a terrible choice
for such a task! But, I digress...)
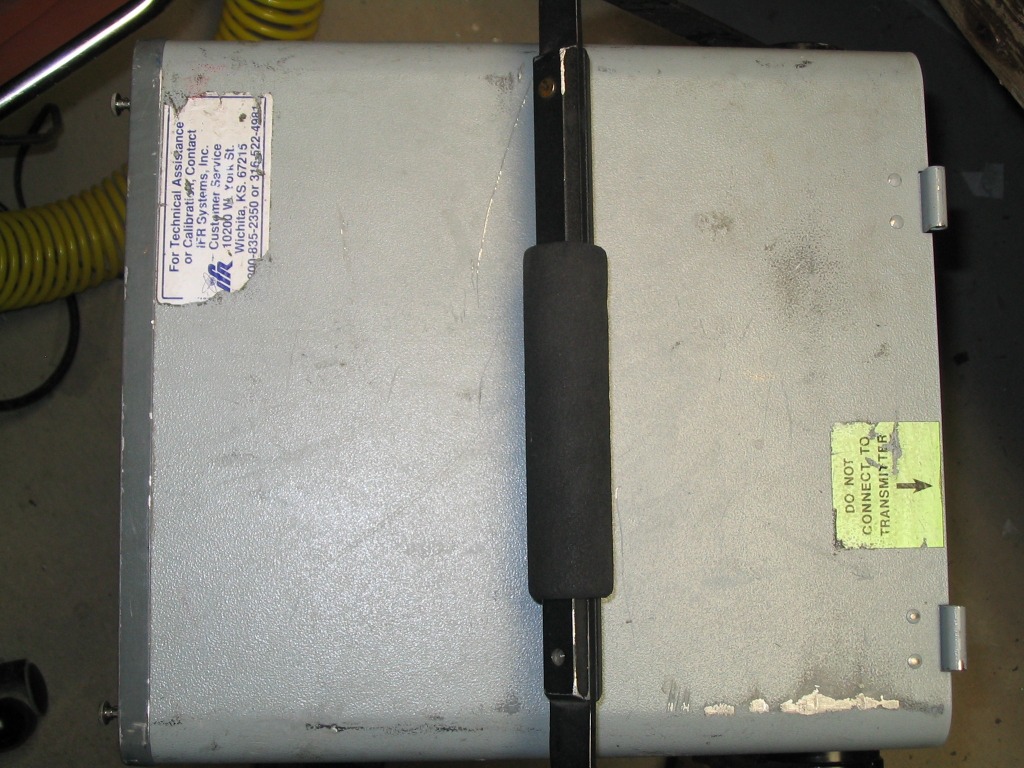
As received, the monitor was in poor physical condition from bumping
around inside a Jeep for several years, and was in flaky electrical
condition. The antenna input was deaf, and a light breeze would trip a
dozen intermittent symptoms.
|
|
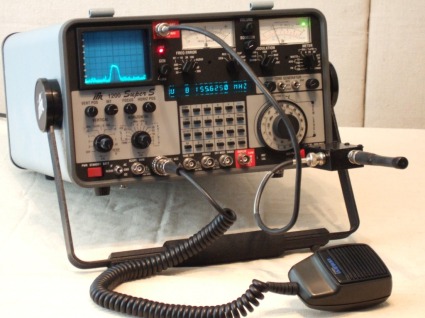
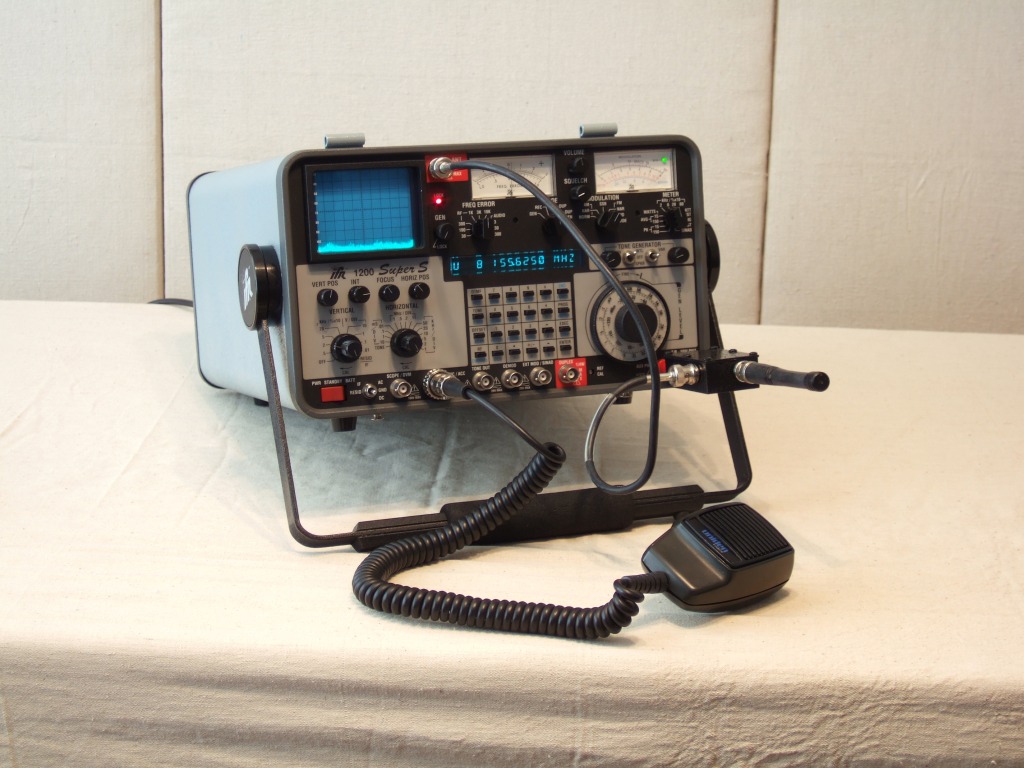
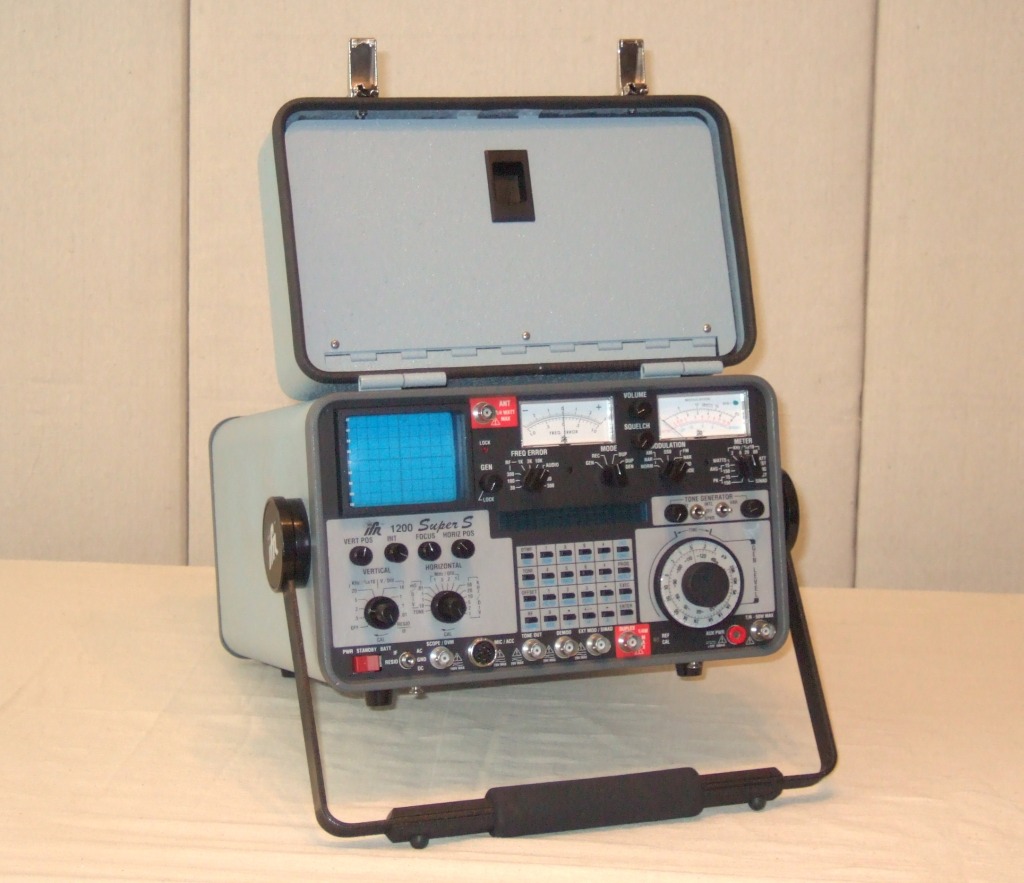
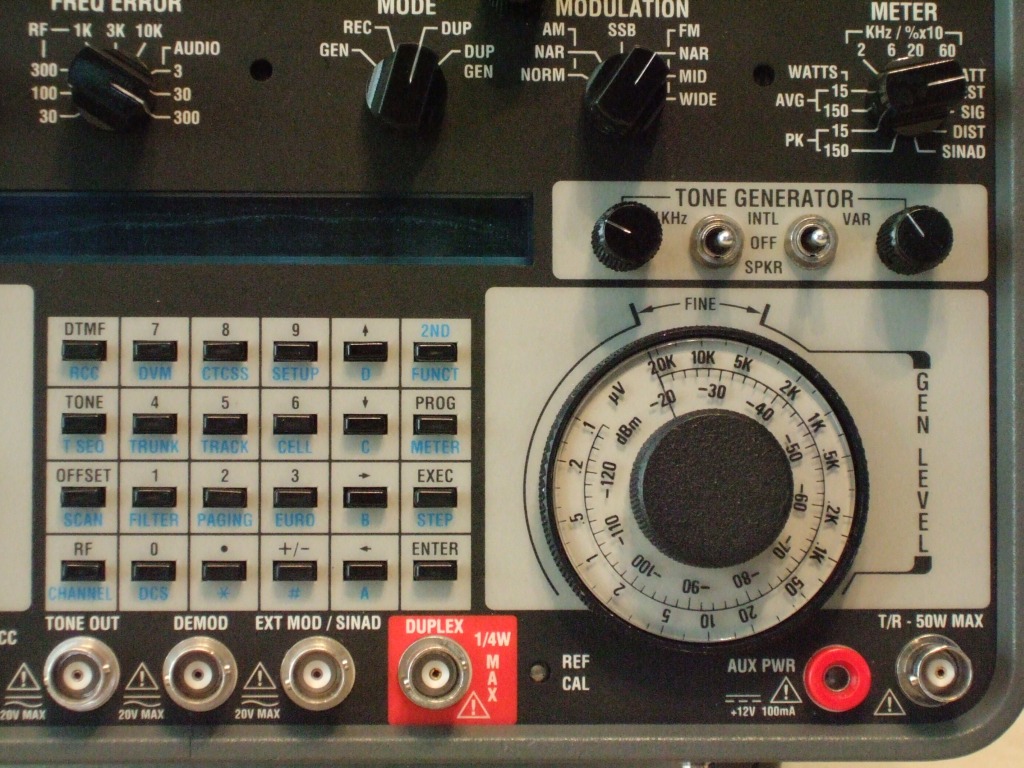
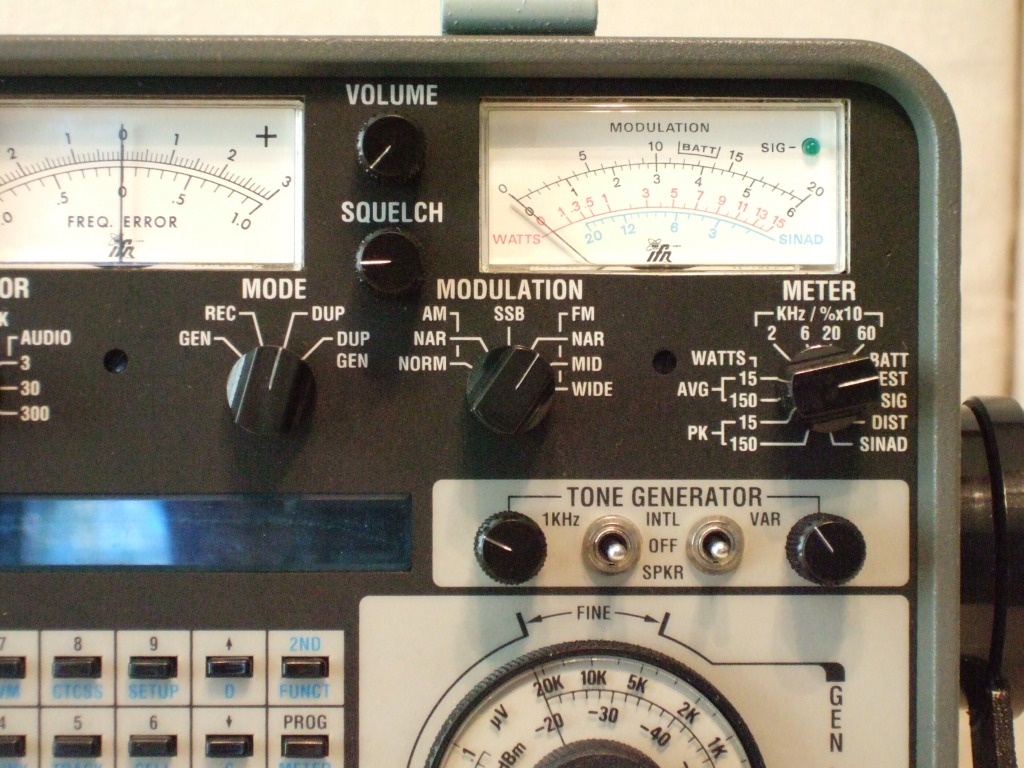
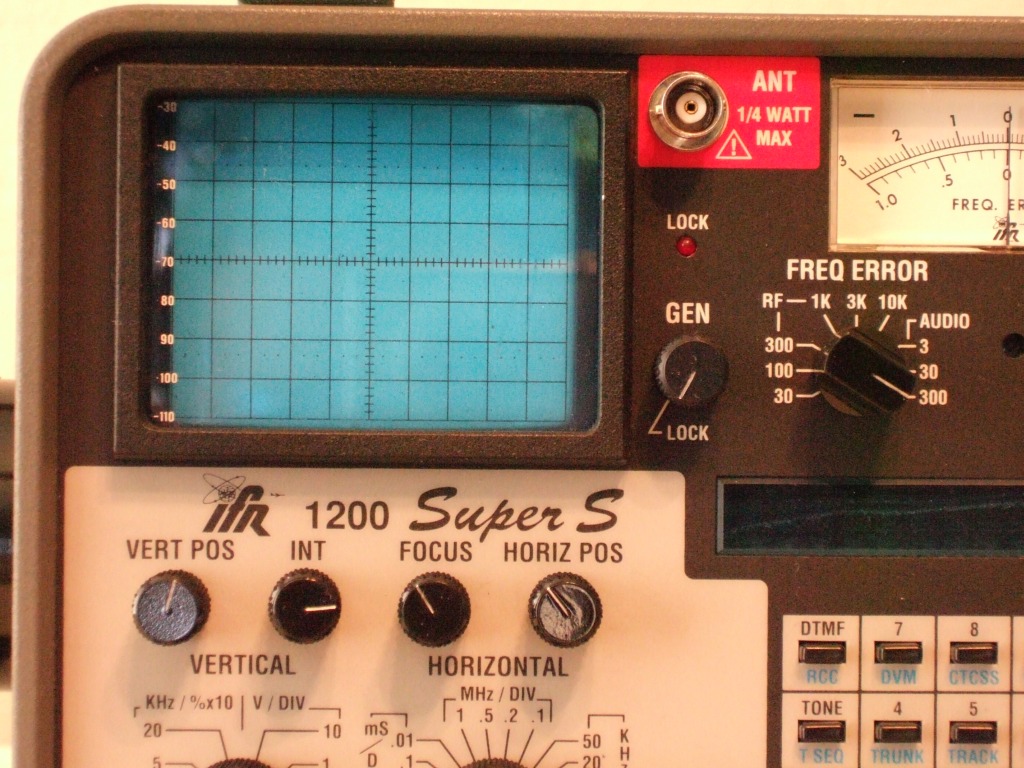
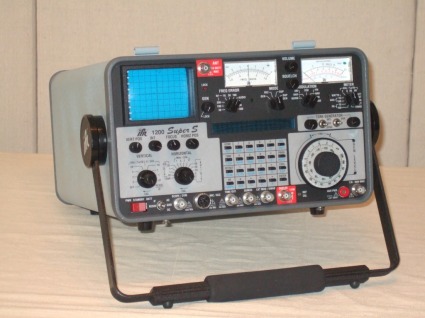
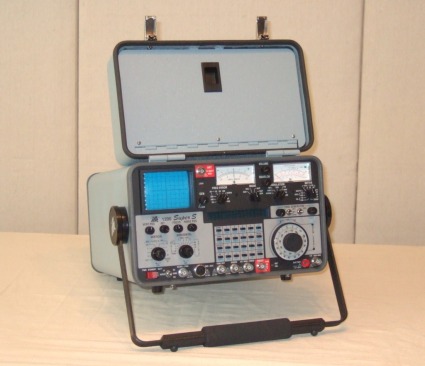
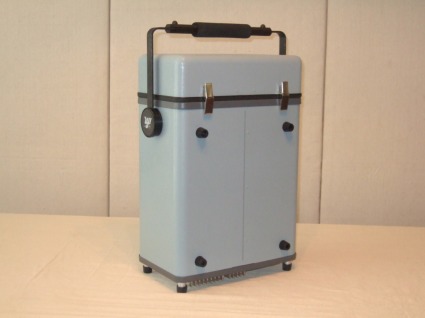
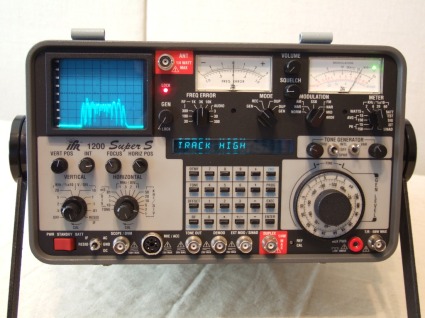
The restored IFR 1200 Super S
|
|
| Restoration
As is my standard restoration style, I start by tearing down the
machine and taking pictures of cable connection points and parts placement
so I can refer back to them for reassembly. (I scrounged a copy of the
service manual for this job, but I would hate to have to read it just to
reassemble the thing!) This is followed by cosmetic restoration and a darn
good cleaning. As I clean, I repair whatever I find in need of work along
the way. Often, and in this case, a good cleaning will fix most troubles
found! Of course, tightening or replacing missing screws helps too.
|
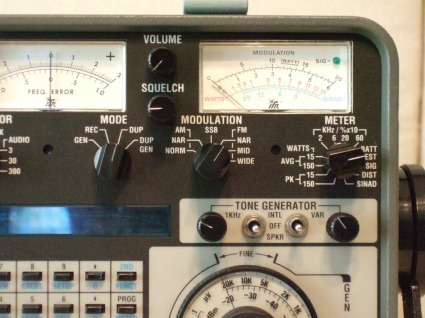
| All switches, buttons, connectors and control pots were
cleaned. Boards were removed and cleaned, and all sealed modules that had
loose covers or missing screws were also cleaned. The attenuator is a weak
point on these things, so I disassembled and carefully cleaned it... very
carefully!
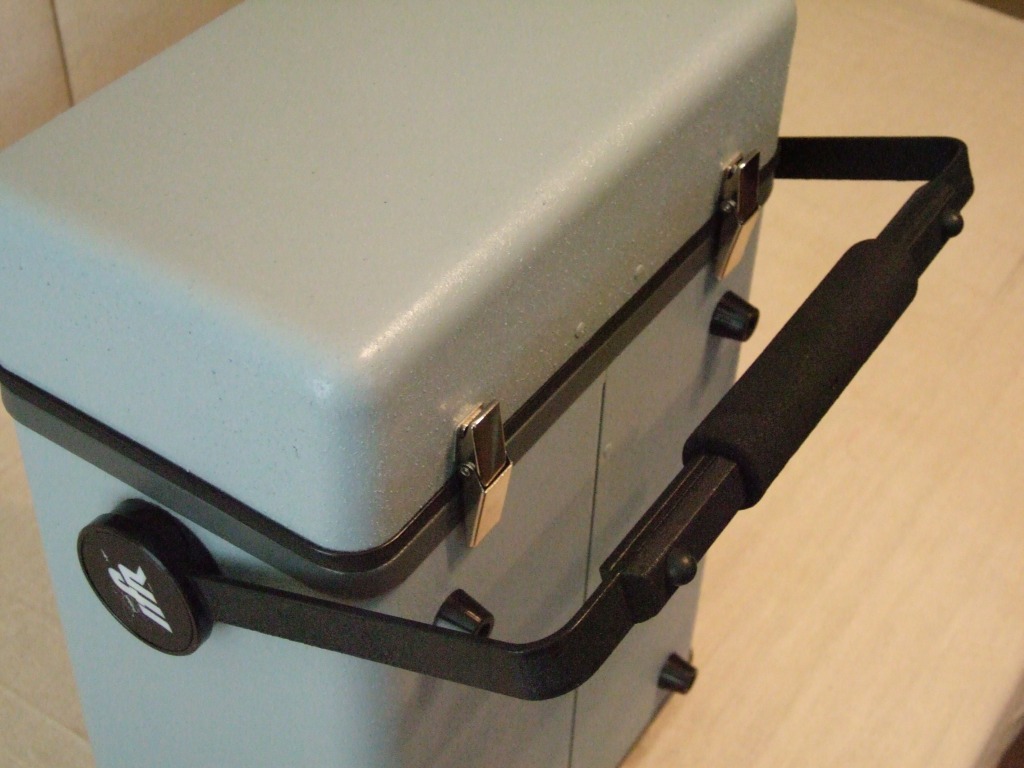
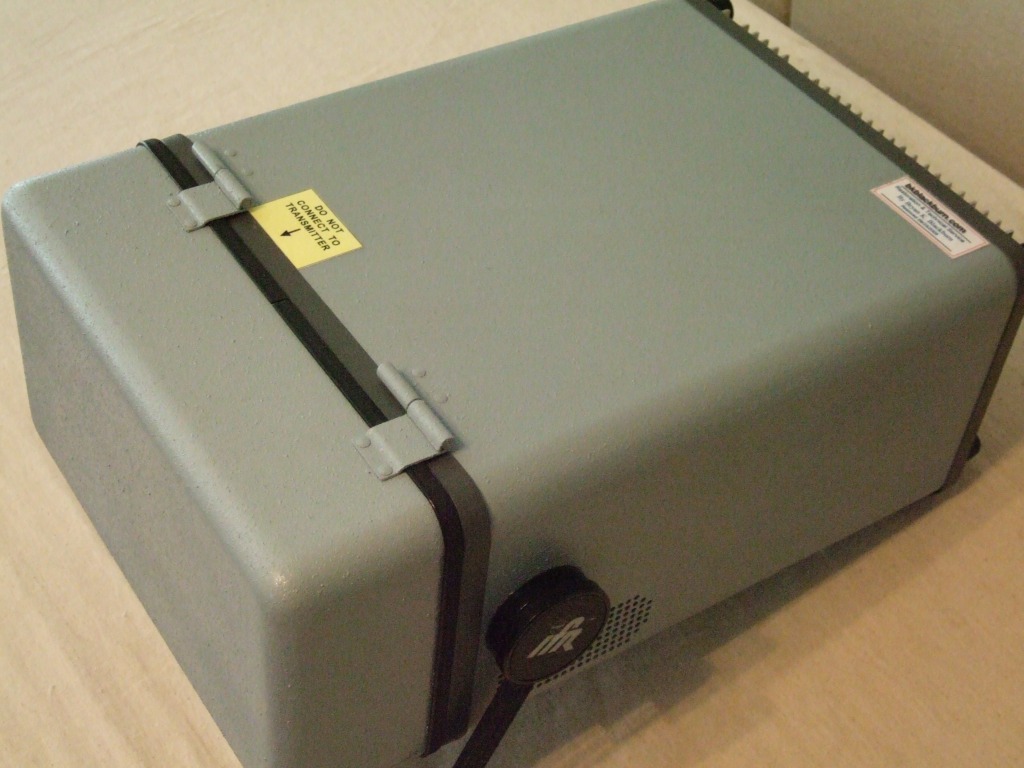
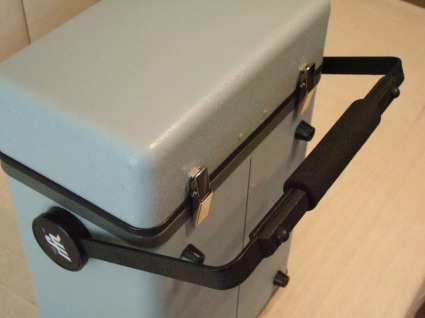
Next comes the cosmetic restoration. All paint was stripped, and all
dents in the case were pounded out and buffed for smooth surfaces. Hinges
cleaned and tightened, as were the handle assemblies. After the "body
work" on the case, I cleaned the surfaces with "Semi-Solve"
to remove all contaminates, followed immediately by a light coat of self
etching primer so that the paint would adhere to the aluminum. Next, a
coat of textured paint gave the correct surface texture, followed by a
coat of properly matched paint of original color. Then, as I always do, I
bake the paint in an oven on low for about six hours (don't bake after the
primer coat!). This hardens the paint and dries it completely--no more
finger prints or smudges! All knobs were removed and given the same paint
treatment.
The handle was painted with "Krinkle Paint", for that unique
textured look of the original handle. All missing or damaged hardware was
replaced with original IFR parts, at very reasonable expense I might add!
(see: http://www.kgelectronics.netfirms.com/parts.html)
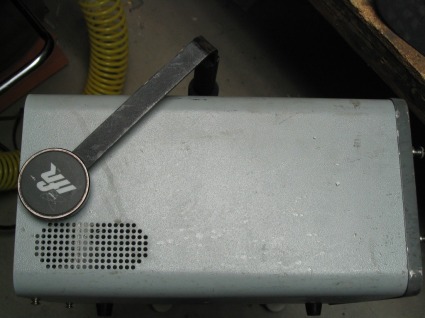
The lid
latches were in rough shape, so they were replaced along with the lid grommet.
I also replaced the rubber feet on the handle--excellent!
Electrical
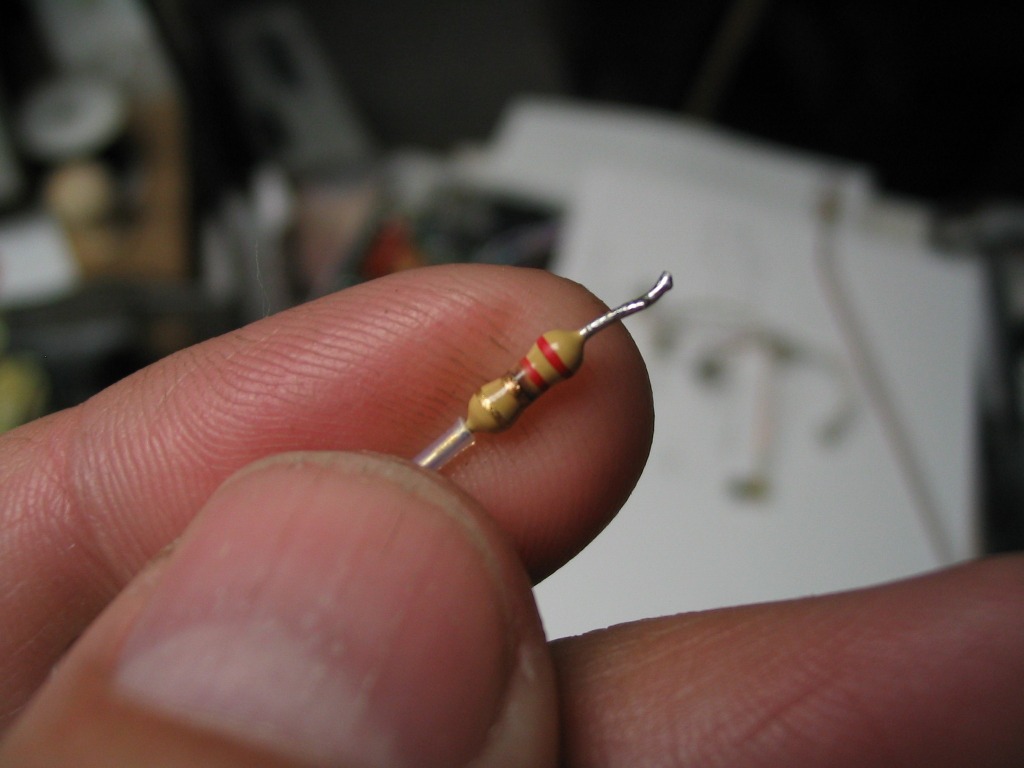
As this monitor had poor sensitivity at the "ANT" port, it
was obvious that it had received a little too much RF at some point. The
normal suspects are the input resistor, the OVP diodes in the front end,
and the first RF amp. (Listed in order of price, and complexity of
repair). Fortunately, it was the resistor. Yippie! Other than calibration,
all other problems were solved by cleaning.
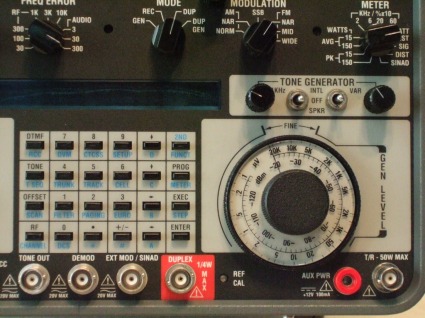
Calibration
Unfortunately, the 1200's require some very specialized equipment to
properly calibrate, schematics are given in the service manual, but geeze!
What a pain. I choose to forgo any procedures that called for the extras,
and to simply measure the performance instead. Everything came up roses!
Nothing but the timebase needed appreciable adjustment, and I was able to
"tweak" the scope and voltmeter settings into cal. As I have a
GPS based timebase accurate to 1 ppb, I was able to adjust the timebase
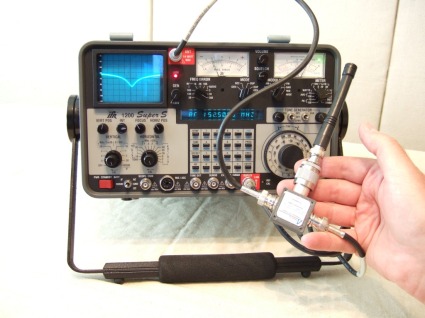
with great accuracy. Next I did a thorough test of all functions. The
finished monitor meets all specs with flying colors!
|
|
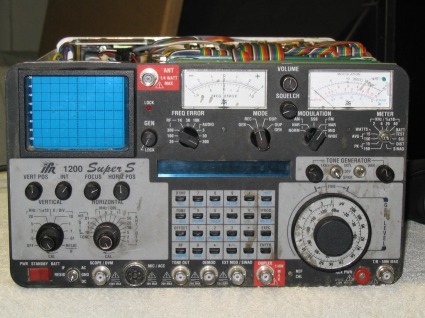
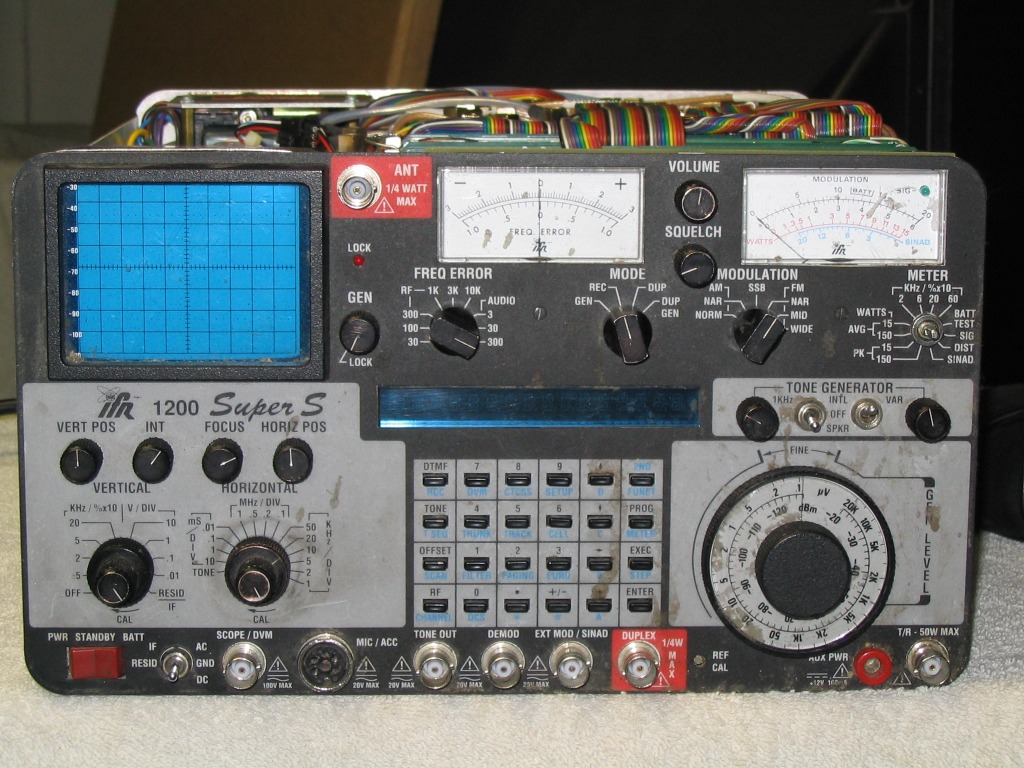
Front view, as received -- sans case
|
|

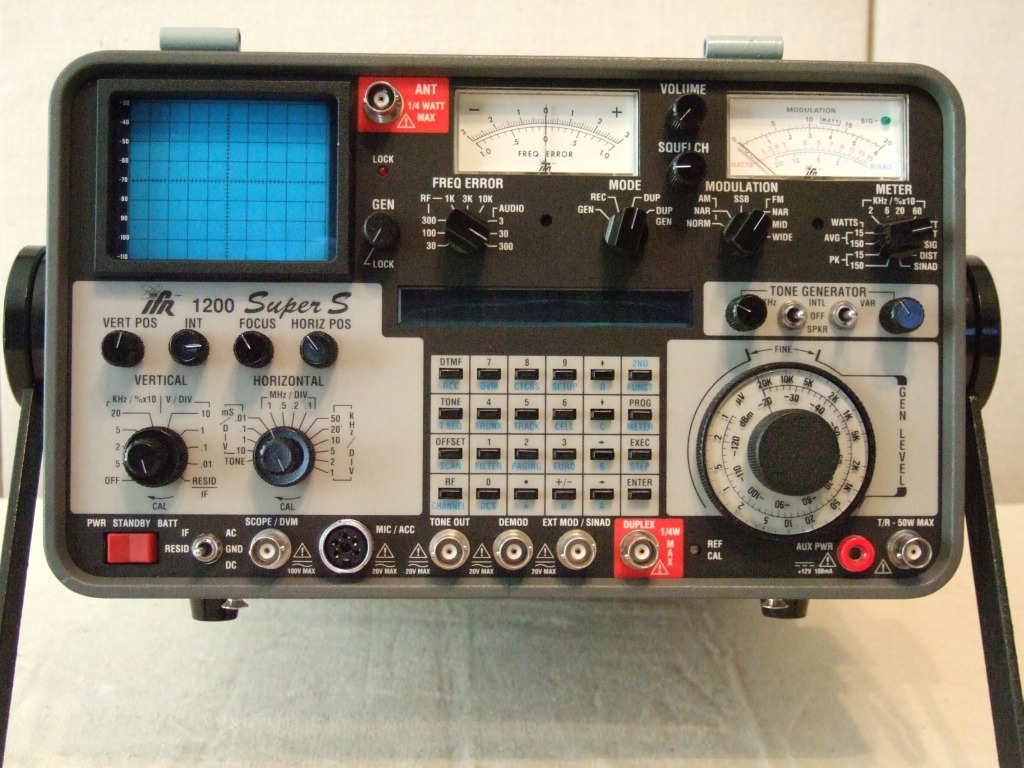
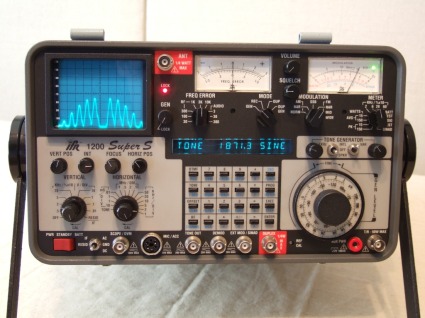
Restoration complete
|
|
| Aftermath
I like having a service monitor that I can rely on when I need it, so
this was a nice addition to my work bench. The only problem is that I no
longer have much need for a service monitor! I played with it from time to
time, and actually used it to tune up a radio once or twice, but
it was really just sitting around for most of the time. I thought it was a
waste--someone else needs to have this beauty, so I decided that it was
time to go. I listed the monitor on ebay and it sold for a good price to a
nice fellow in England. He was very happy. So was I.
|
|

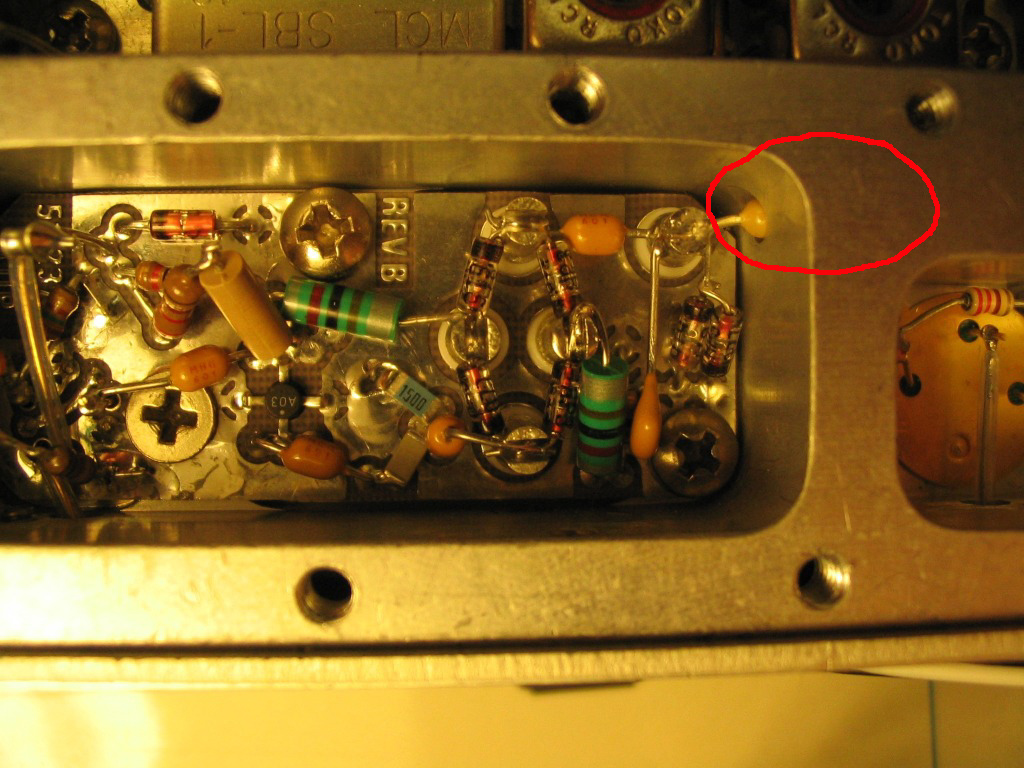
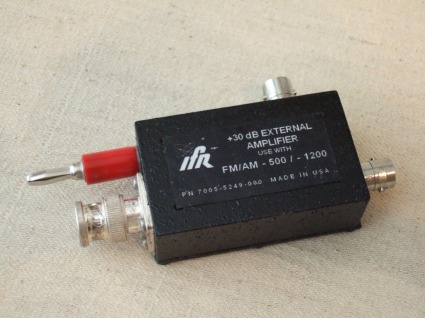
RF amp from ANT, deaf :(
|

Ah! the problem was simple!
|
|
| And now, the Before and After pics
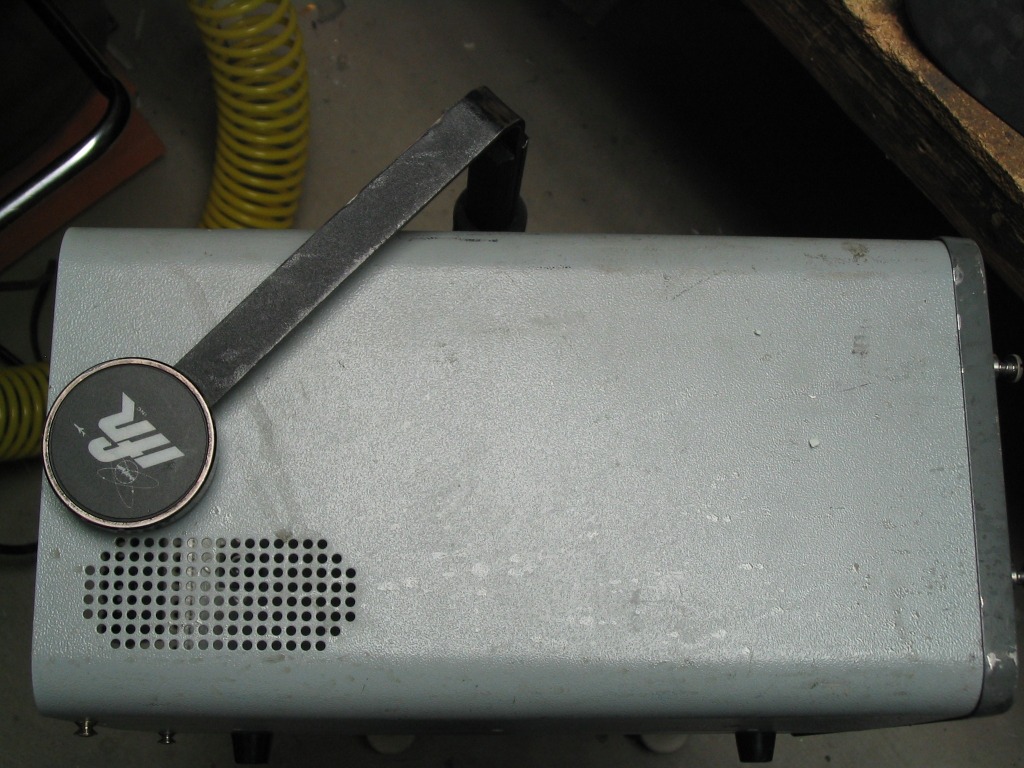
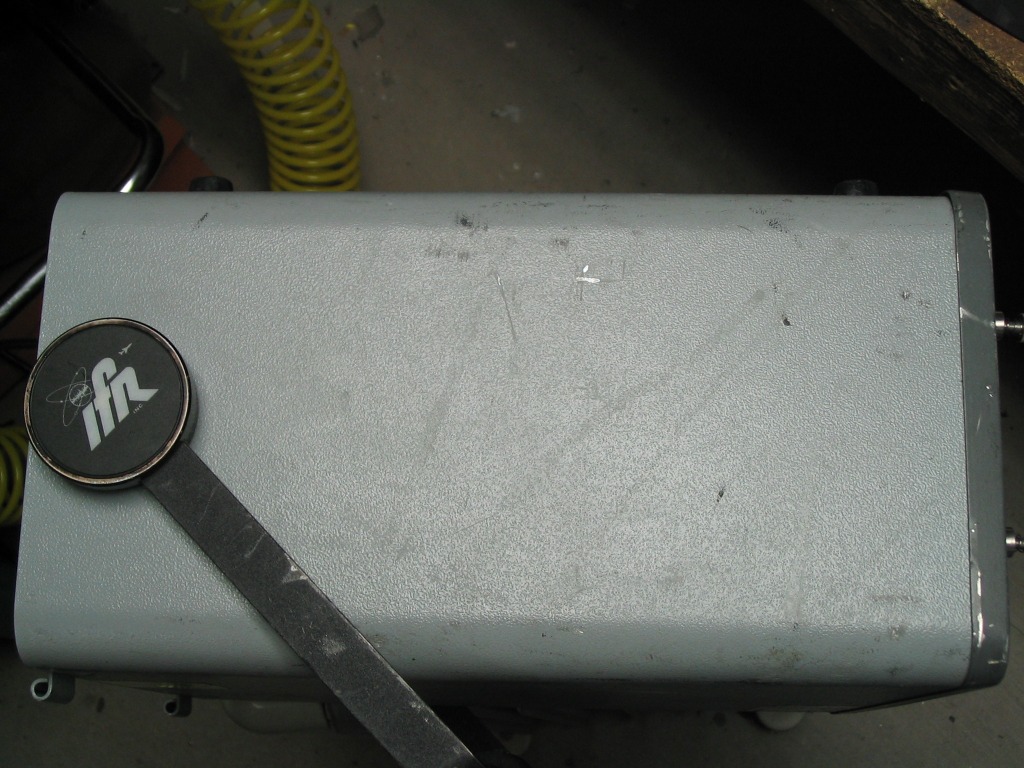
Before... |
|
 |
 |
 |
 |
|

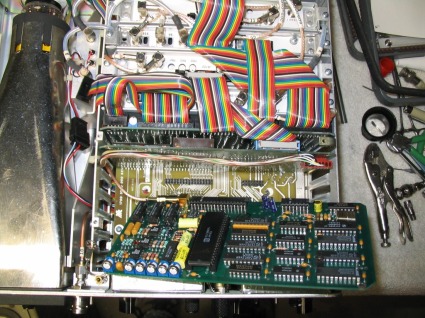
After... (with an inside view) |
 |
 |
 |
 |
 |
 |
 |
 |
 |
 |
 |
 |
 |
 |
 |
 |
 |
 |
 |
 |
|
|
|
|
|
|
|