|
DG Systems
Bytemaster
System Cards
Keyboard
Printer A & B
Phideck
Disk Drives
Documentation
Software
Flyers
Magazine Ads
Mark-8 Minicomputer
Apple-1
MOS Kim-1
V C F
Imsai 8080
Kenbak-1
TV Typewriter
LSI ADM-3A
ASR-33
The Digital Group
| |
 |
| |
|
|
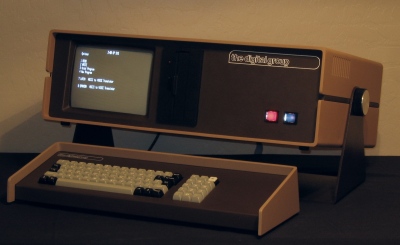
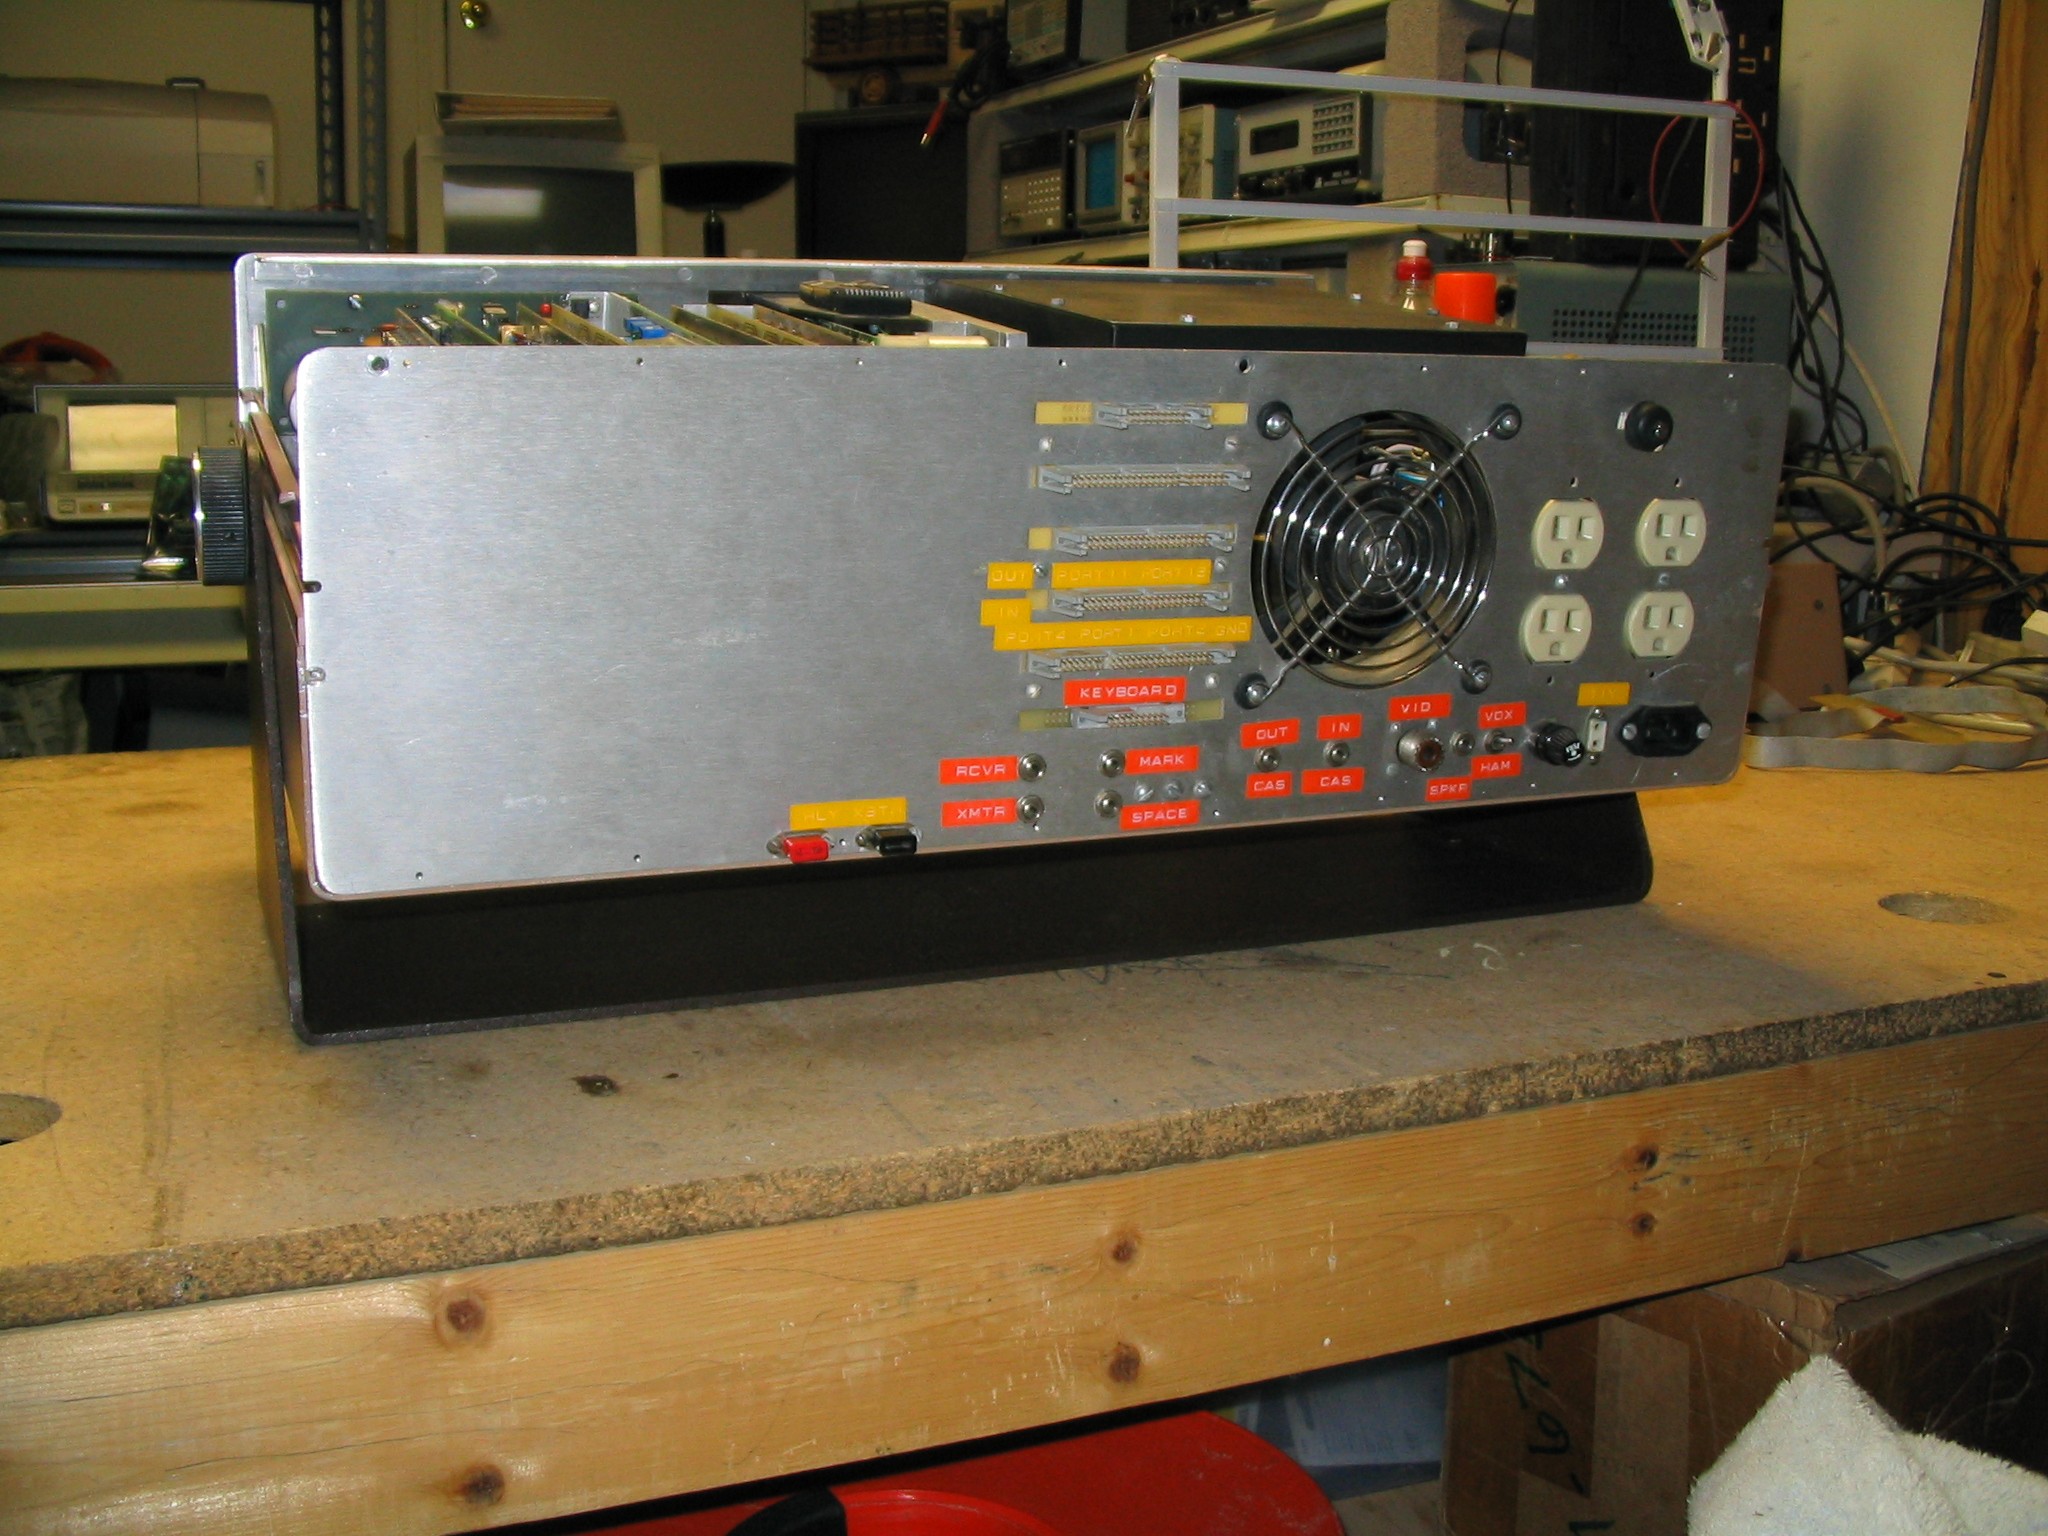
The Mini Bytemaster
Introduced in February of 1978, The Digital Group Mini
Bytemaster was a fully integrated computer system in a single package. This is perhaps the most coveted of all Digital Group
systems, and the least likely to ever be owned. This is
because, although introduced with great fanfare, the Mini
Bytemaster was never widely shipped to customers. According to
Robert Suding, DG co-founder and Mini Bytemaster designer,
only a few dozen of these machines were ever made. Most
were delivered to friends and possibly cash paying customers,
but generally, "you had to know somebody to get one". This was
the final system designed by the Digital Group just before the
demise of the company.
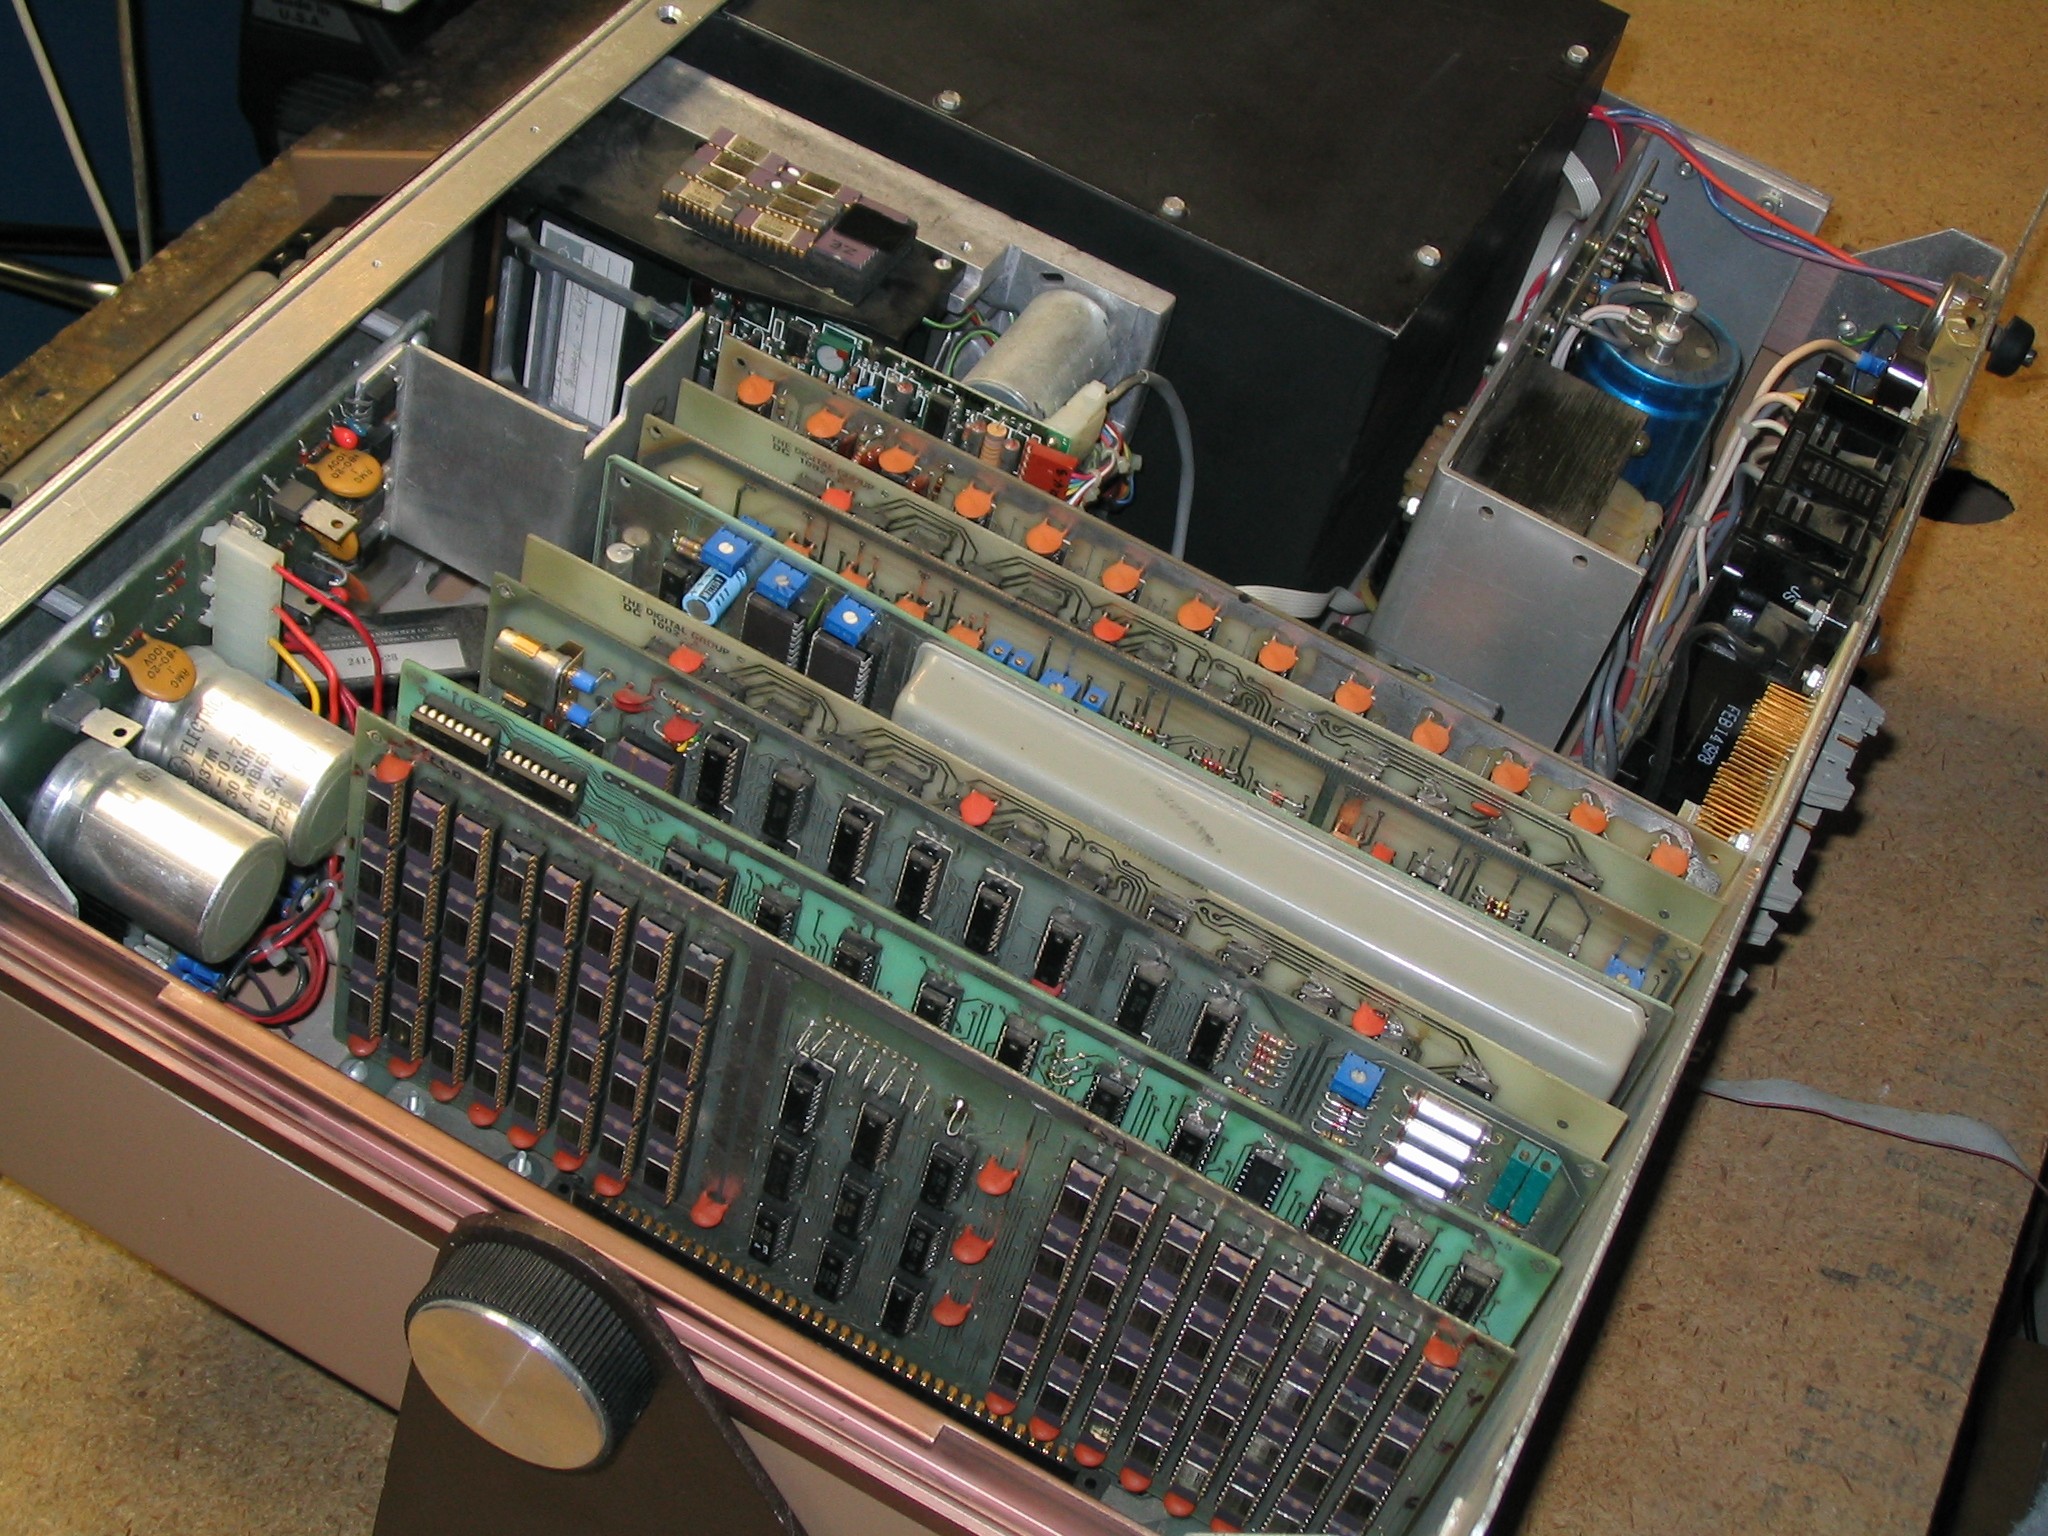
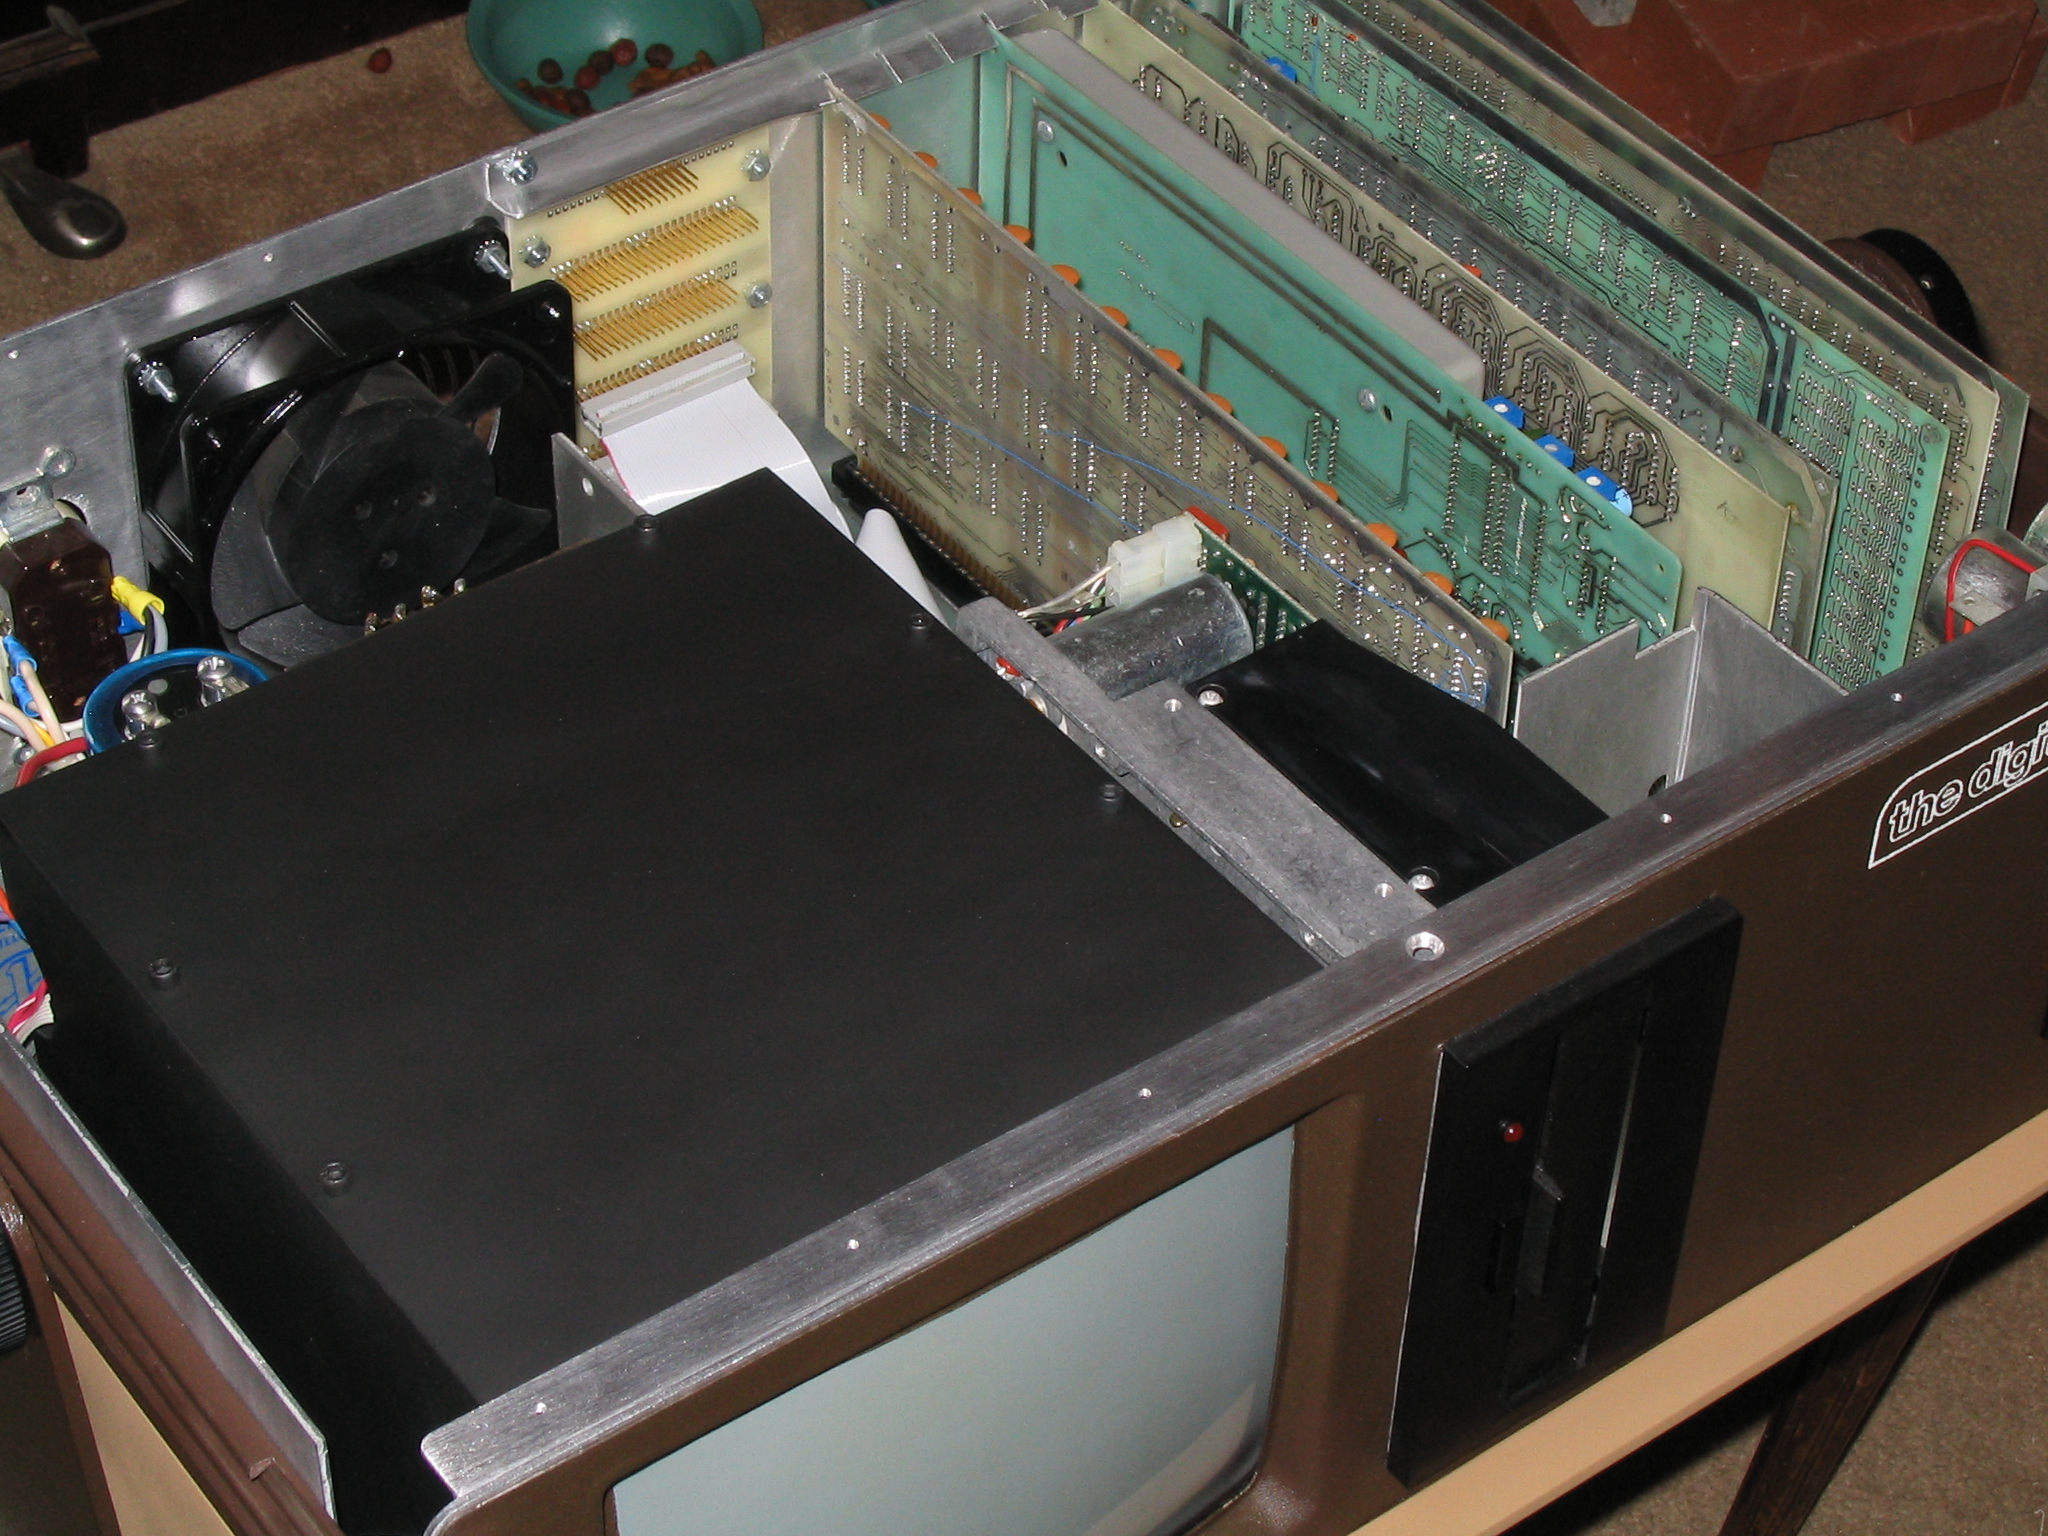
The Mini Bytemaster was essentially a Digital Group Z80
computer system packaged with a single internal mini-floppy (5-1/4")
drive of 160 K byte formatted capacity, and a high resolution 9"
video monitor. The machine also sported the newly designed DG motherboard
with improvements that made adding interface cards a little less painful,
as the interconnecting lines for popular cards were already in place, and
headers for interface cables were part of the board layout. The previous
DG motherboards required some user wiring to add any new interface cards.
|
|
Fully restored and working perfectly!
|
|
|
| |
|
|

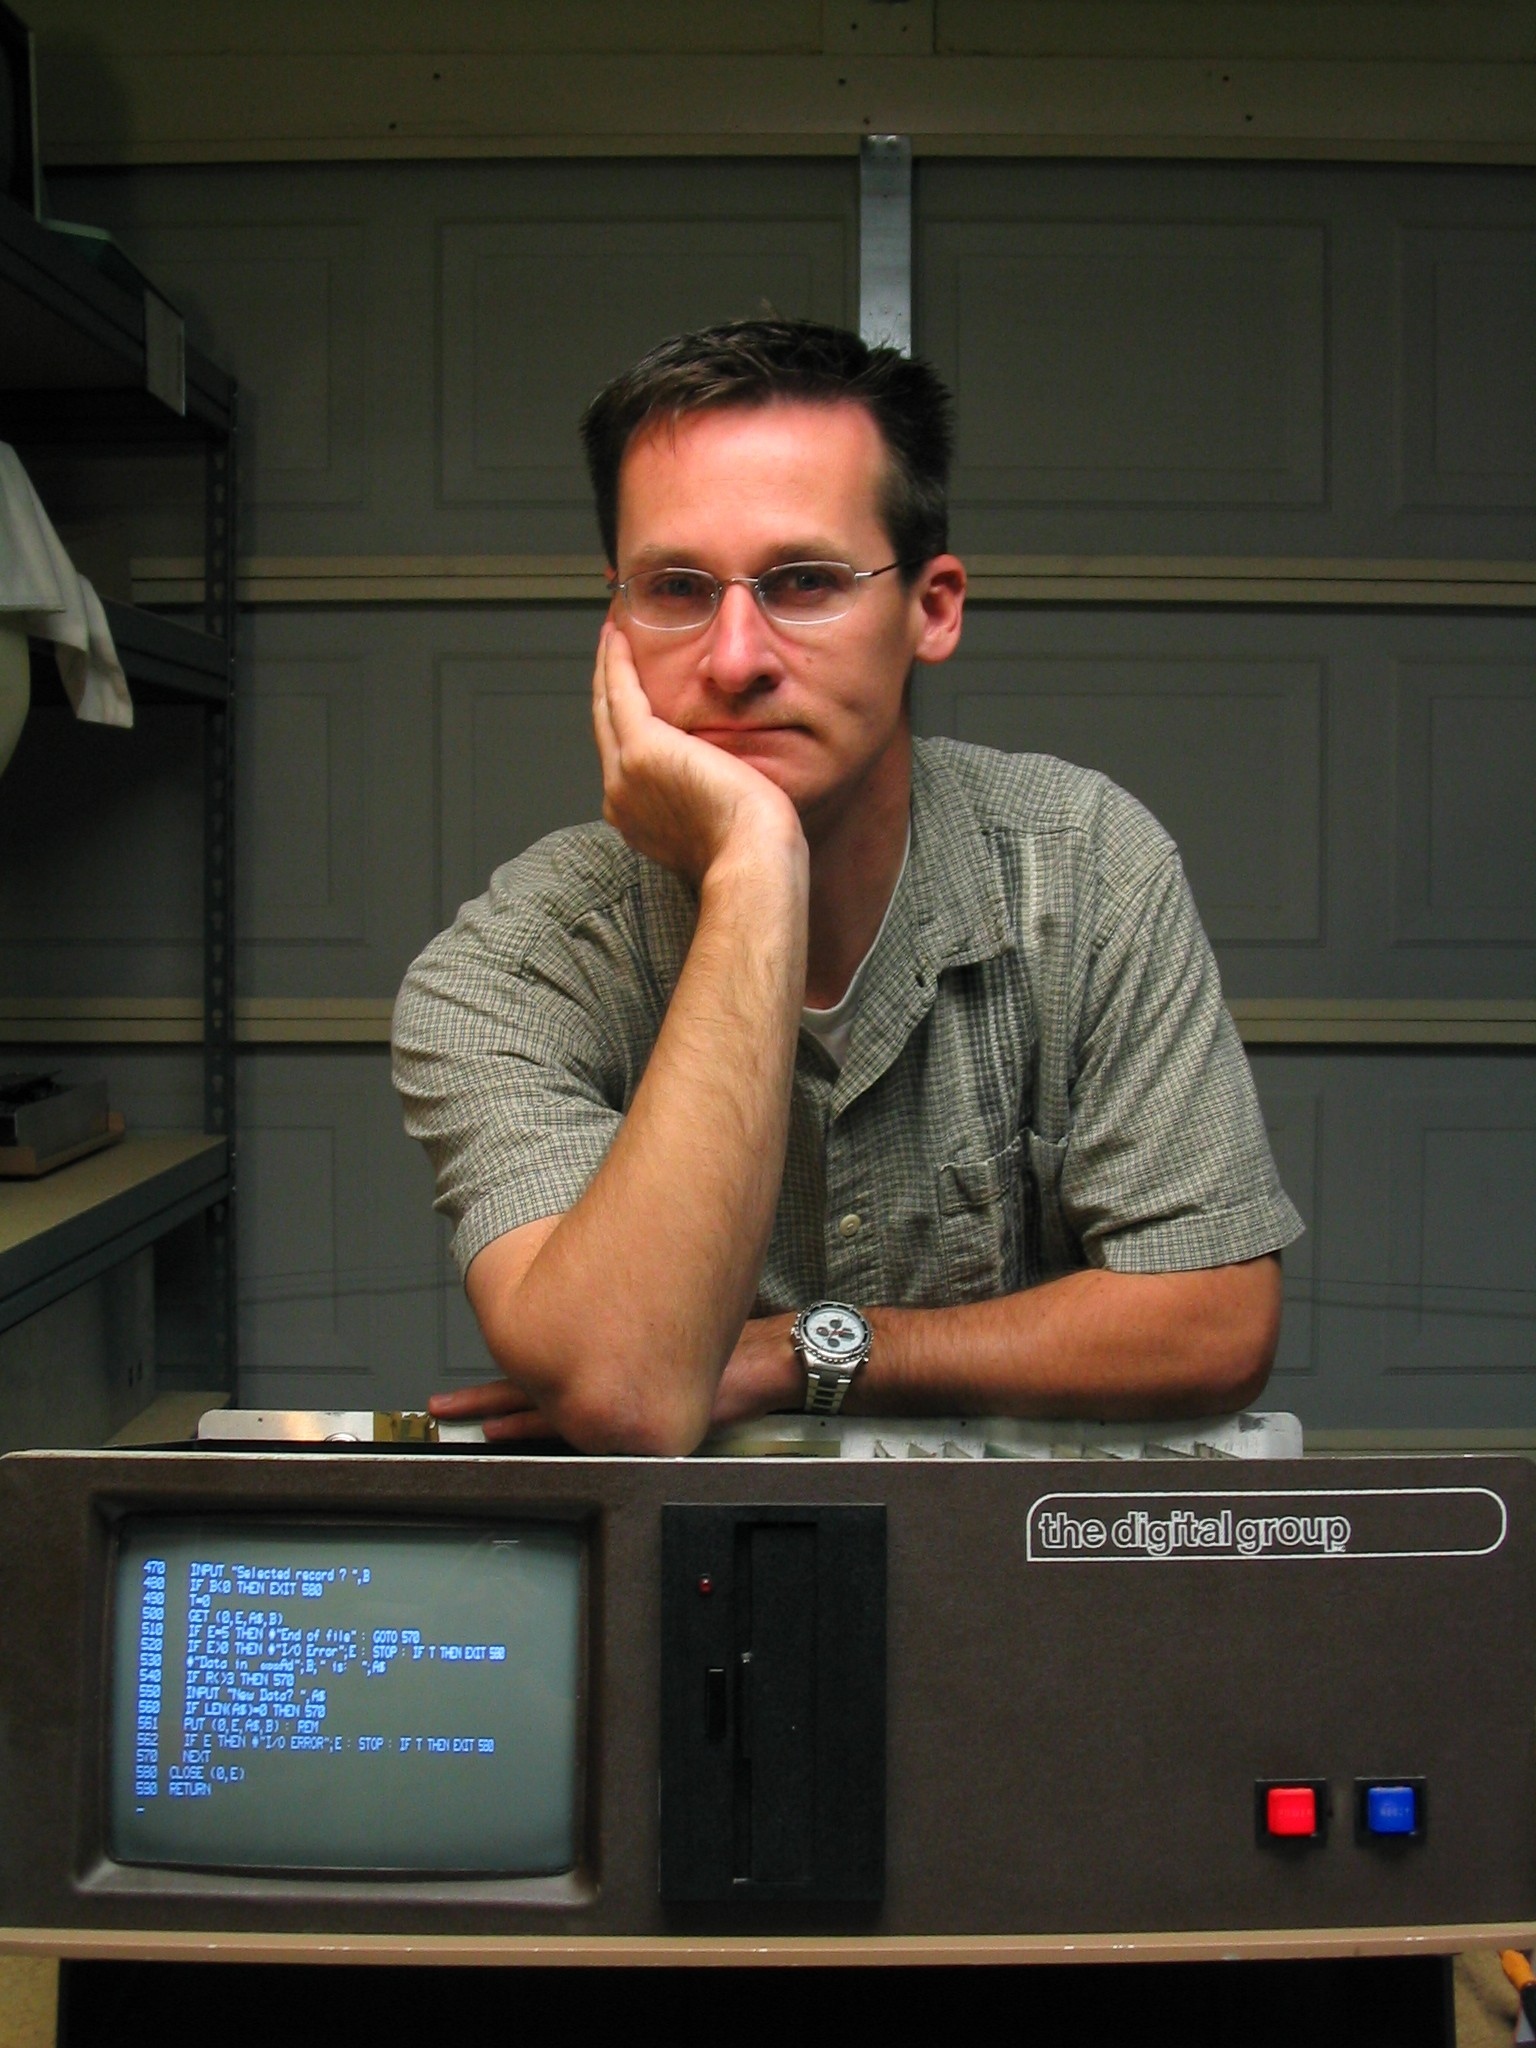
Me and my Mini Bytemaster. : )
|
|
My Mini Bytemaster
My Mini Bytemaster was acquired directly from Dr. Suding in
March of 2004,
and was his personal machine. This is the actual machine used by
Dr. Suding to develop
many Digital Group products and software offerings. This is a great little machine,
and has quickly become my favorite... next to my original 6800
machine, that is!
As received, the Mini
Bytemaster was in operating condition with the exception of the
keyboard. The machine was in fairly strong need of cleaning, but
otherwise was in good condition. One of the over voltage
protection circuits had been disconnected due to a bad SCR, and
the video monitor was a bit temperamental, so there was some work
to be done with it before it could safely be put to regular use.
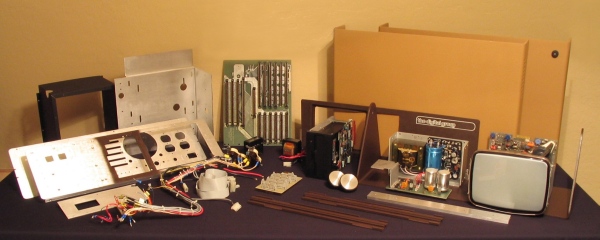
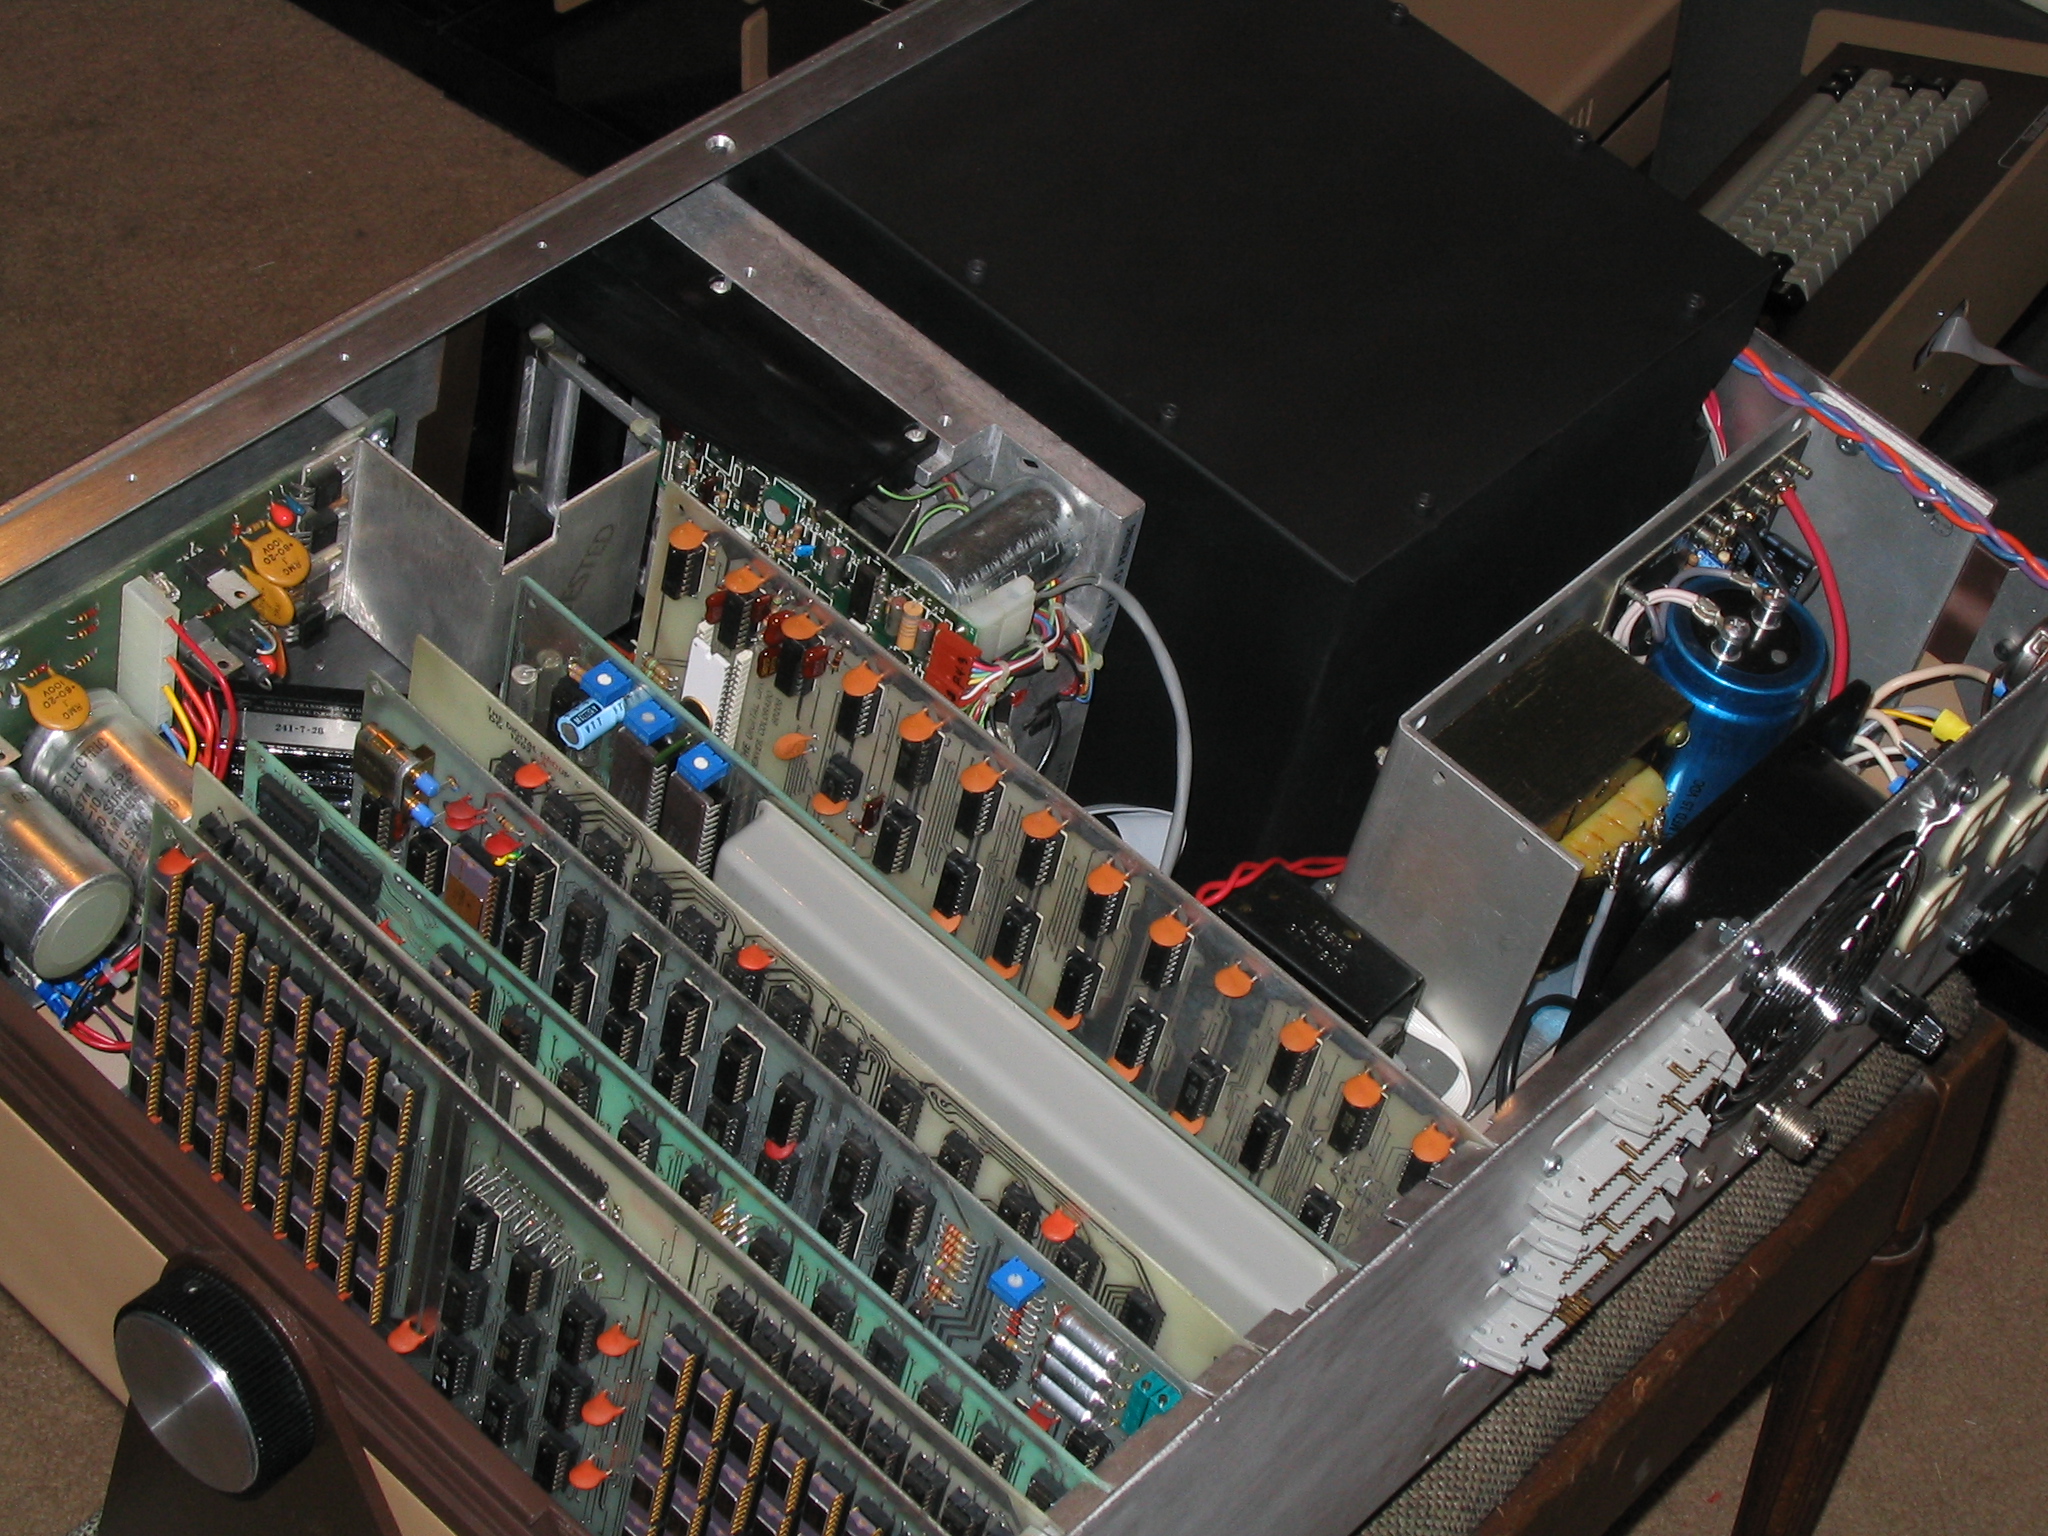
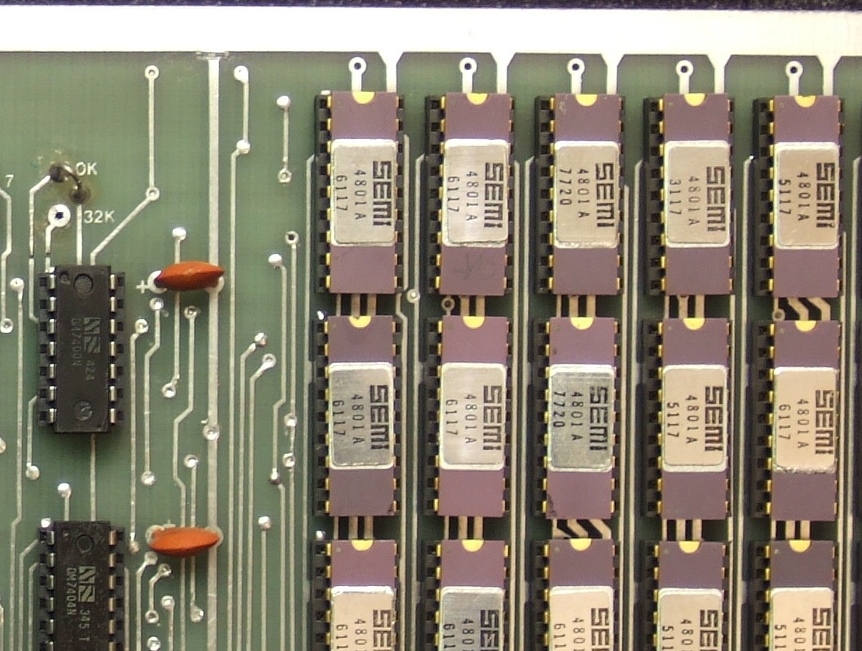
Included with the machine were the following cards: Z80
Processor, a very rare and pretty version of 32K static RAM, two I/O
cards, TVC64, HAM card, disk controller, and super bonus... a
VOTRAX card! For those who may not know, the Votrax was an early
speech synthesis card.
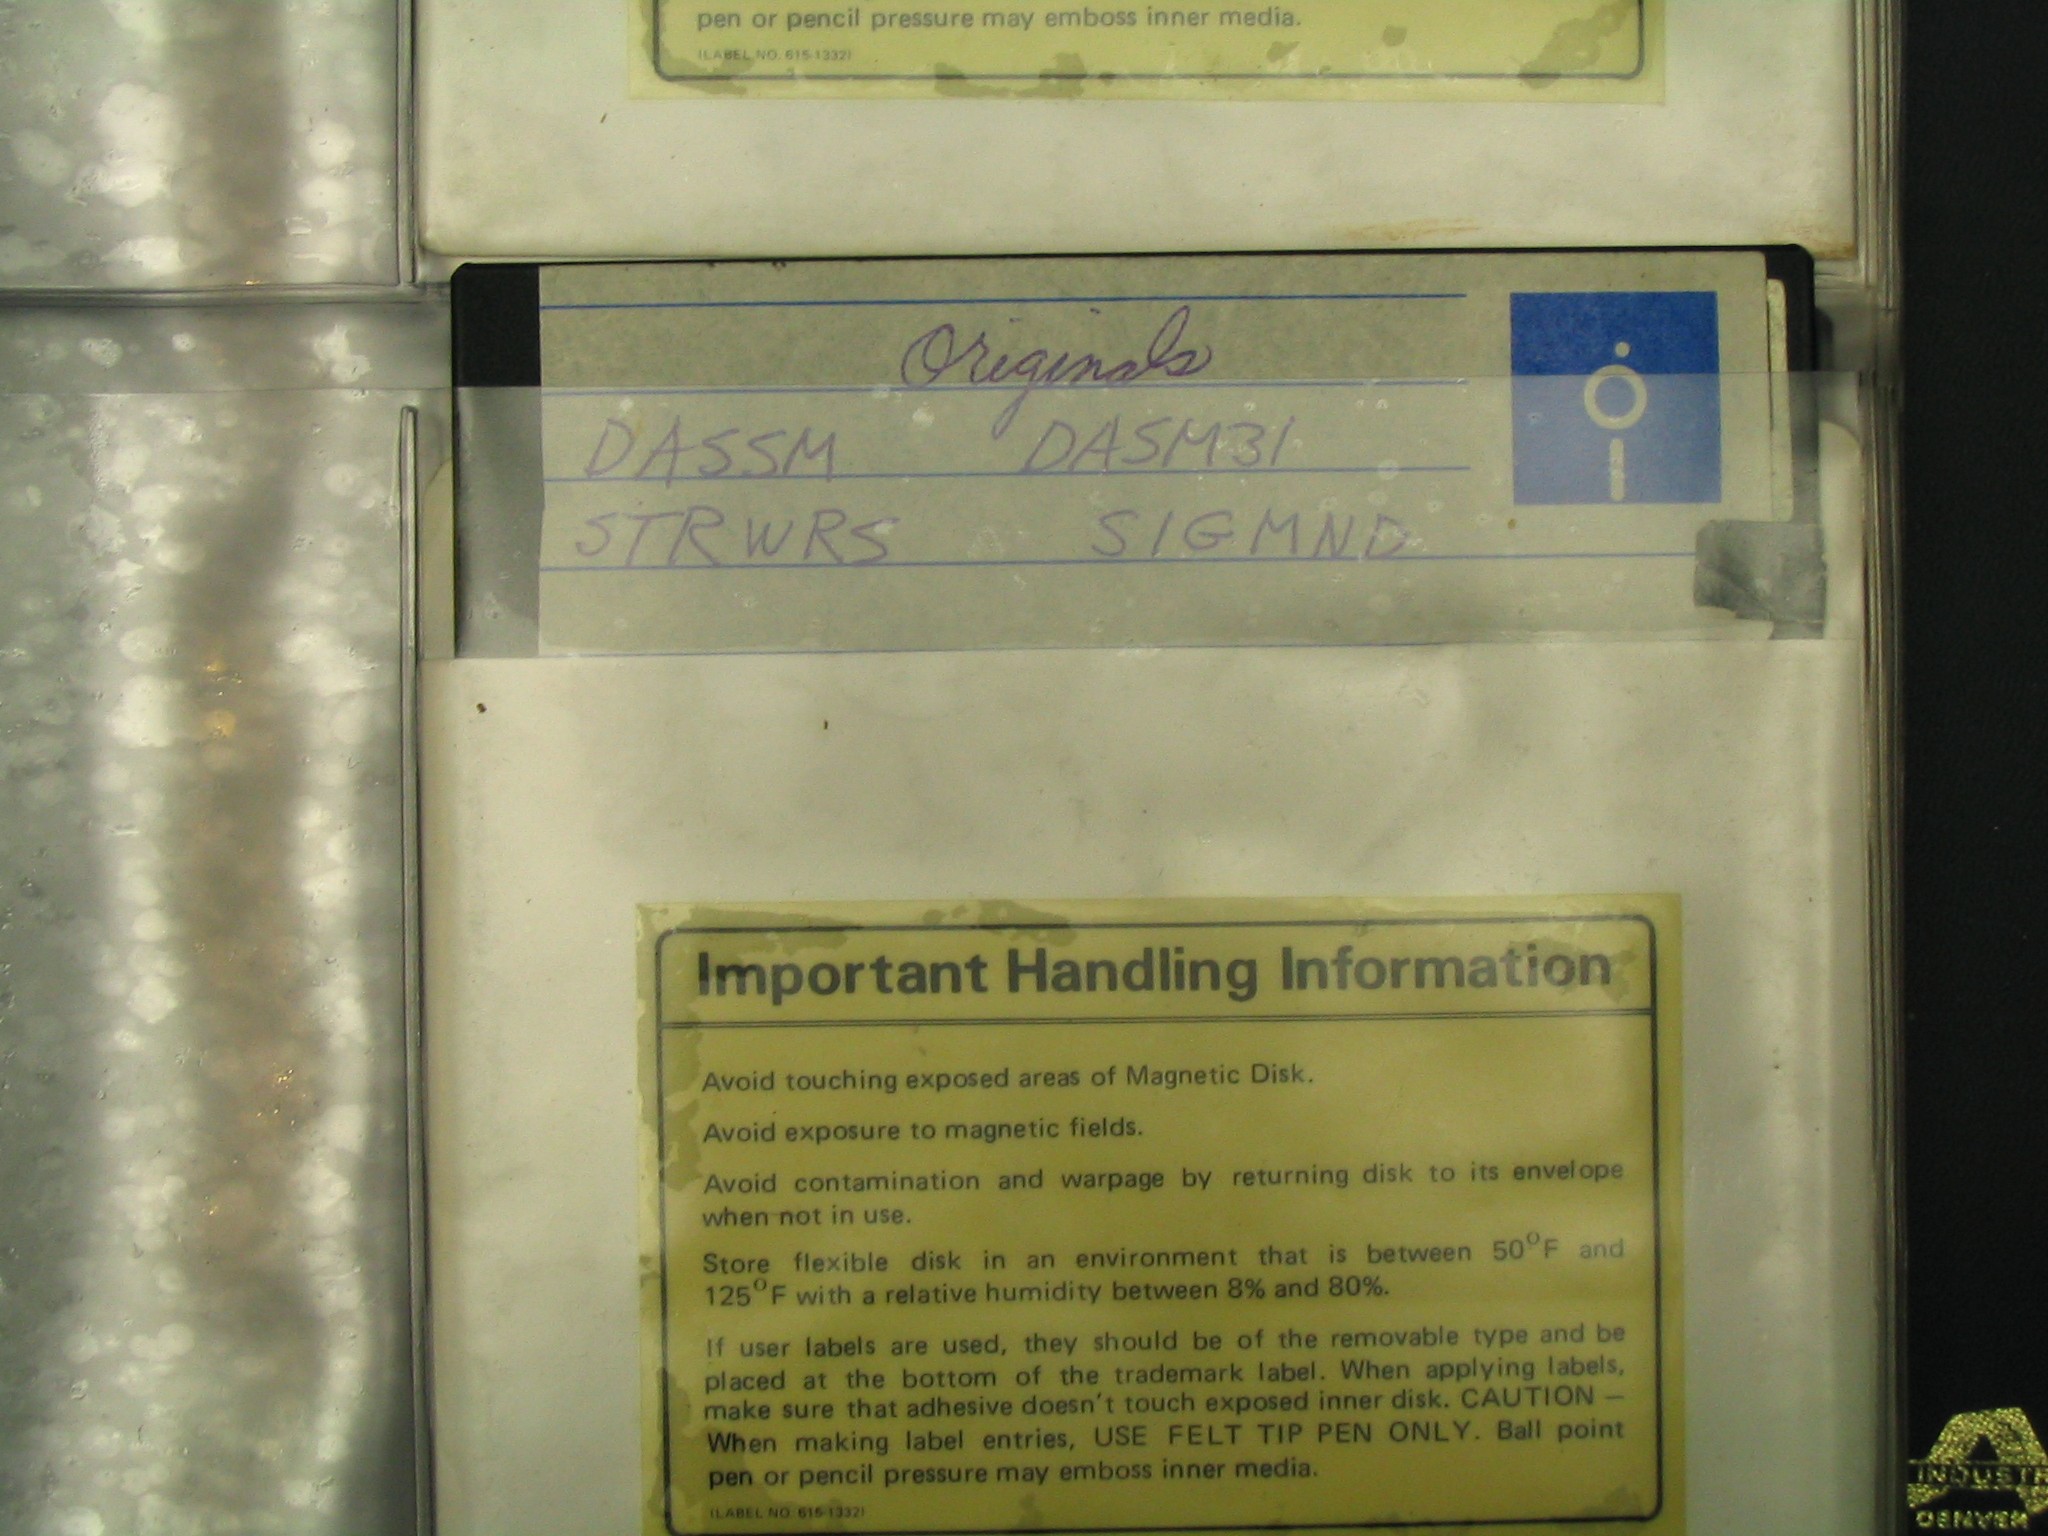
With the Bytemaster, I also received several binders of documentation and a binder
full of software on 5-1/4 inch disks, many of which were one of
a kinds or original development copies. Coool! After several
hours of testing, I found that many of the original disks were
unreadable. The majority of titles were fine though, and I have
started to make backup copies of all.
|
|
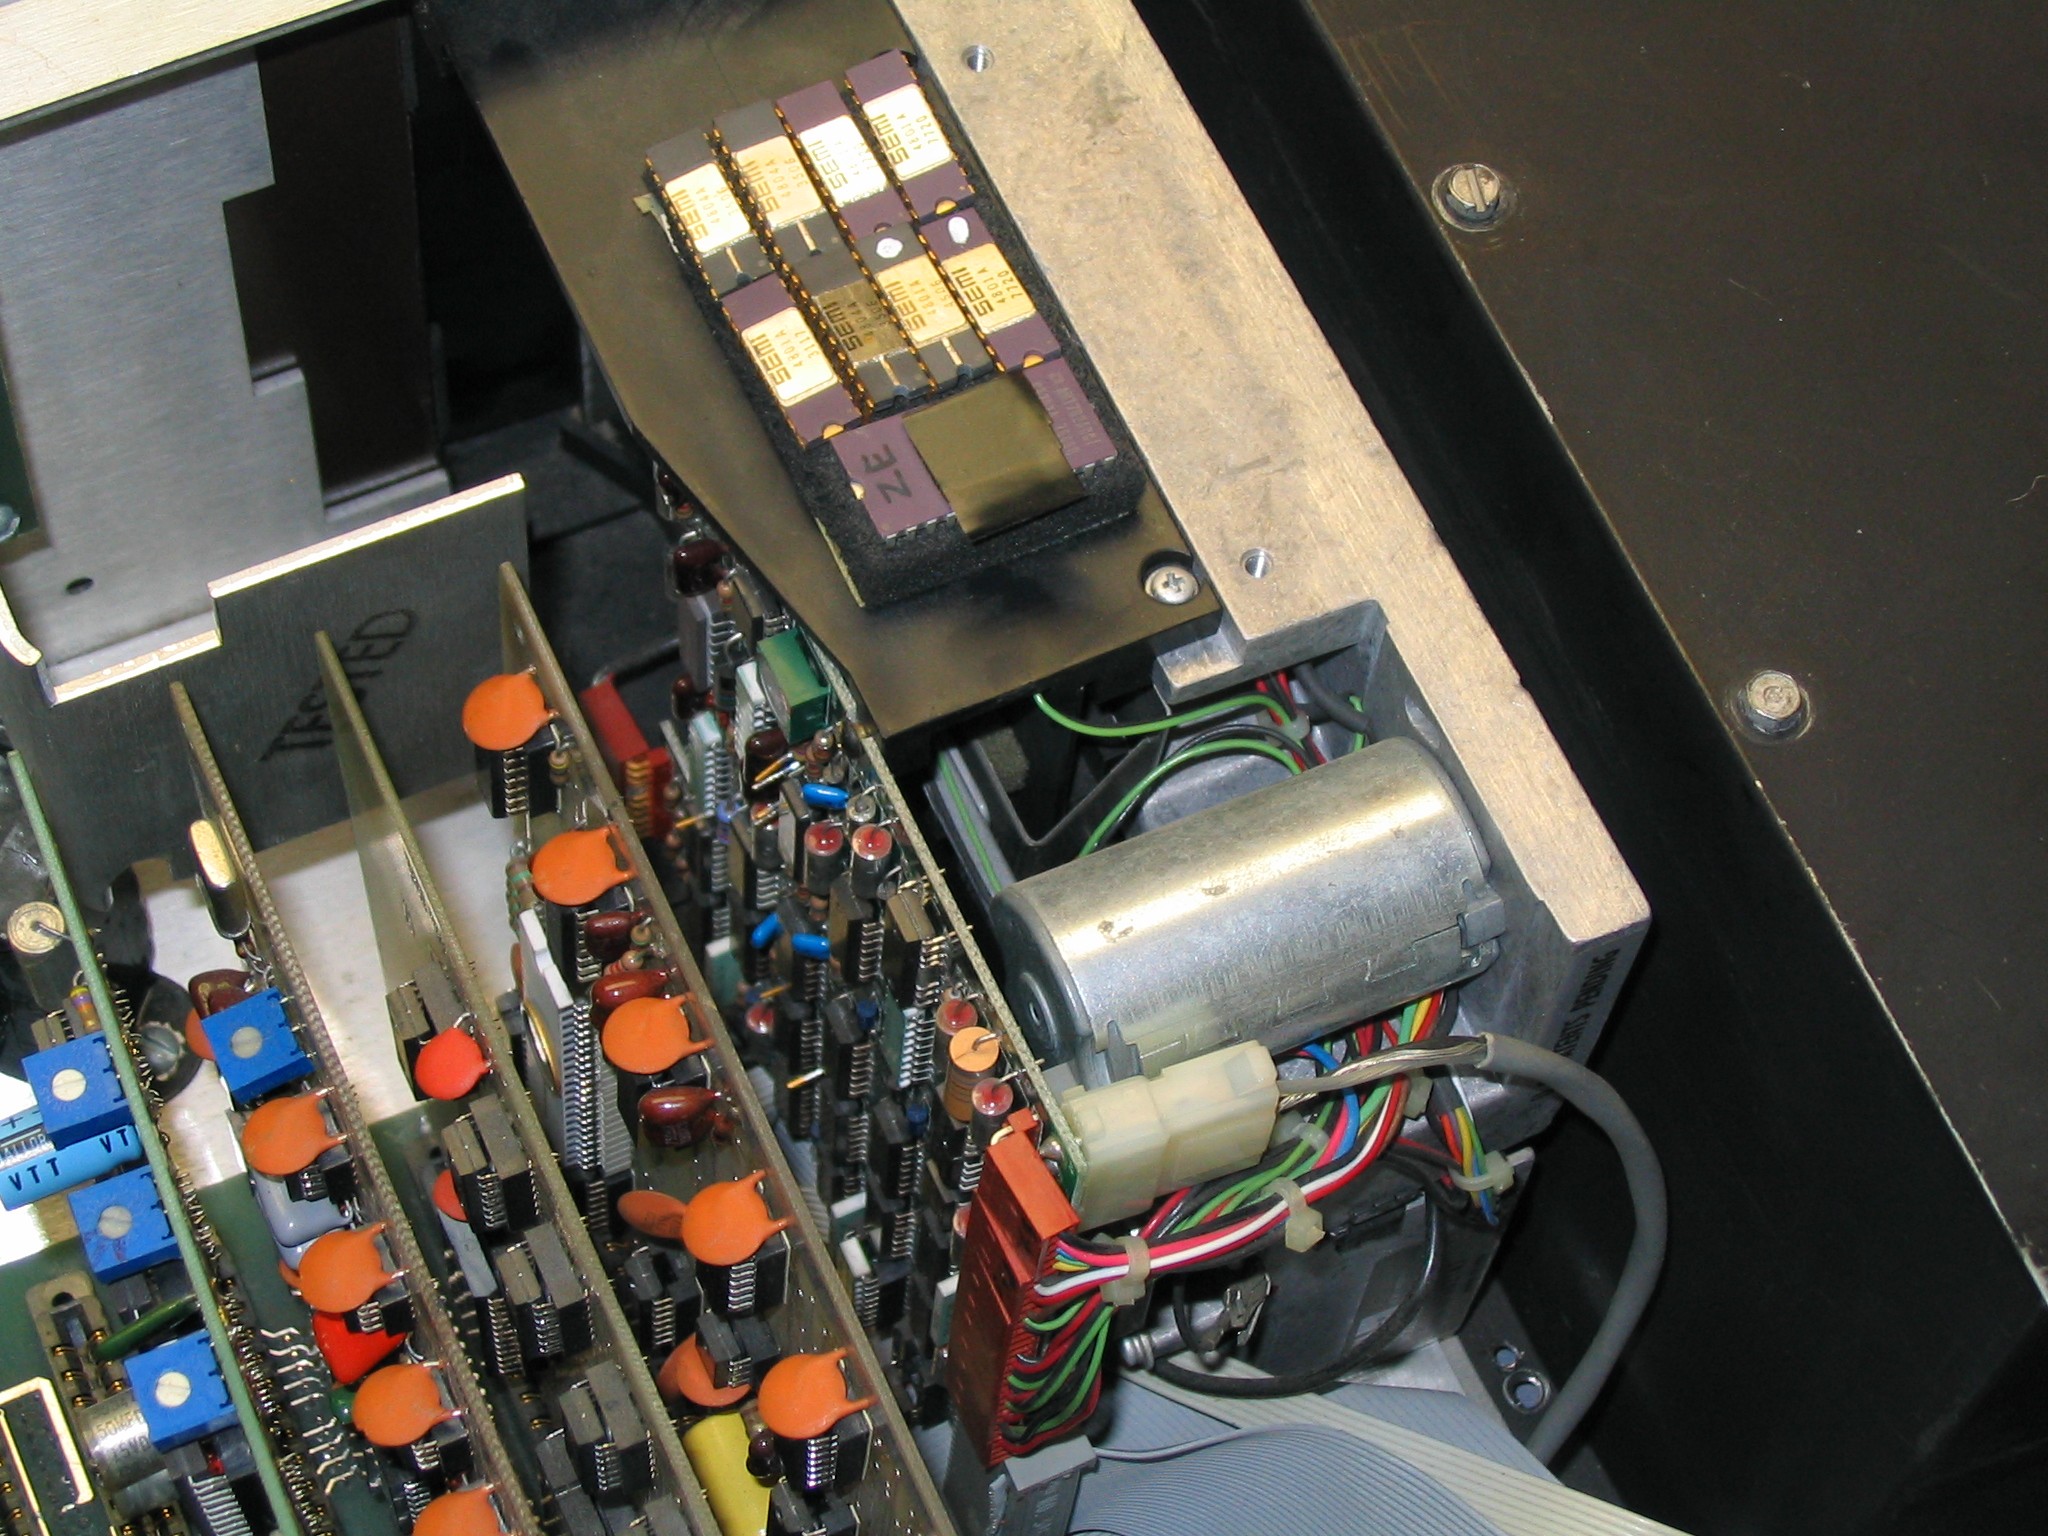
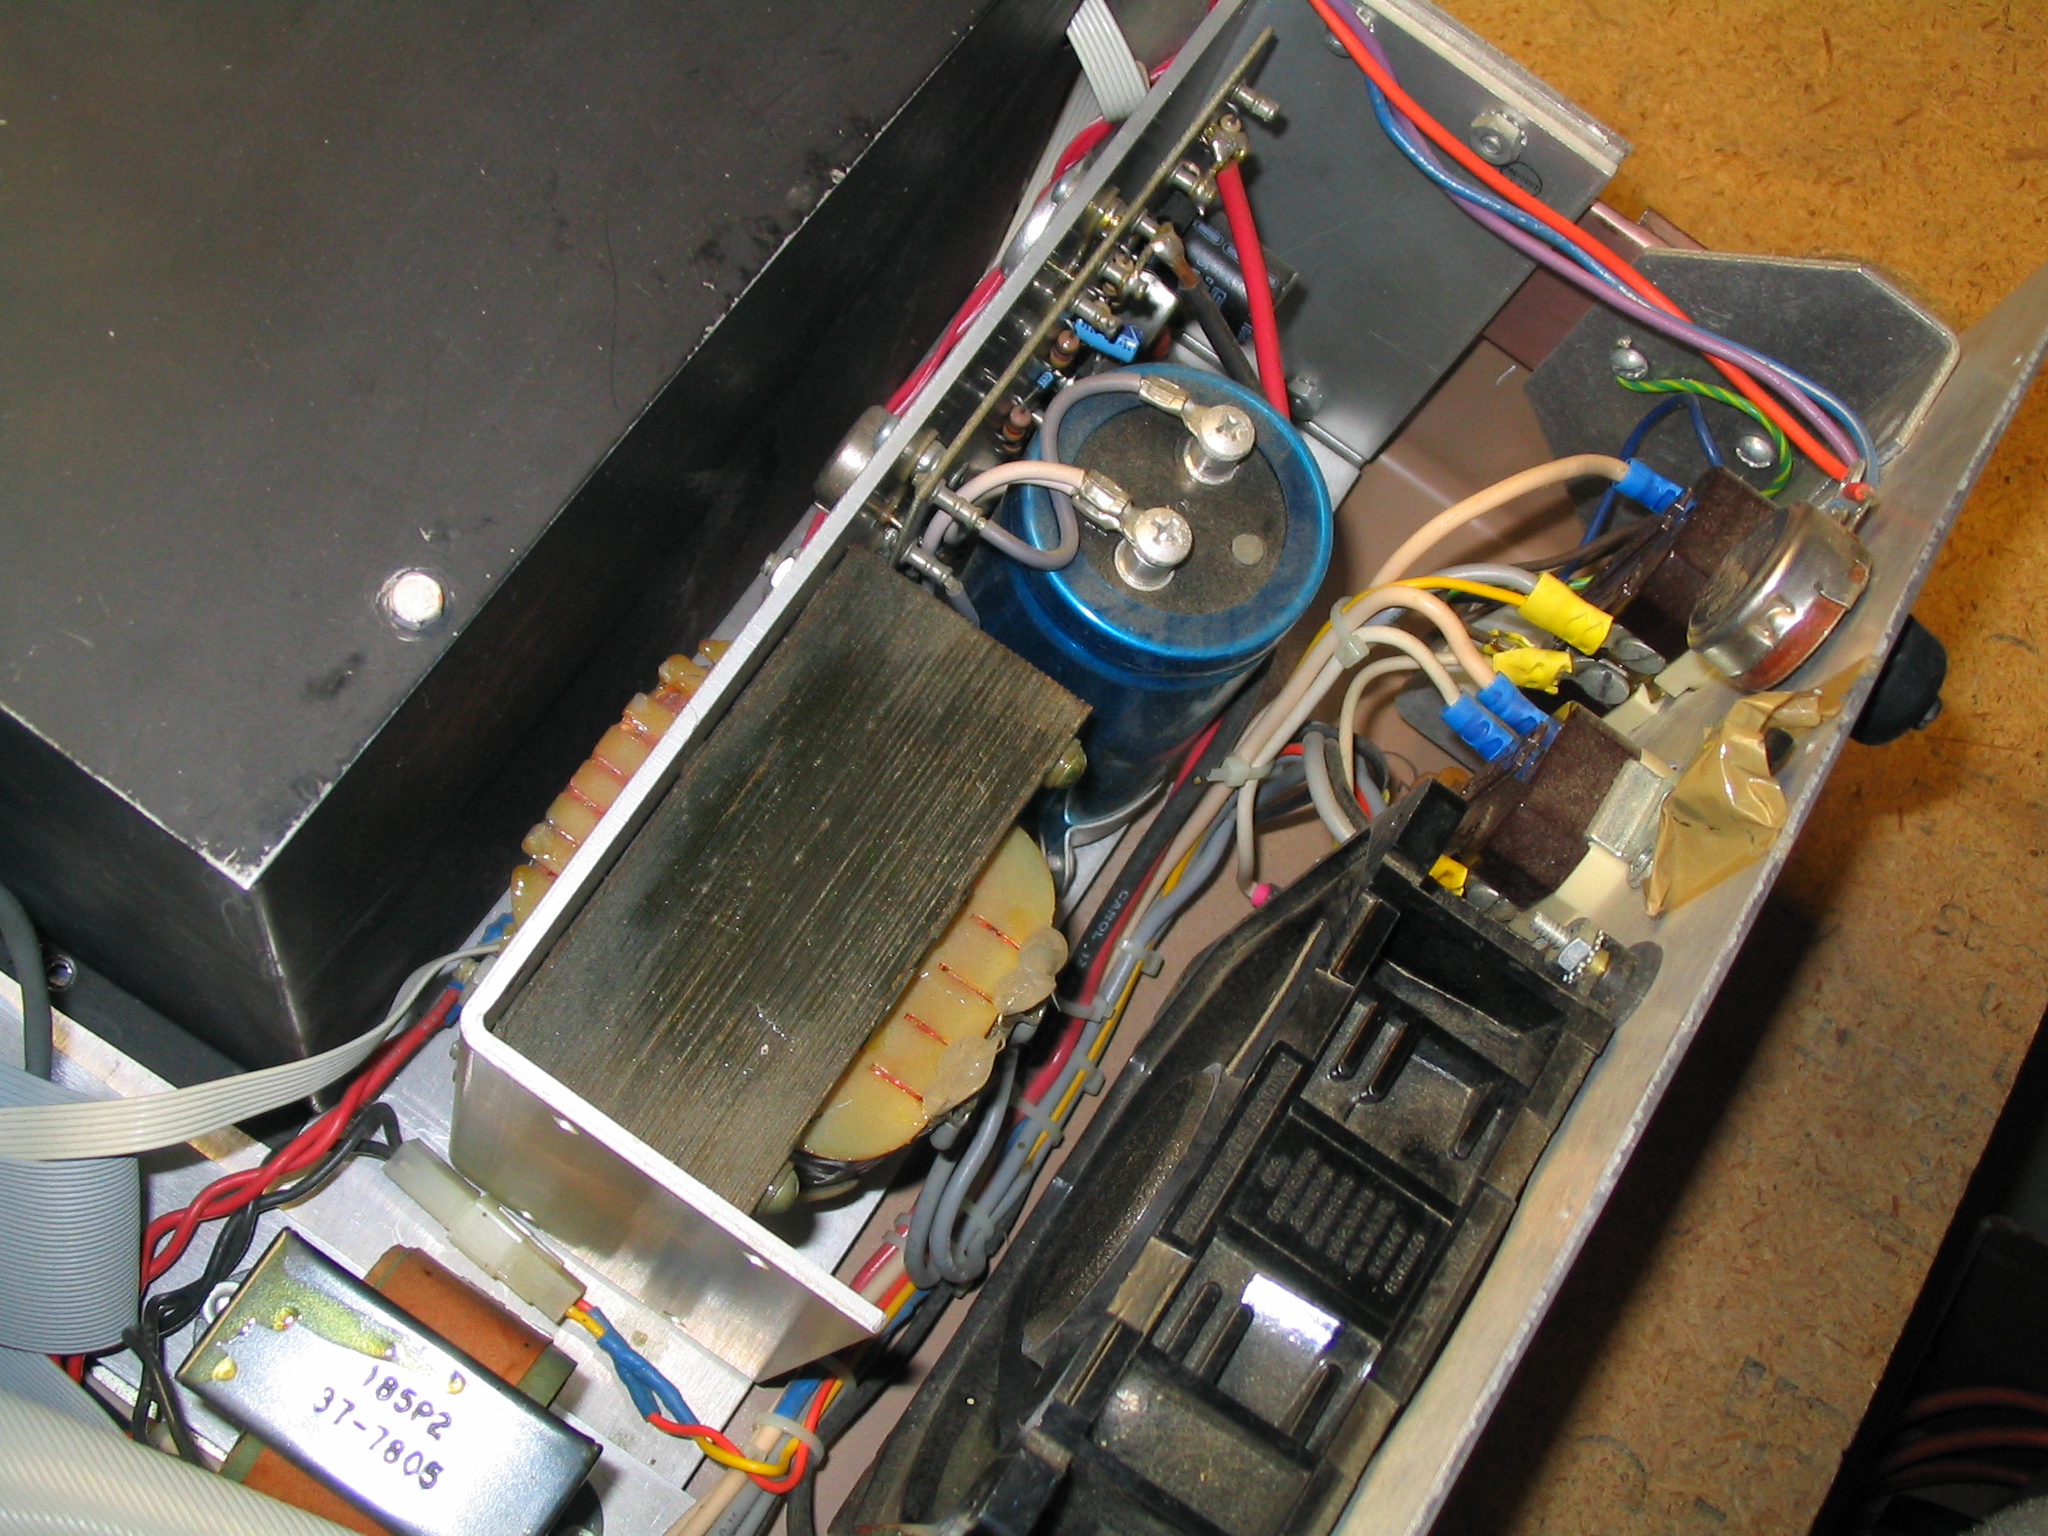
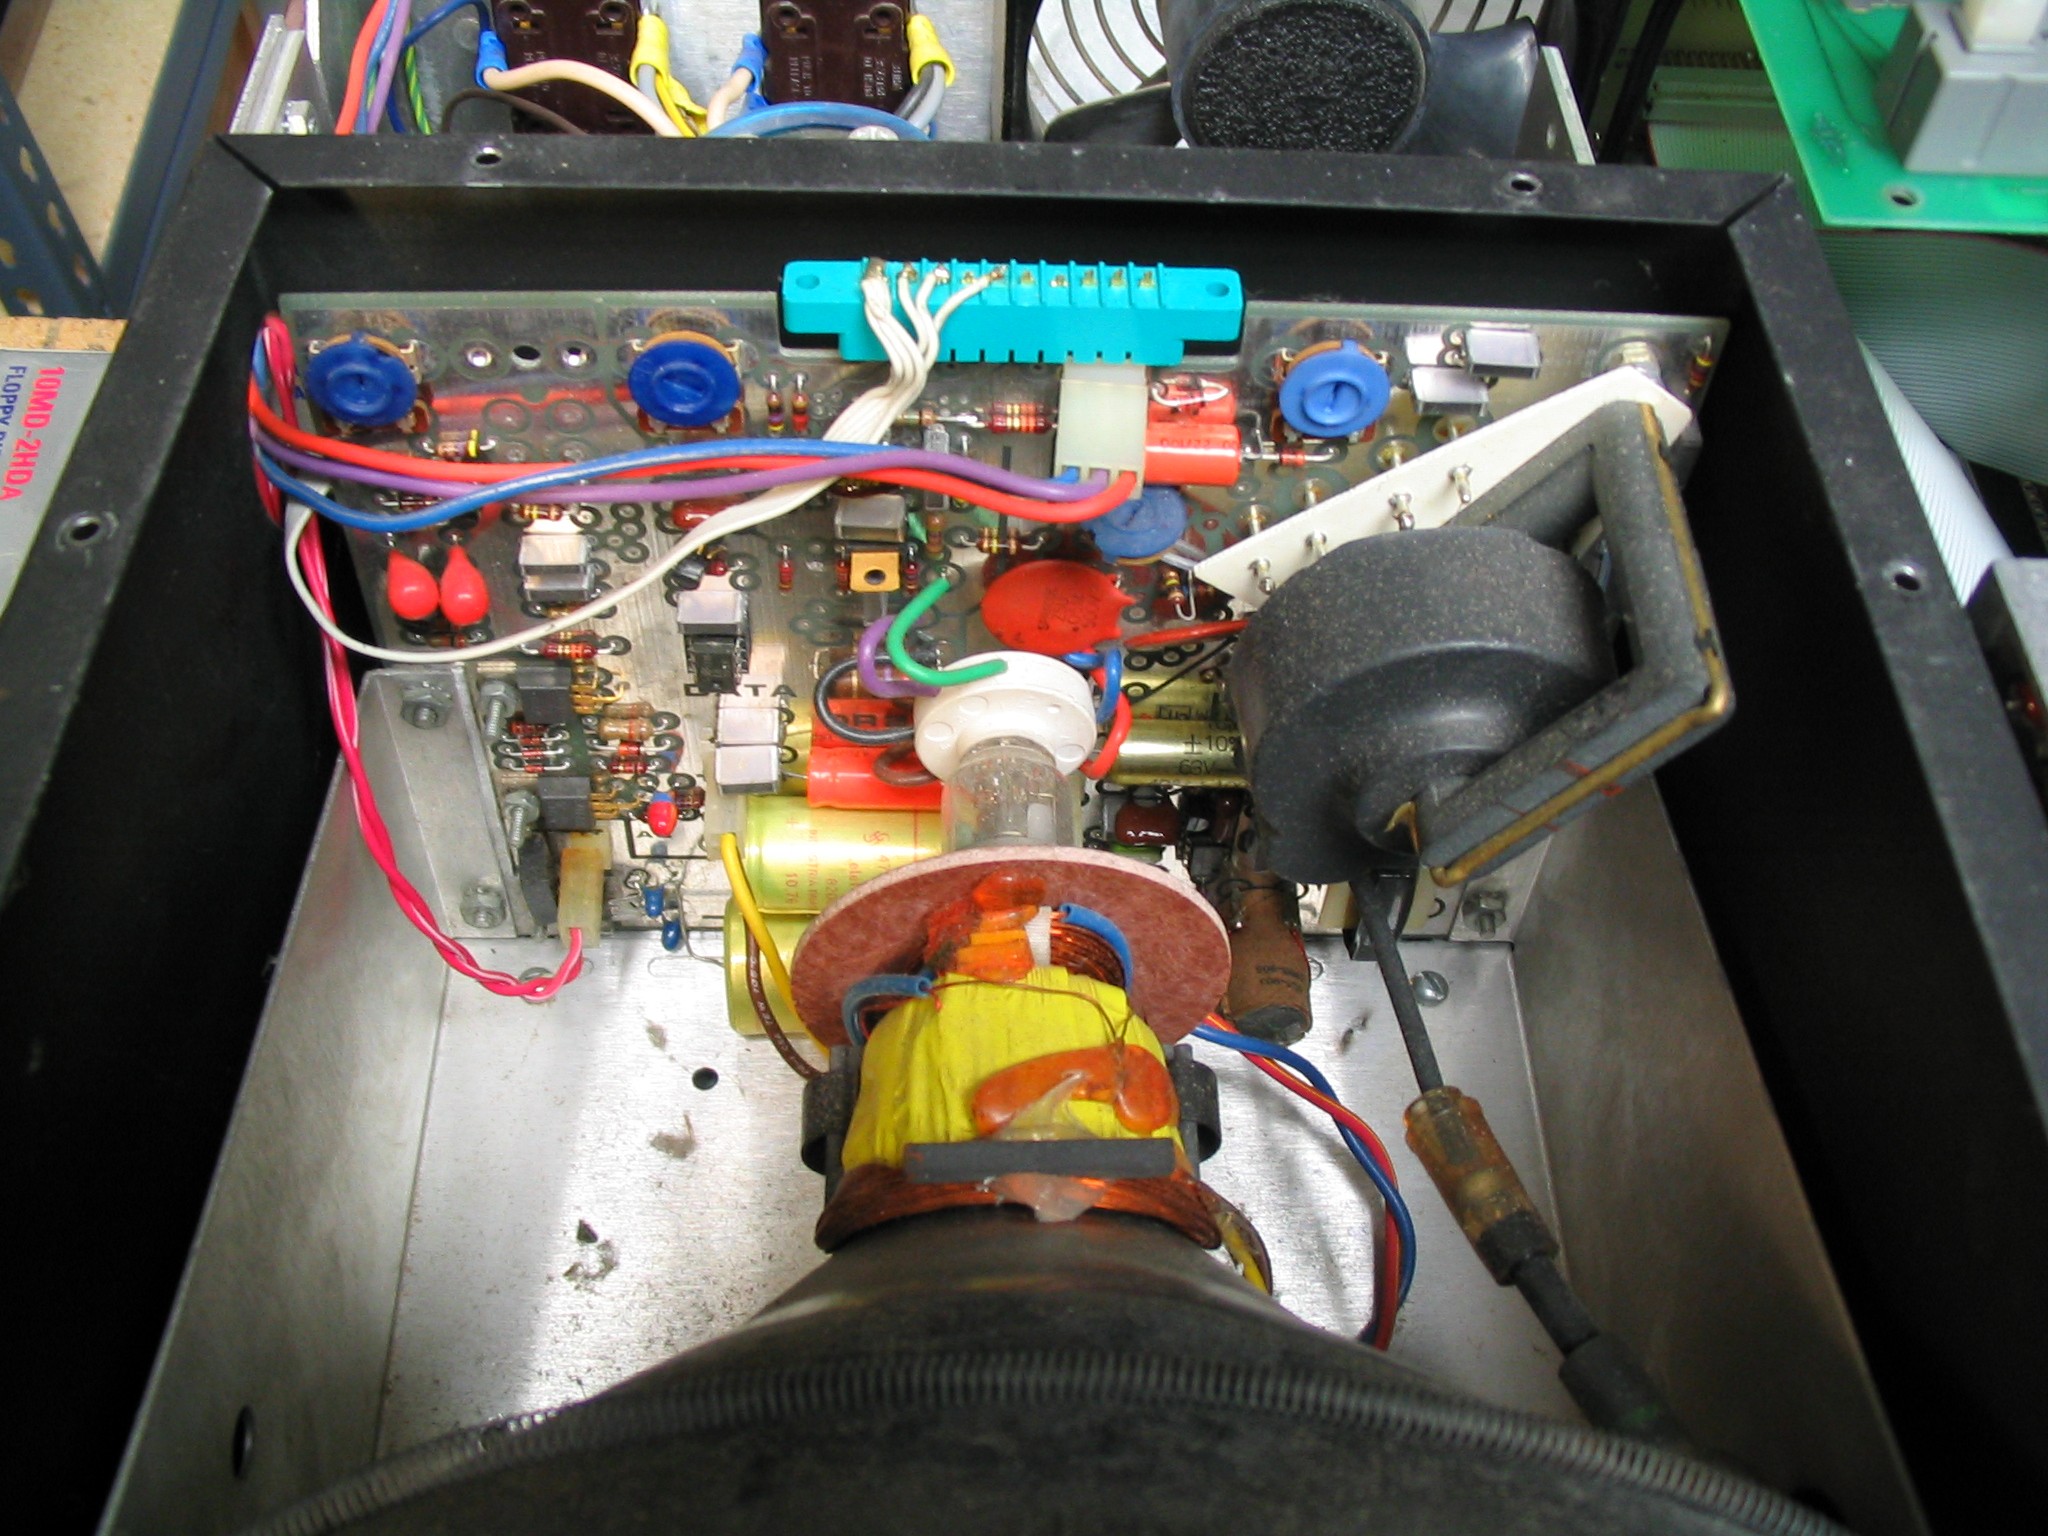
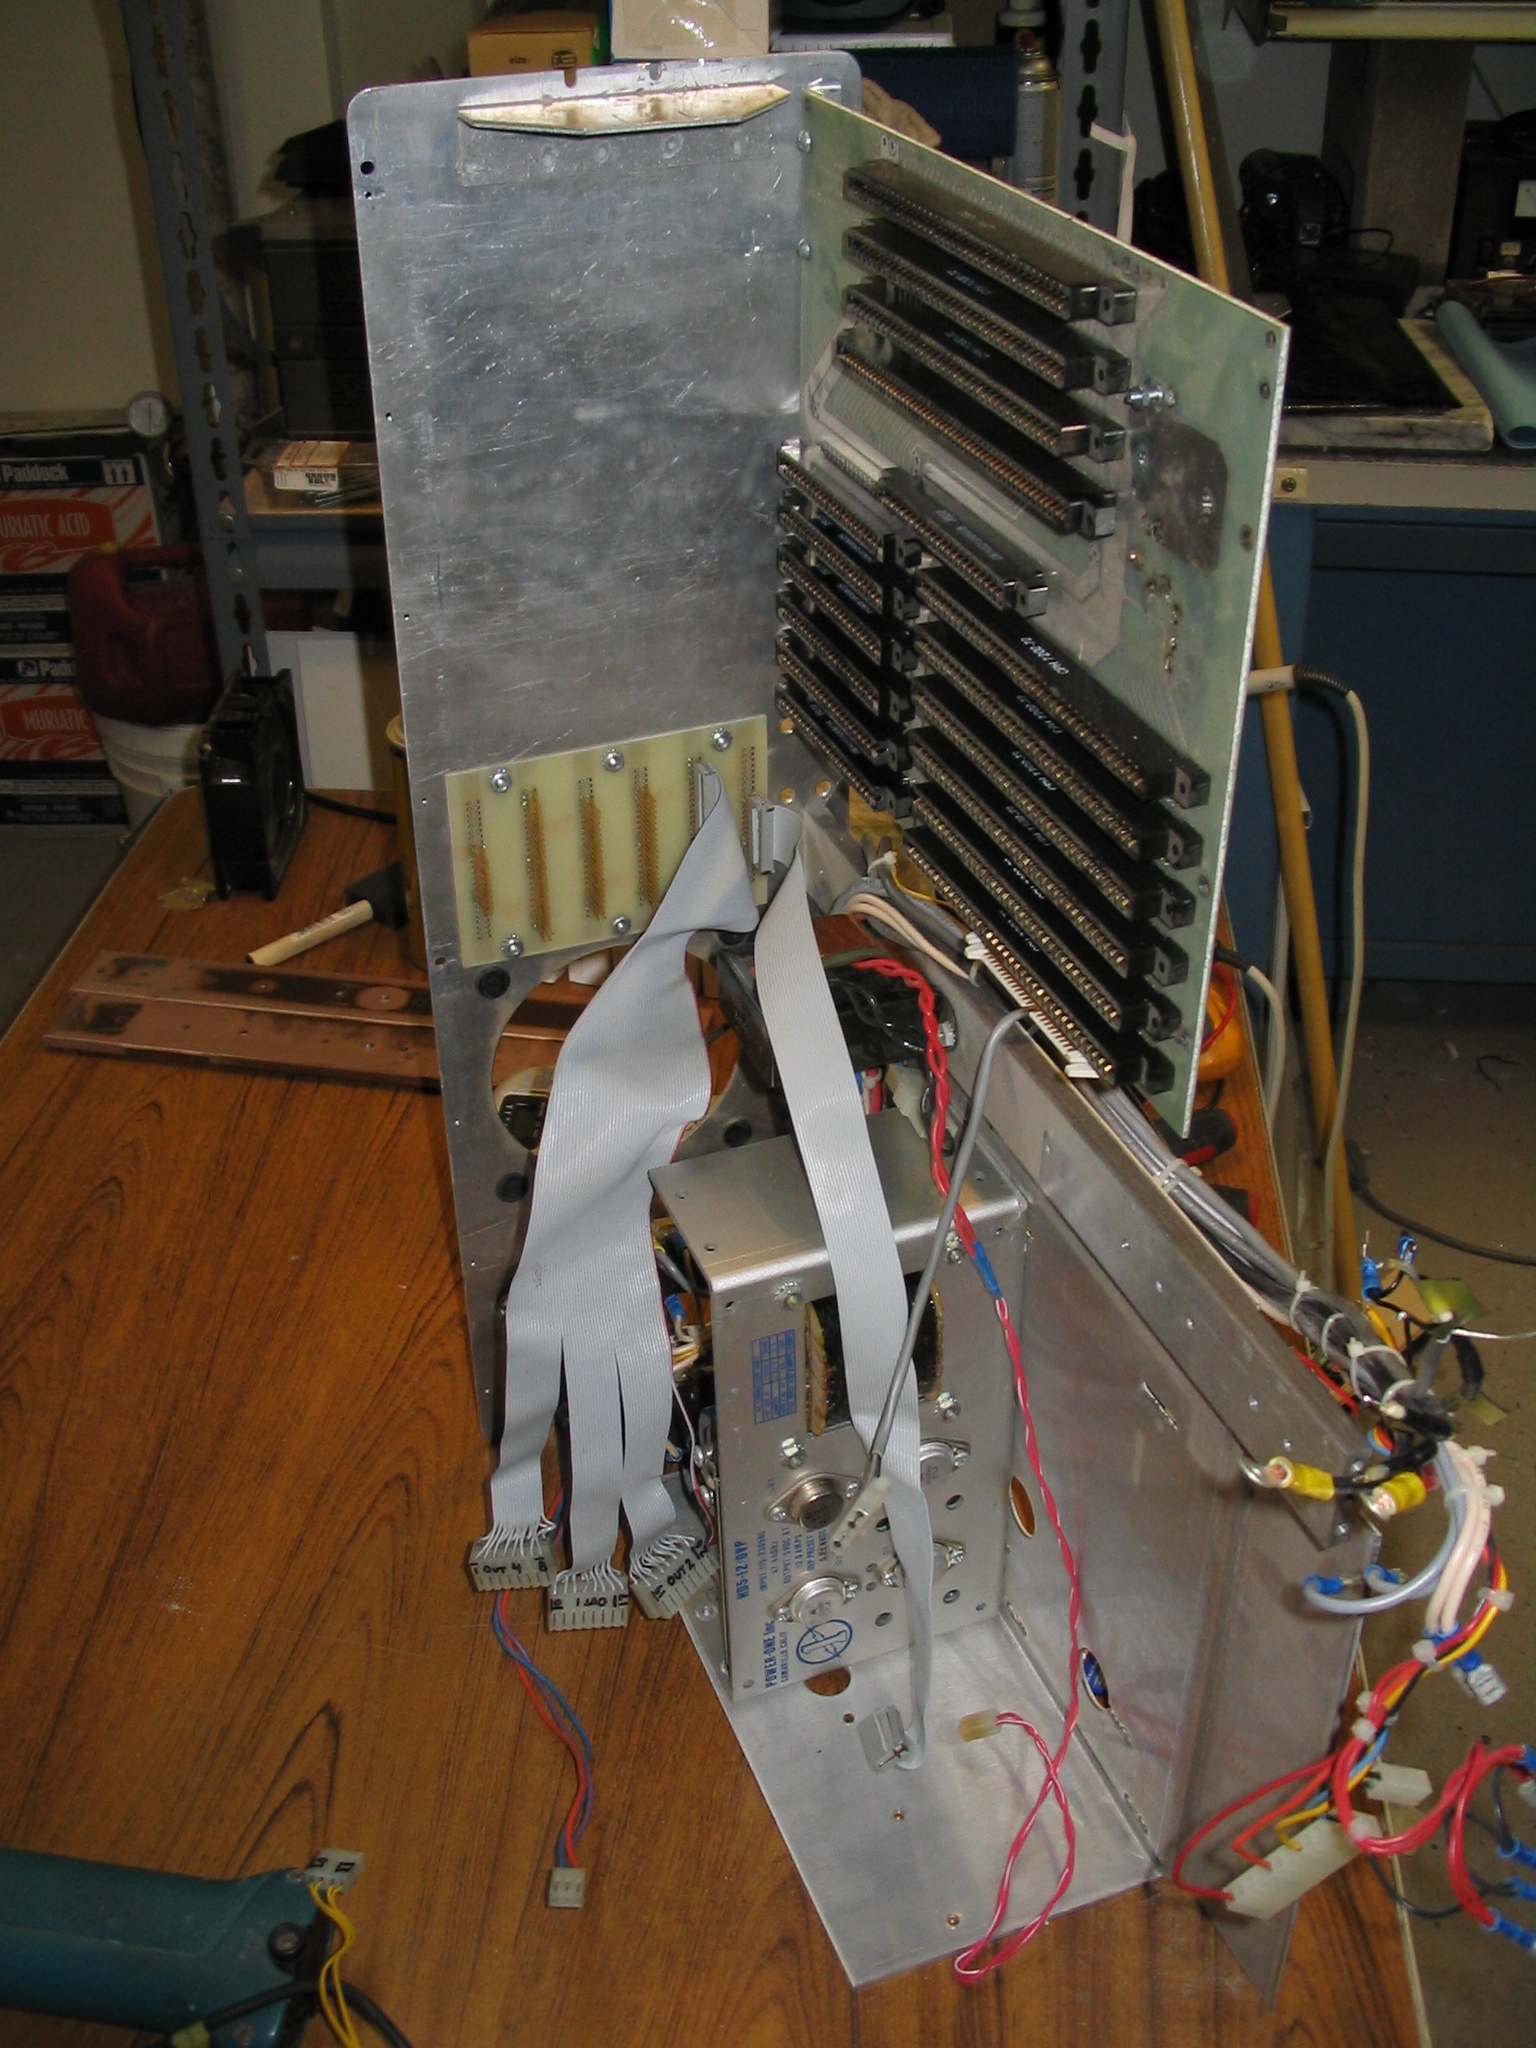
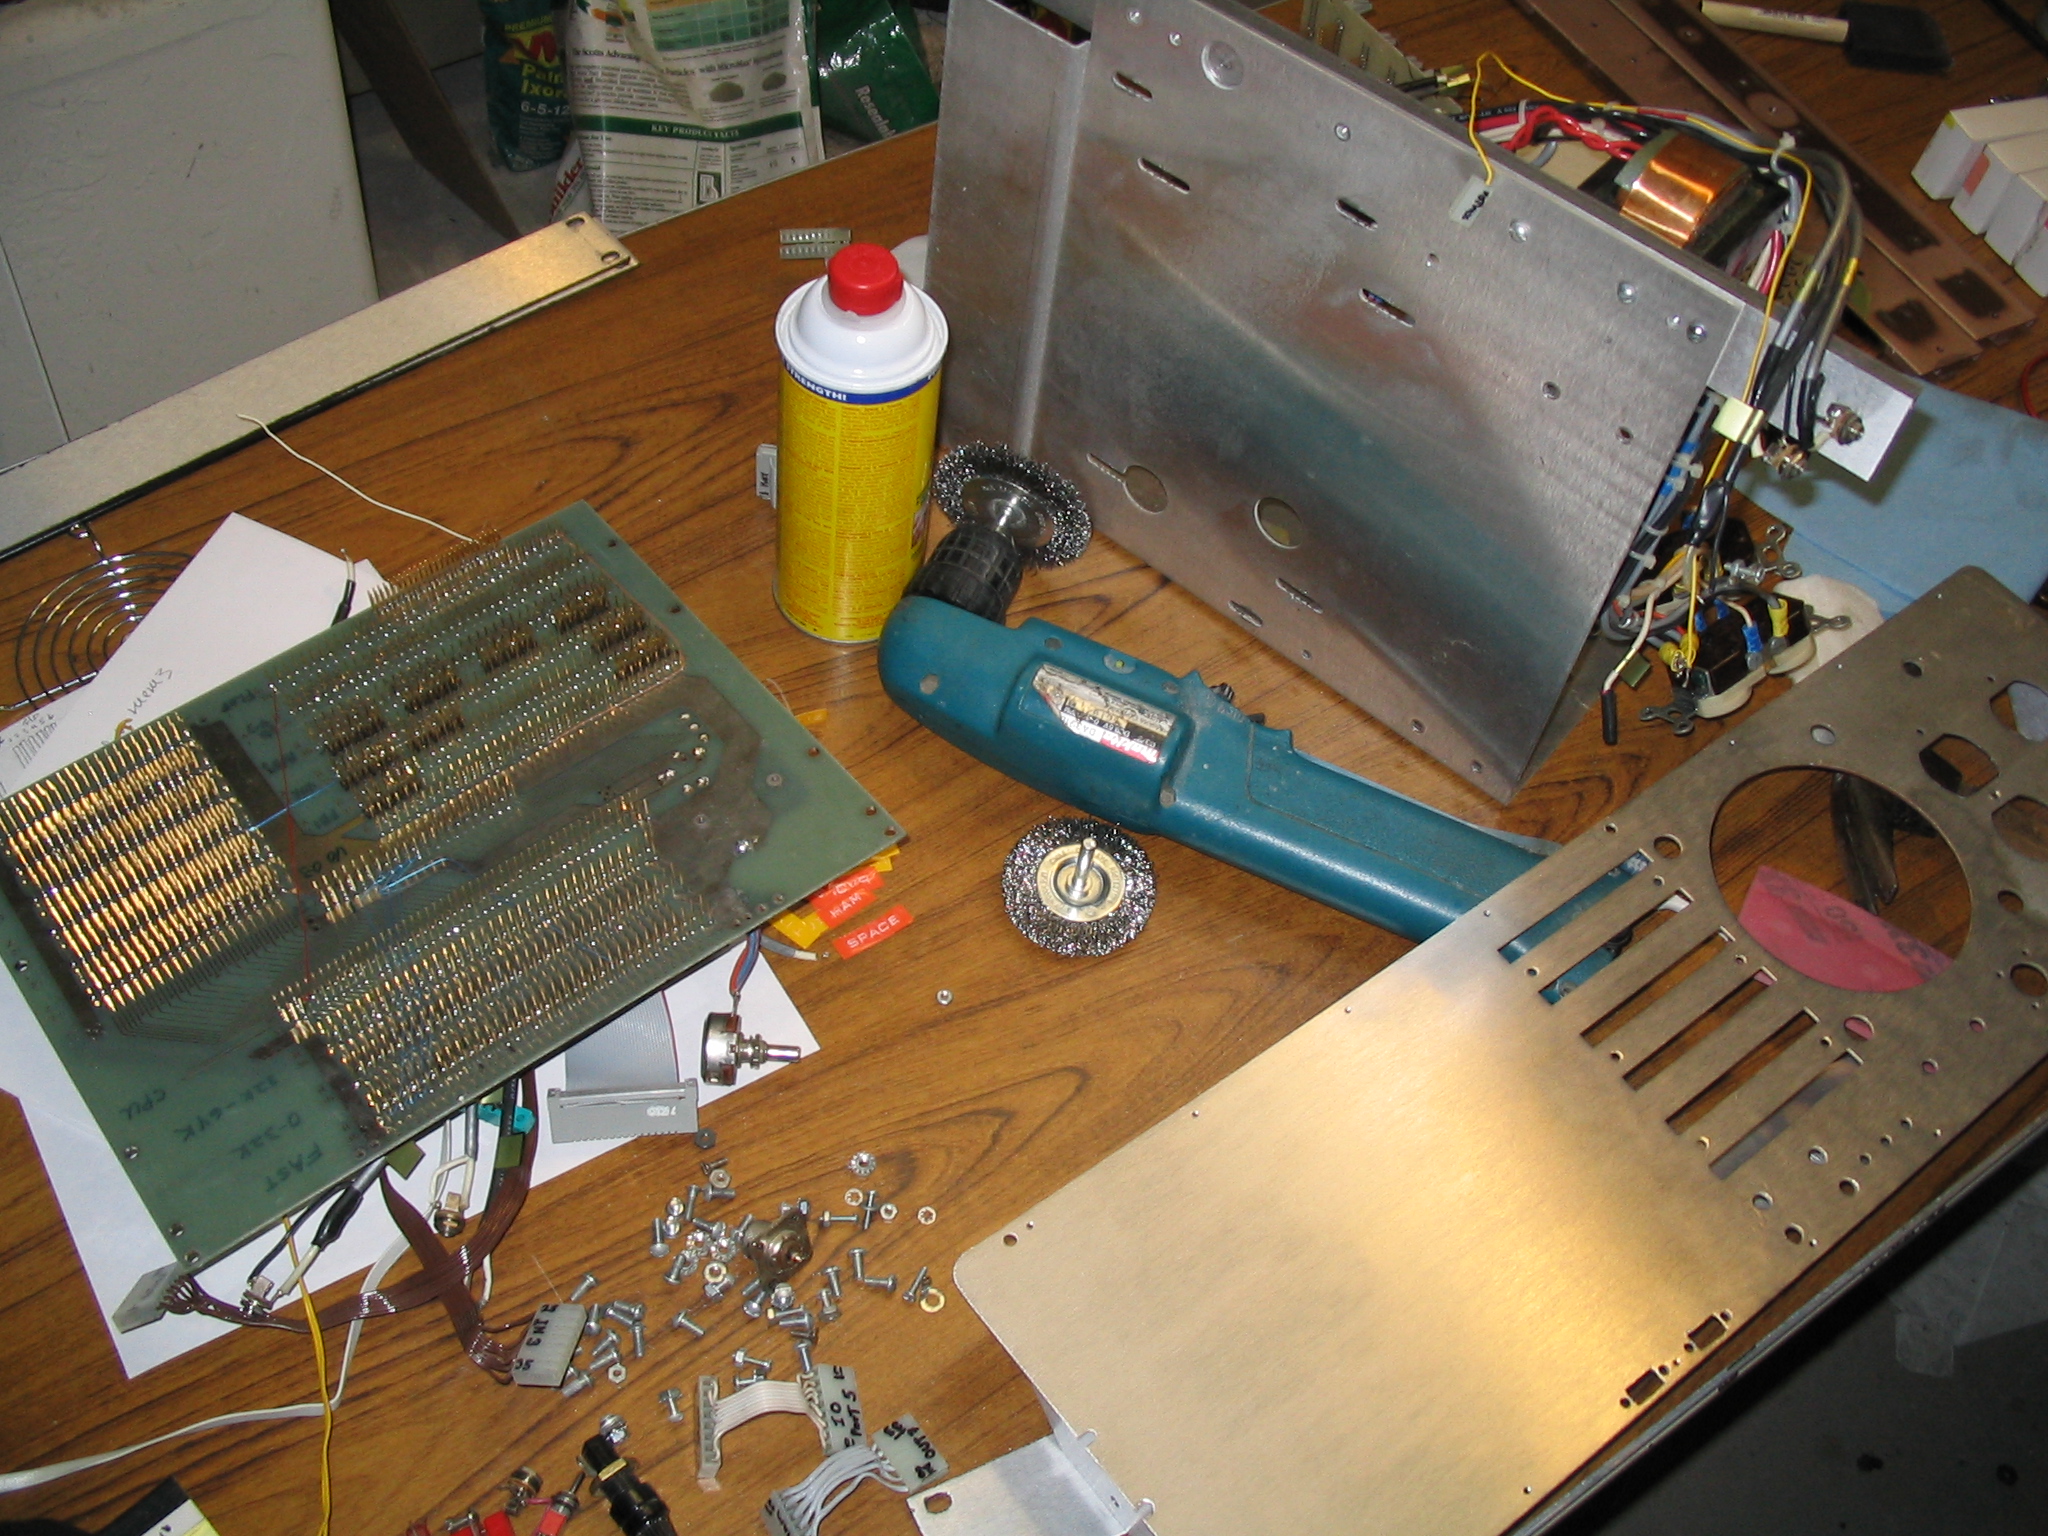
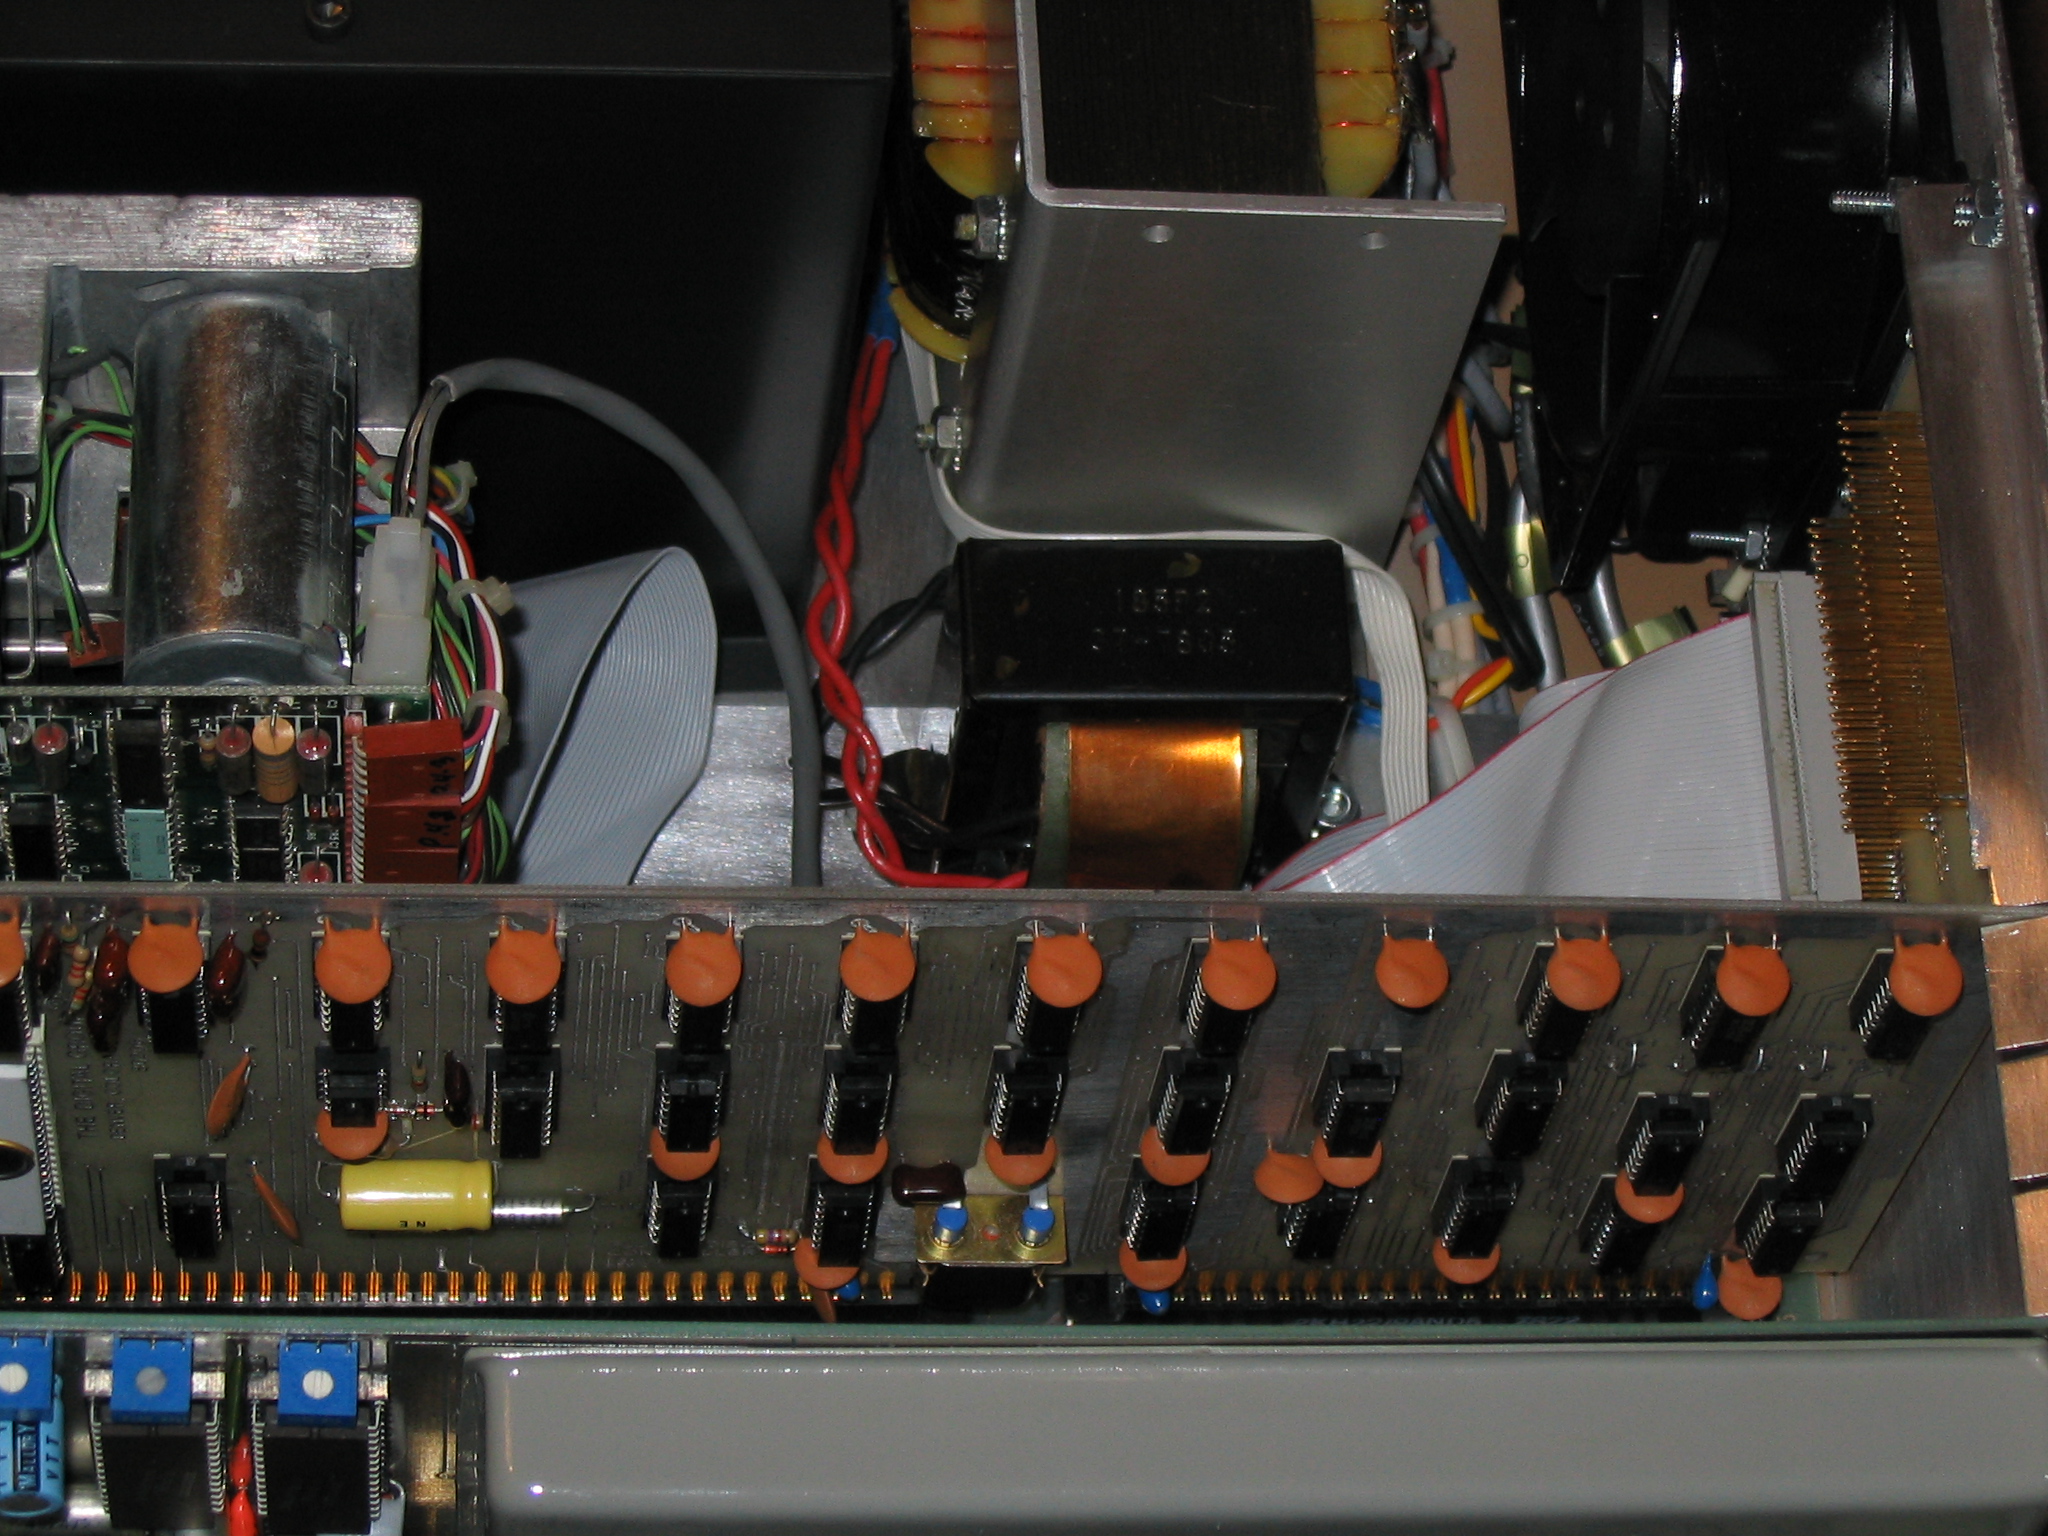
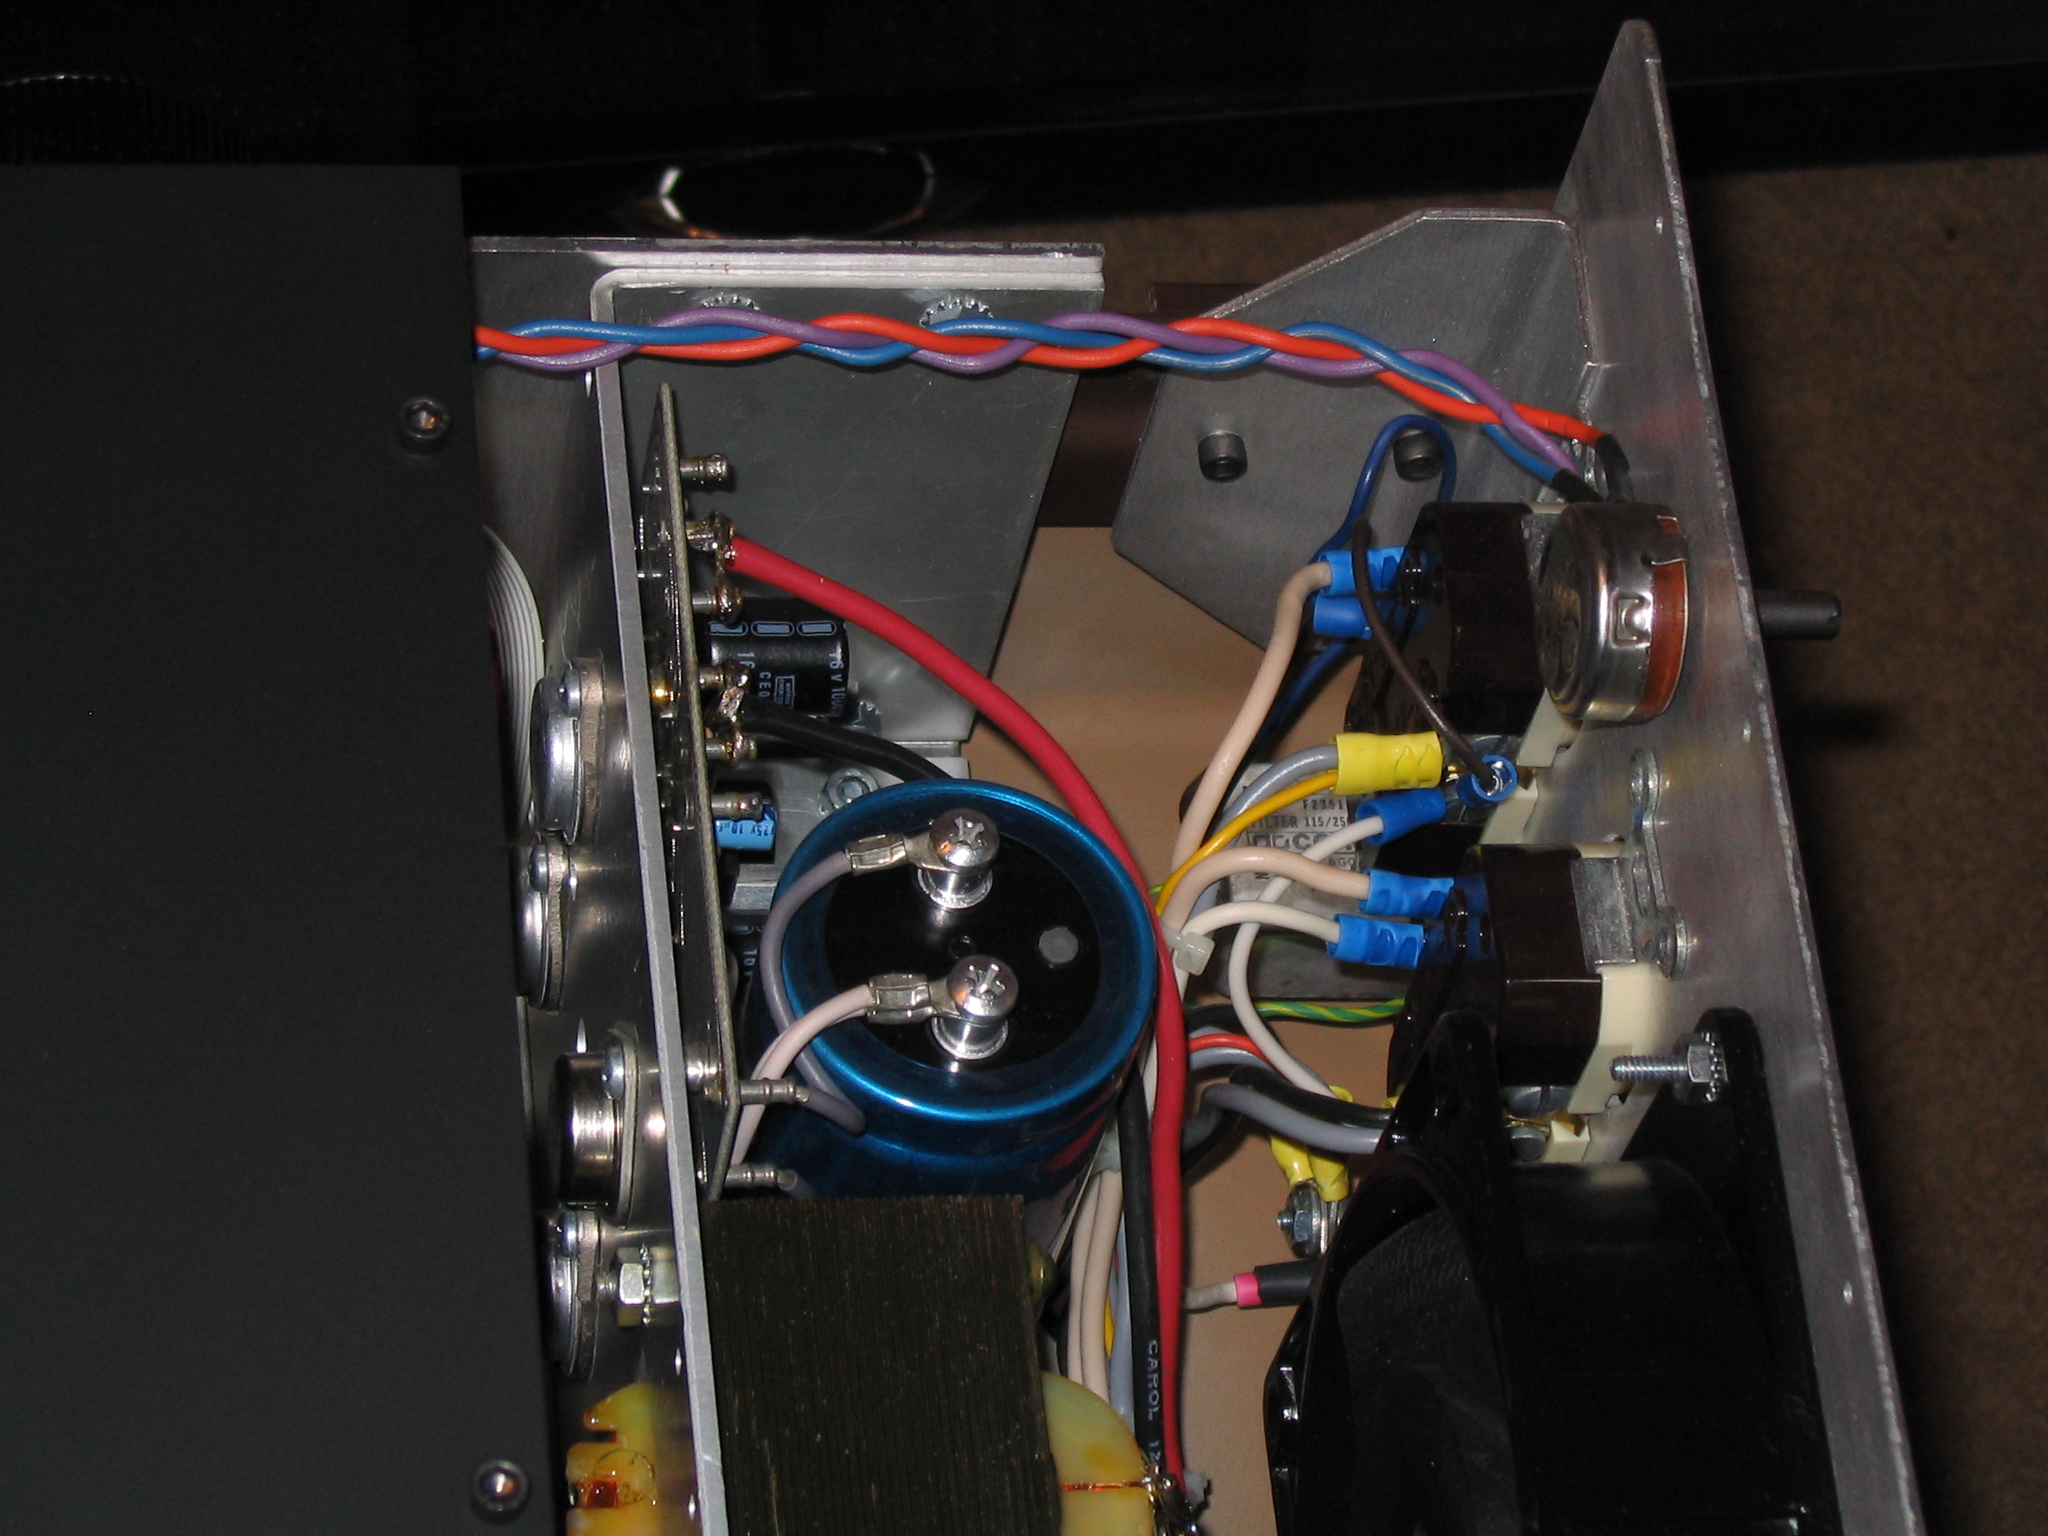
Photos Prior to Restoration
|
|
|
|
|
|
|
|
|
|
|
|
|
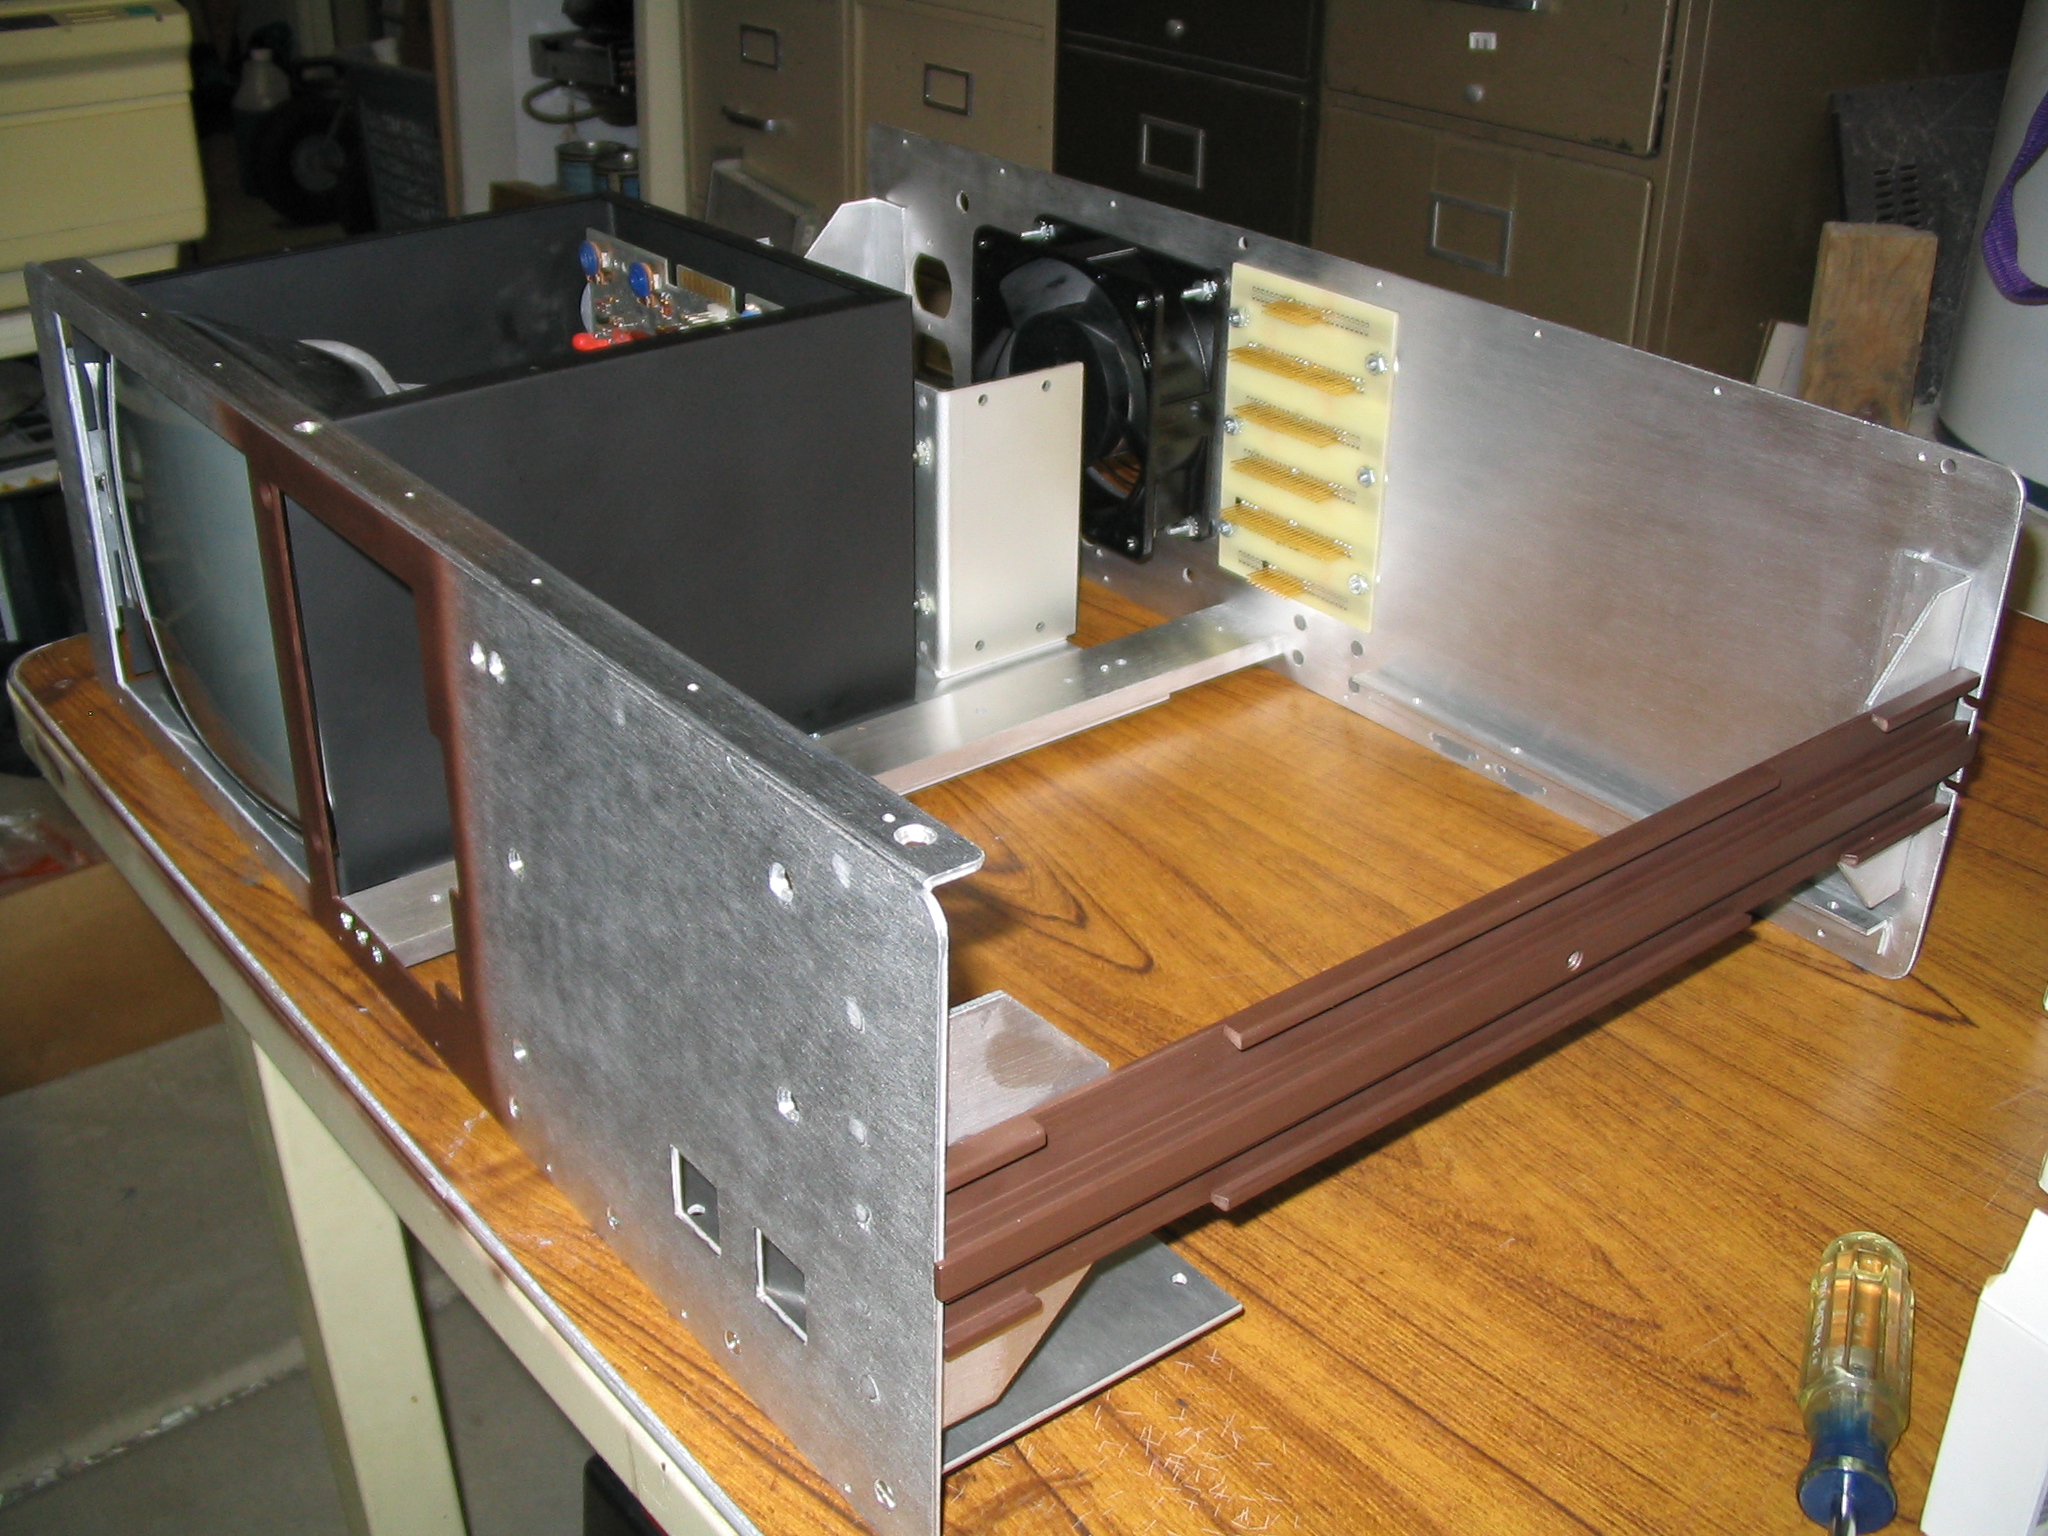
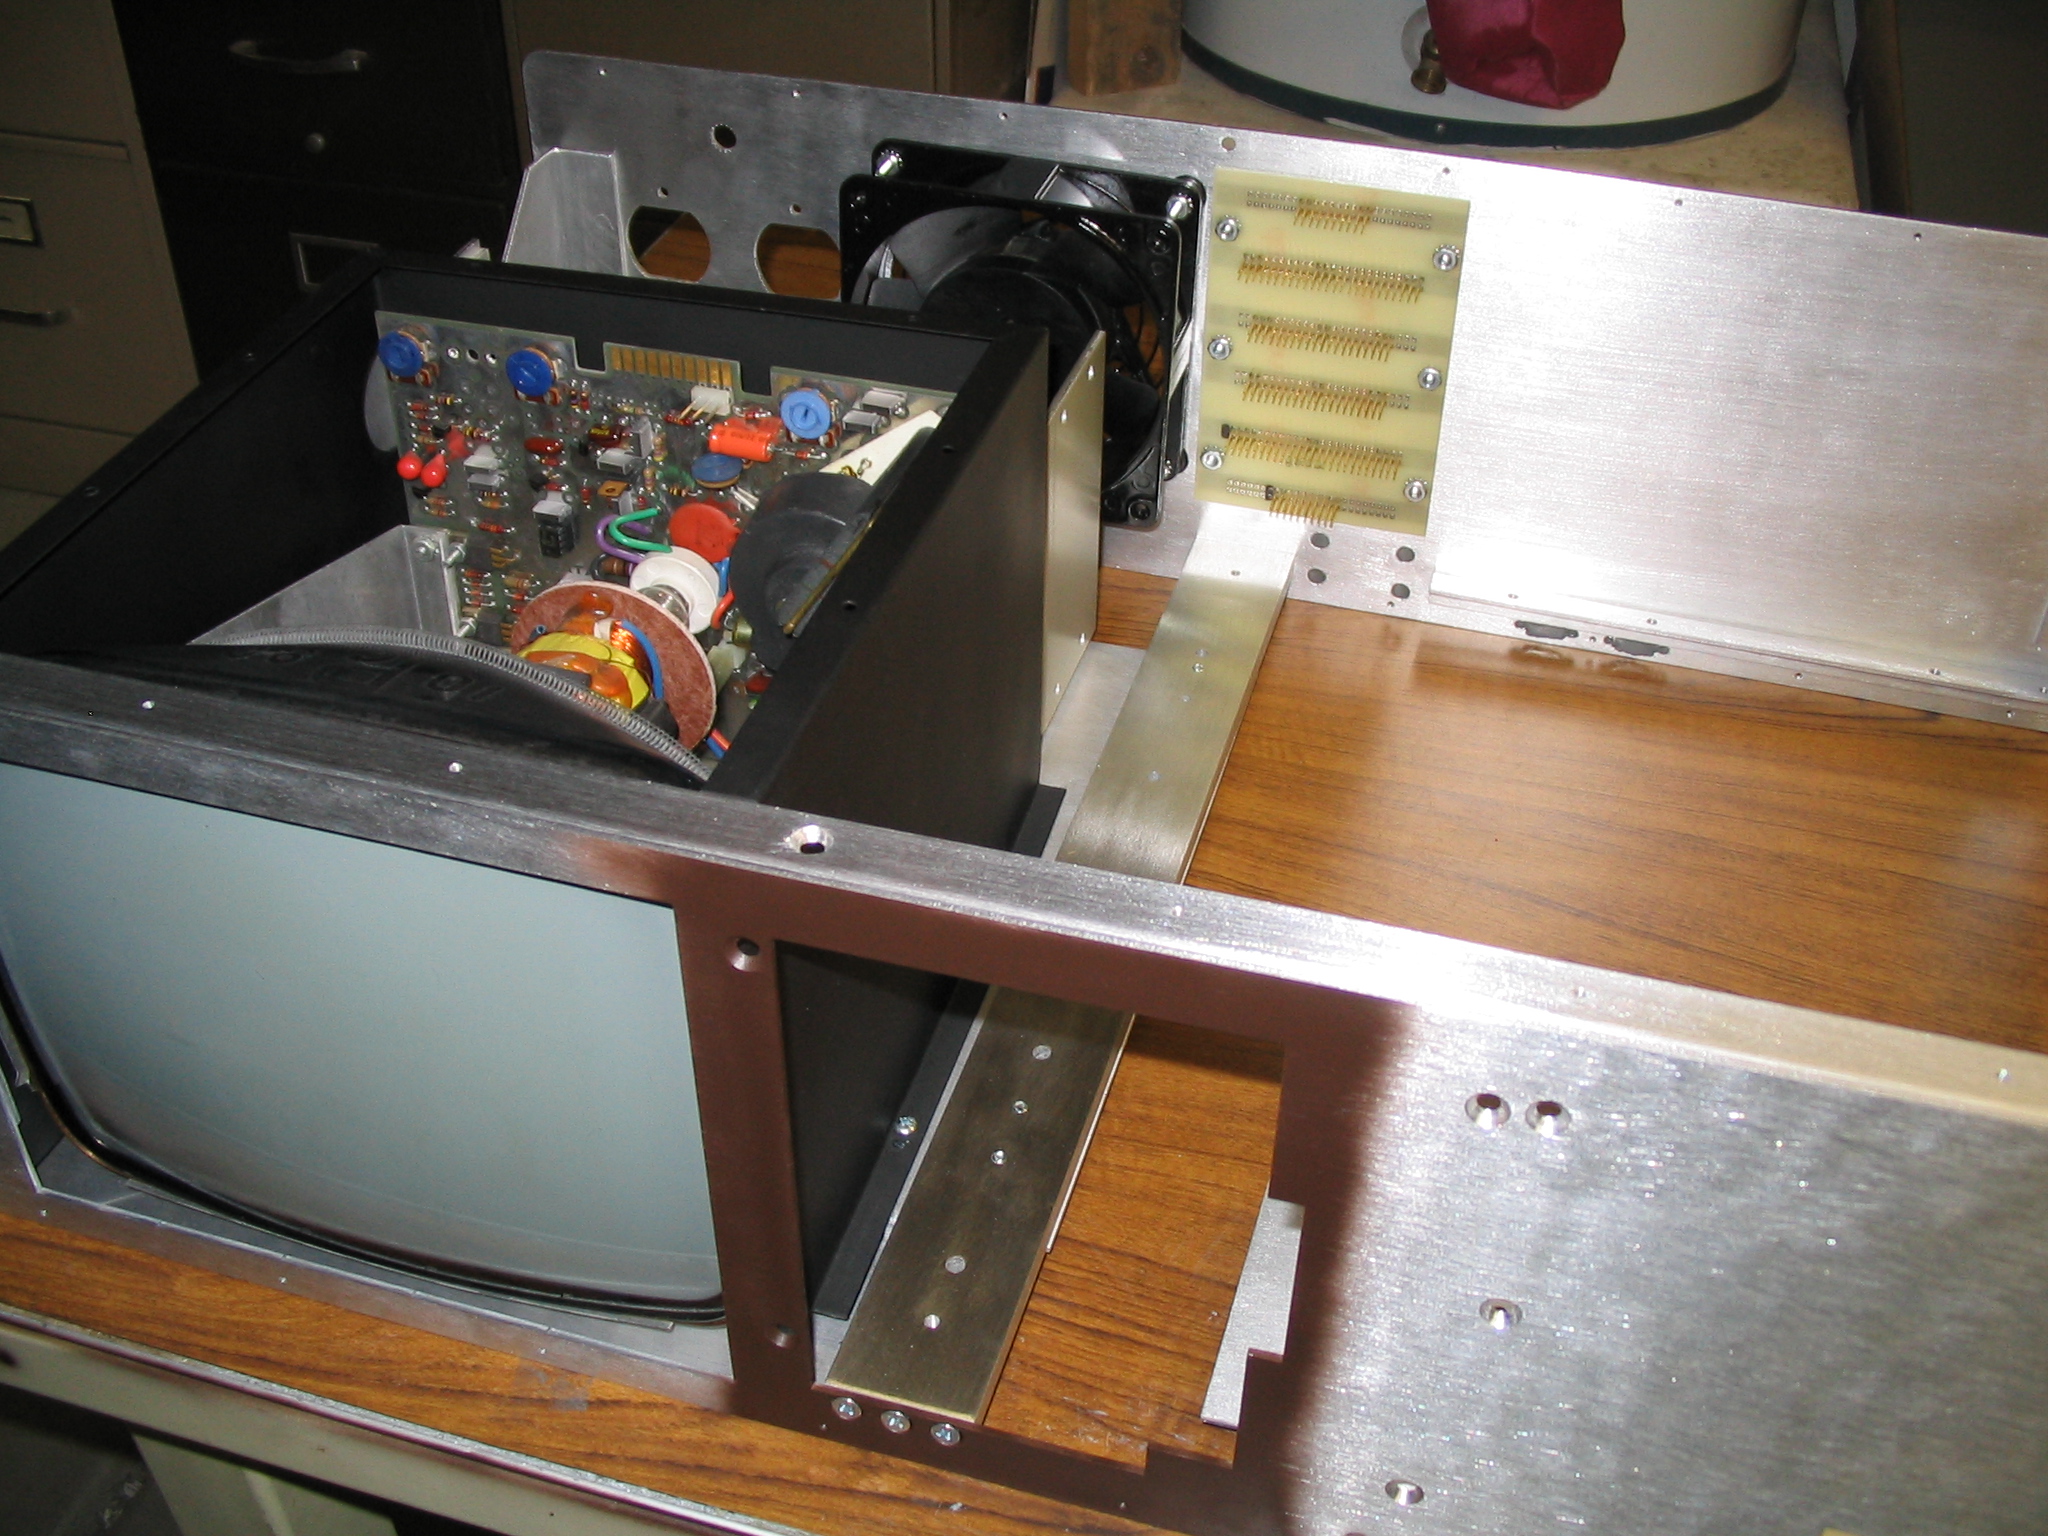
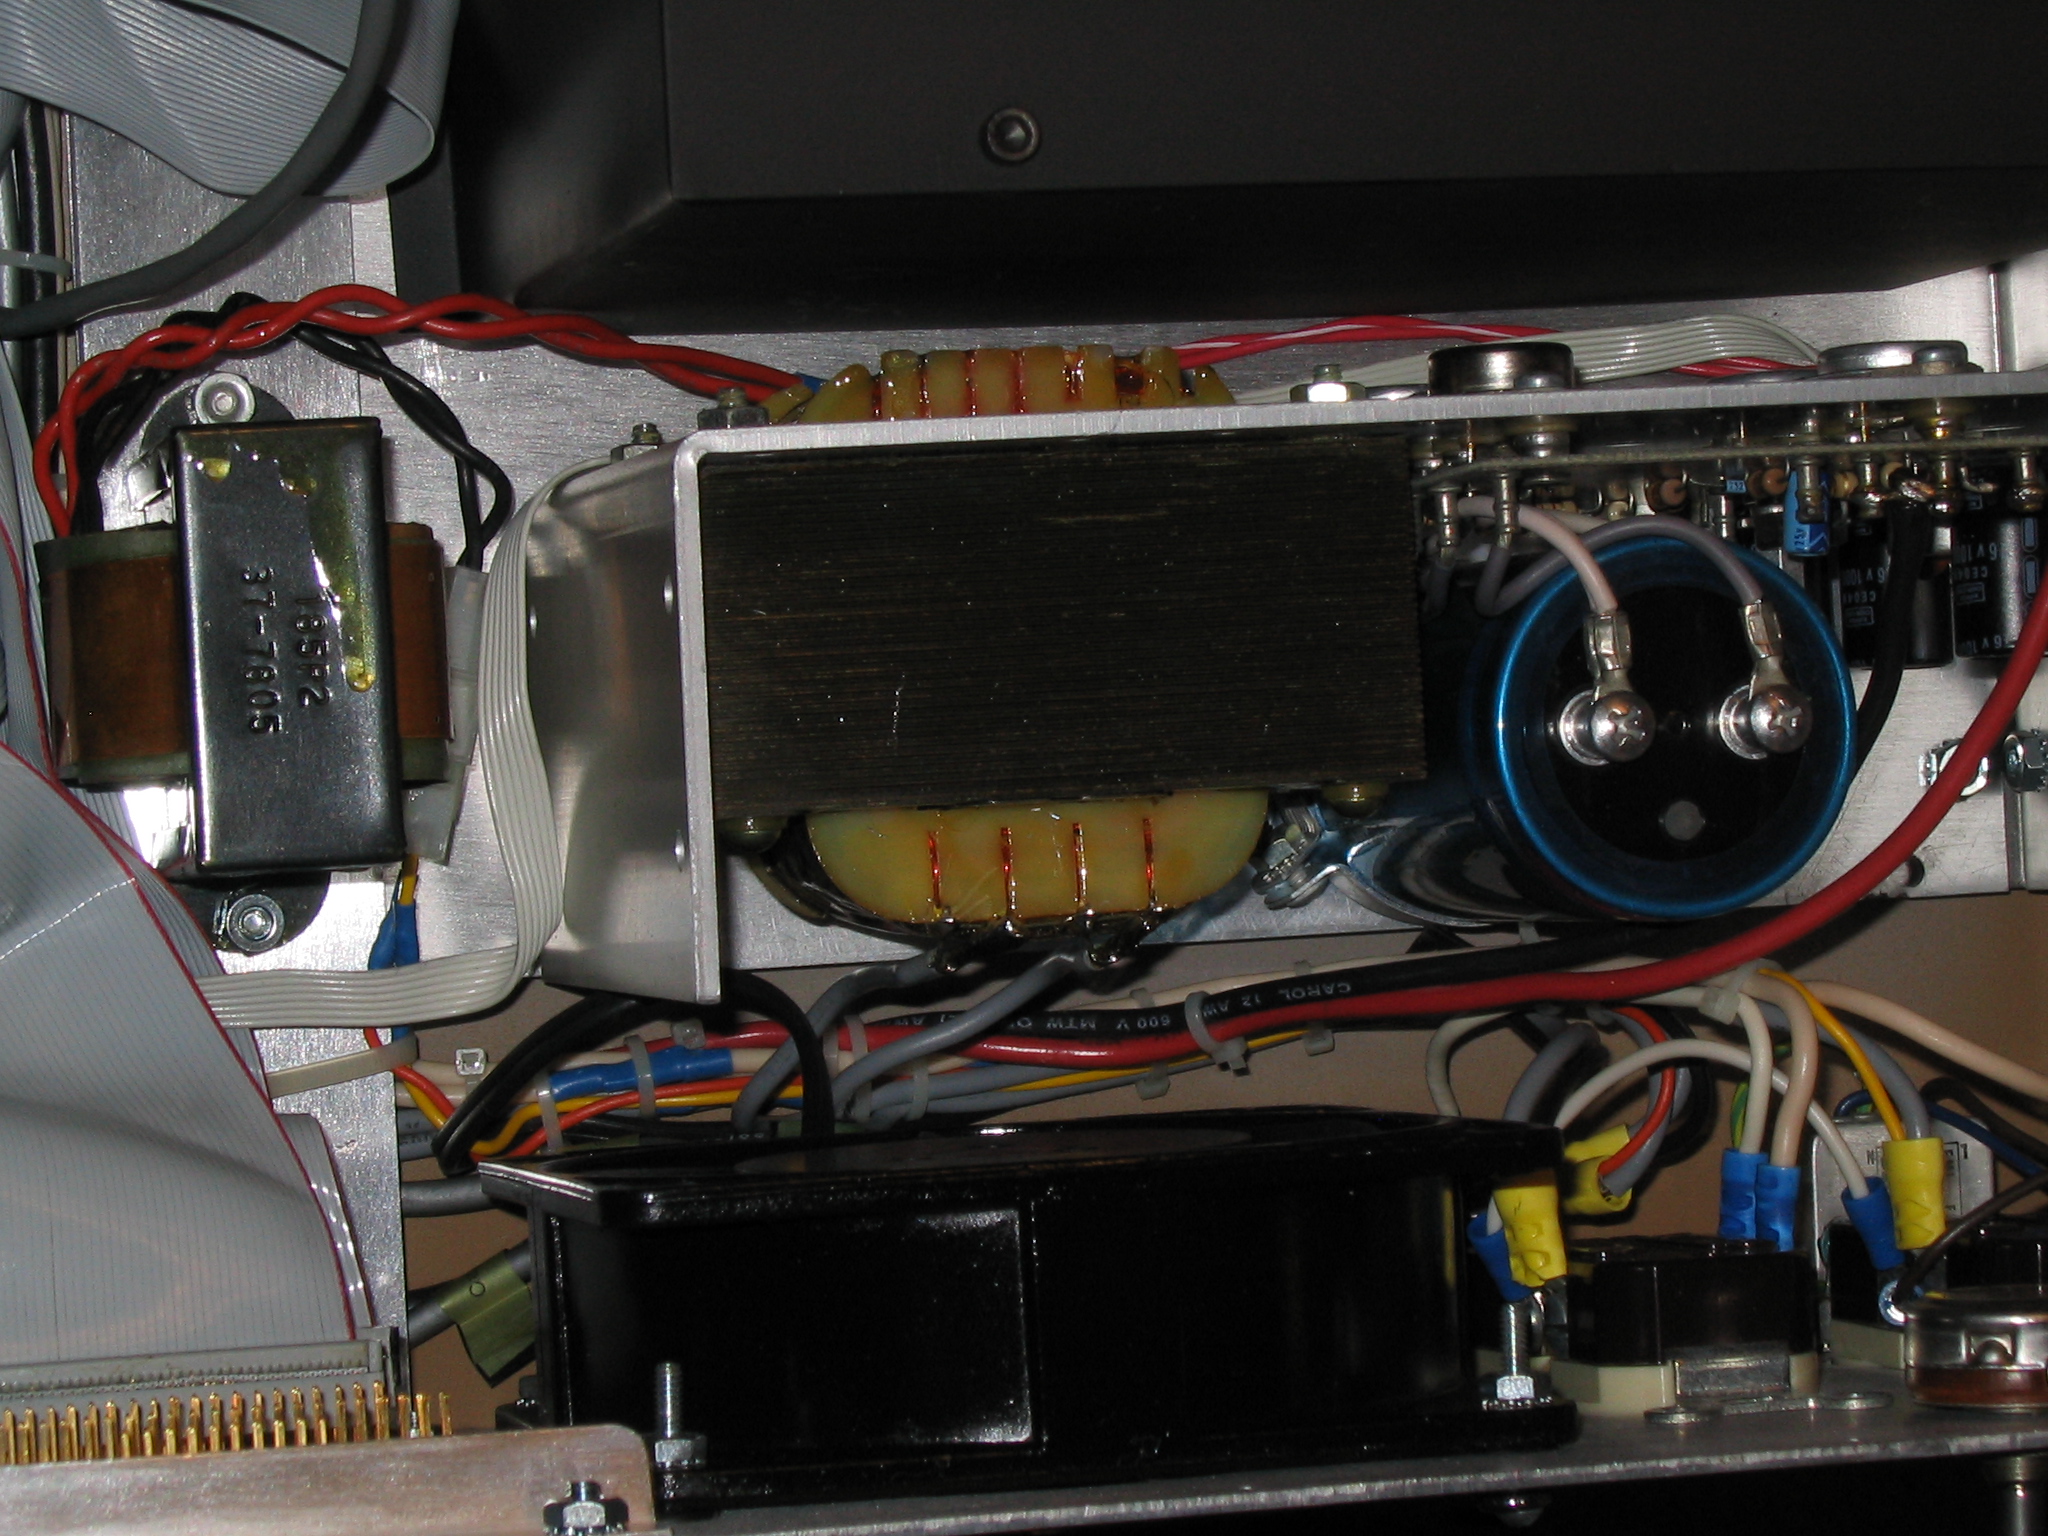
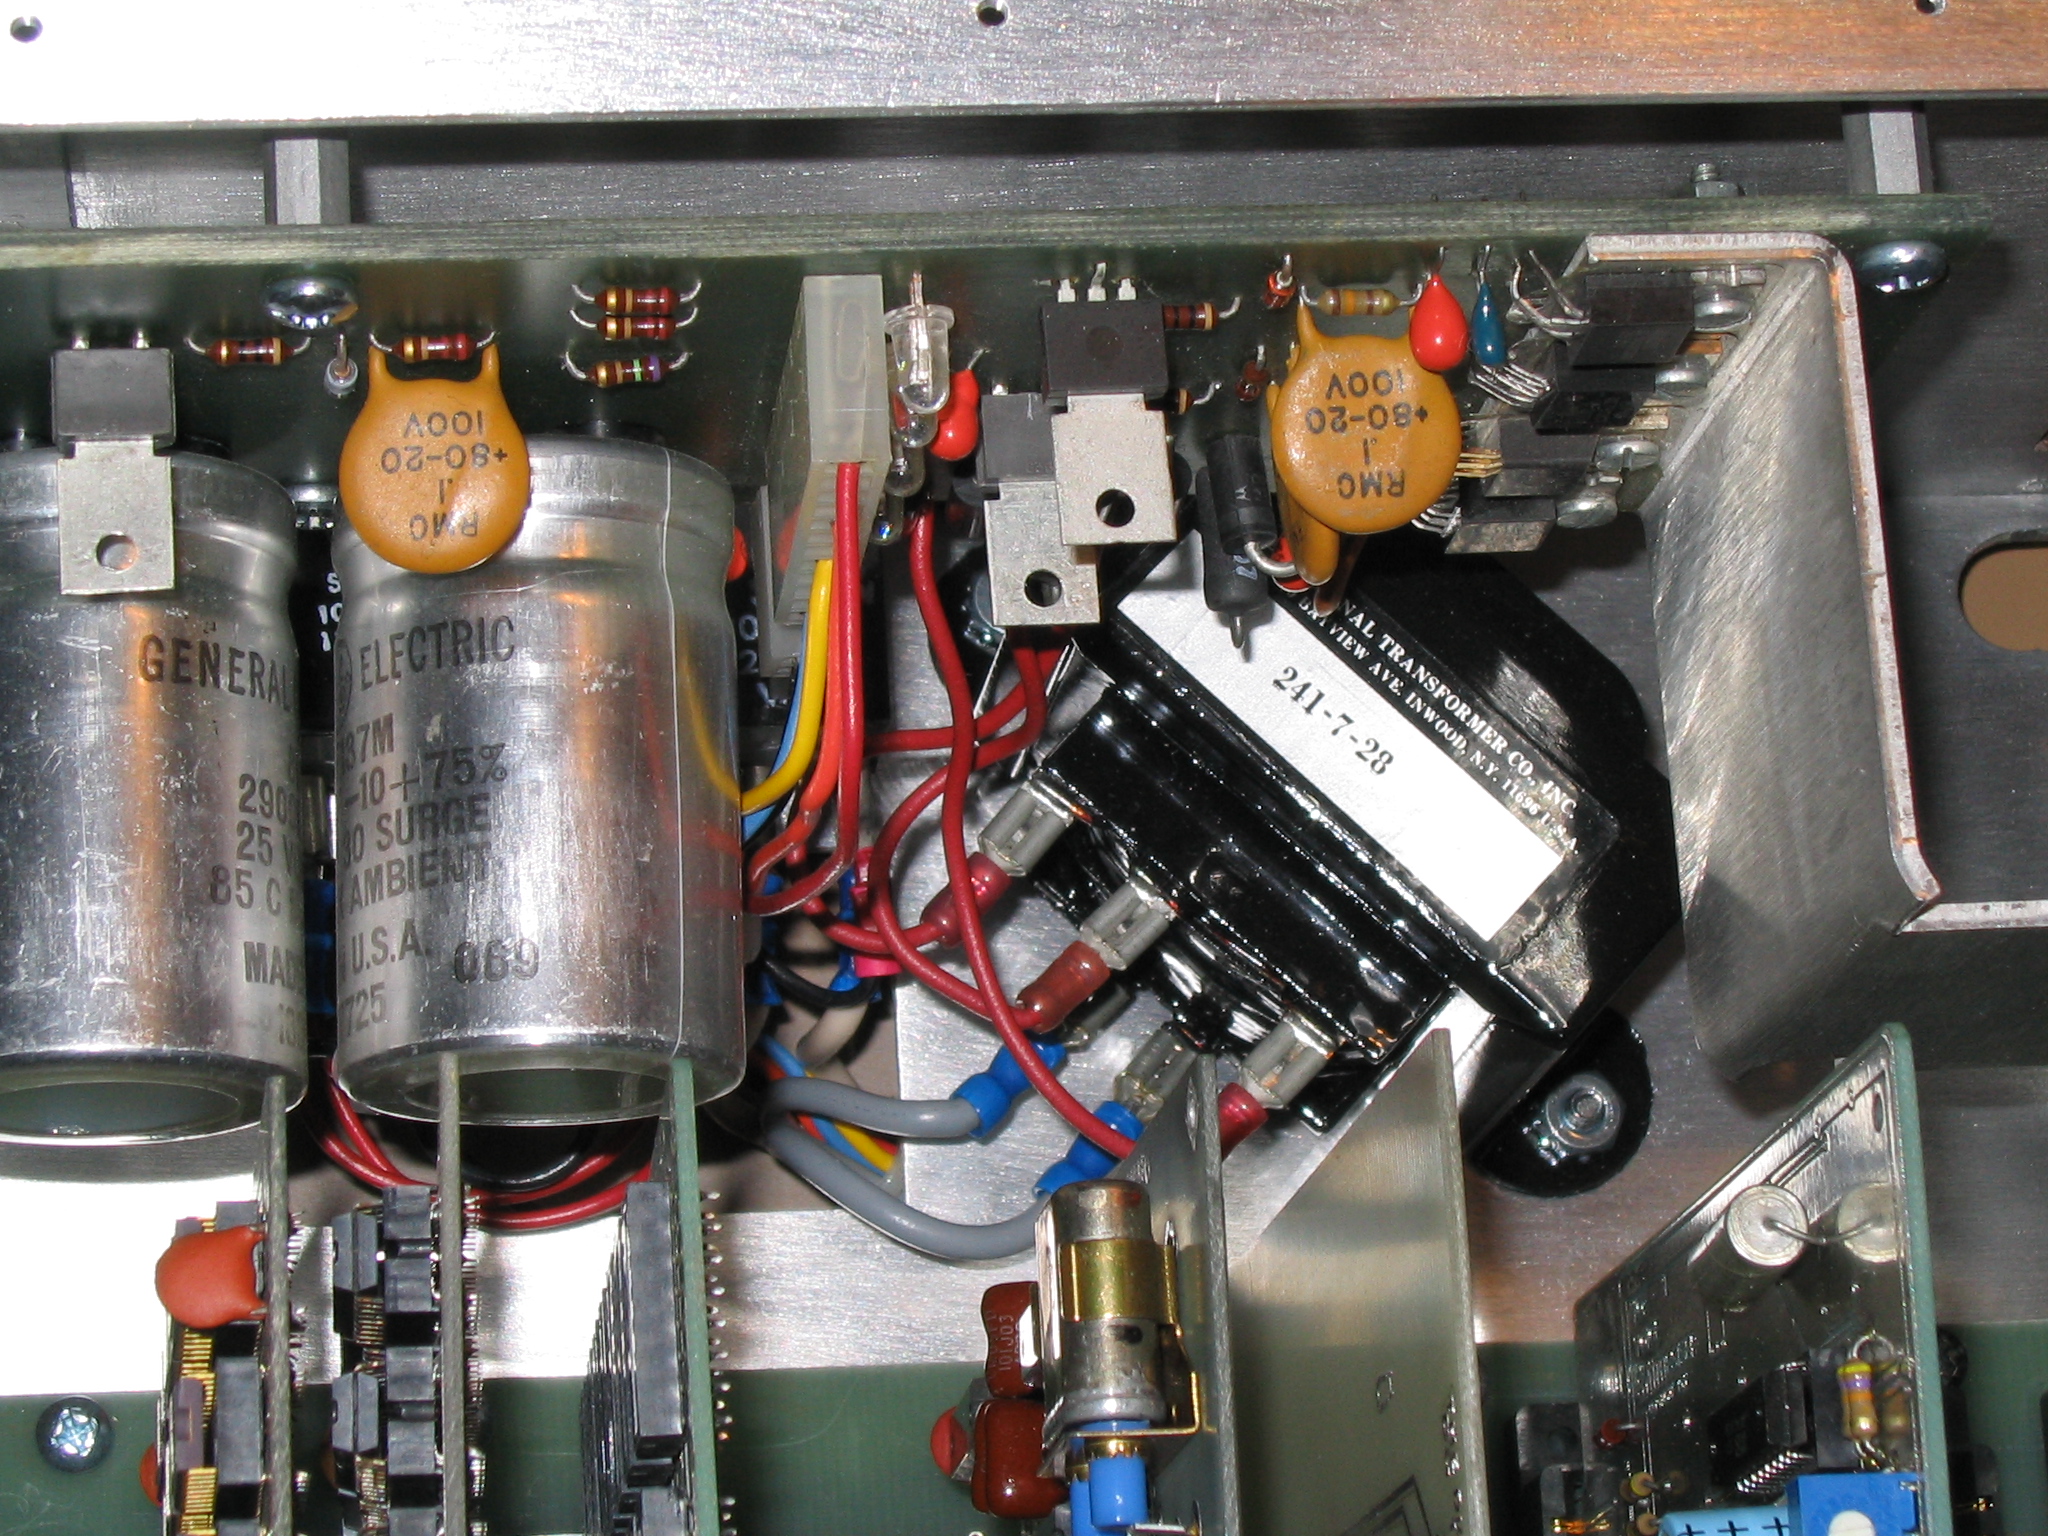
Restoration
Over the next few months I disassembled the machine
completely and performed my famous anal-retentive cleaning job on
it... My goal was to return the machine to original condition.
Basically, this was a full restoration operation, every part was
disassembled, repaired as needed, cleaned and touched up. None of the
original cabinet paint was altered.
Restoration was fairly straightforward. Documentation
was not available for this machine, so it was important to create some
before digging in too far. I drew several diagrams and schematics, and
traced out the I/O lines and etc. Mostly though, I took pictures. For
some reason, I always forget to write something important down, but
with pictures, I can usually go back and check.
|
|
|
|
|
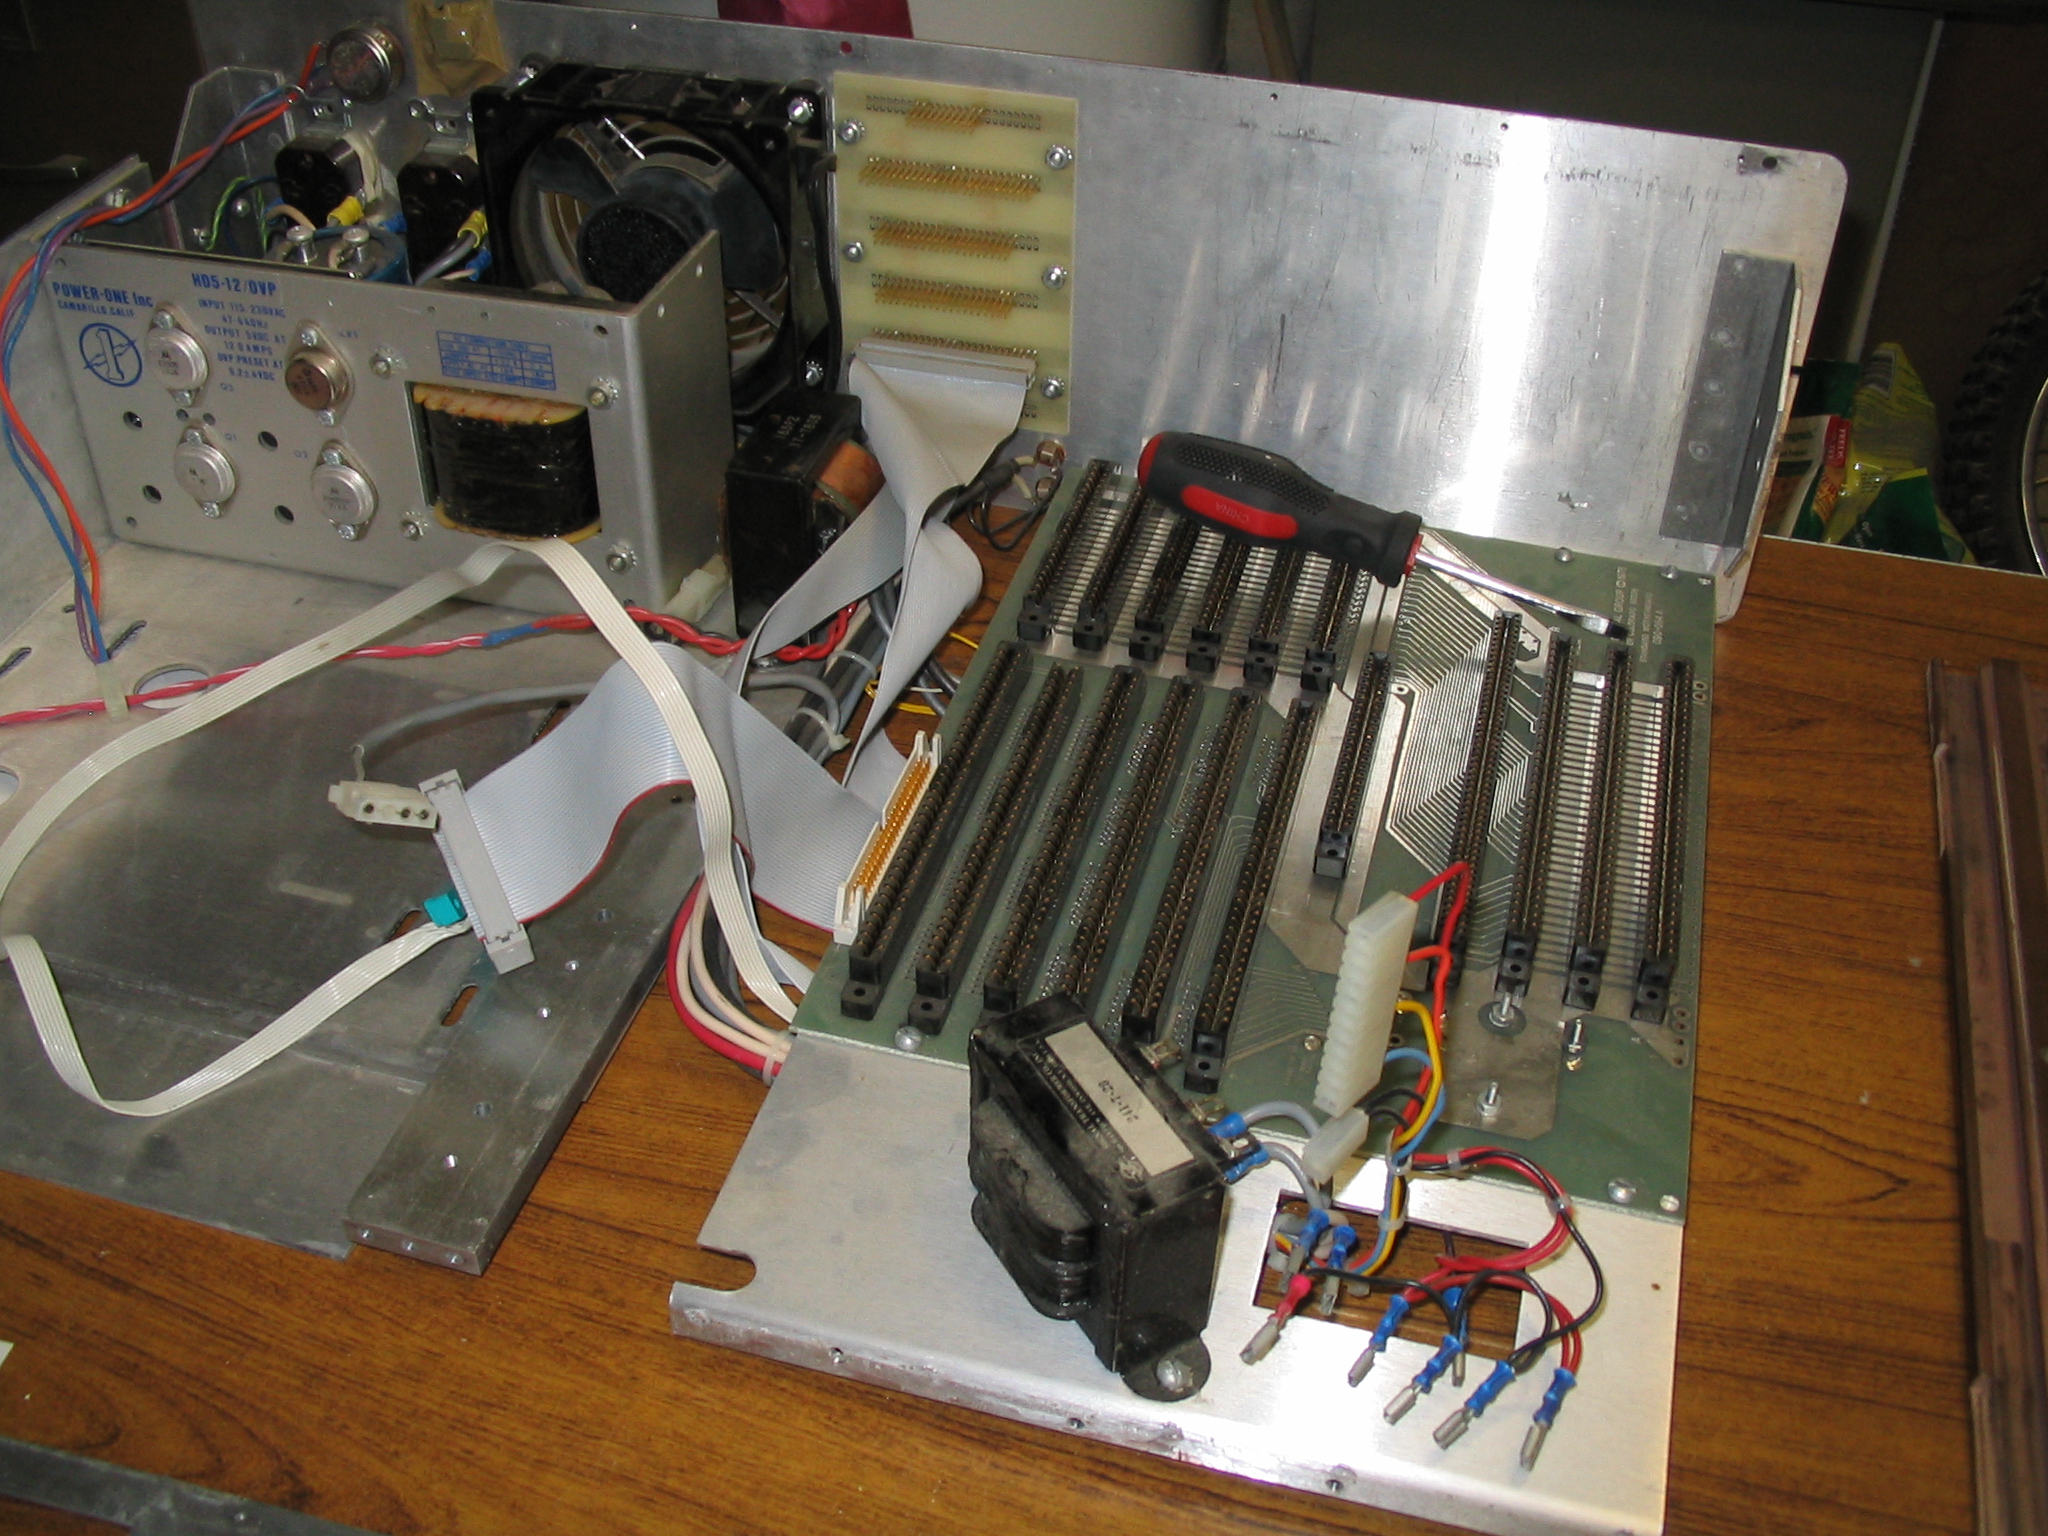
Teardown & Cleaning
After documentation, the next step is the teardown. I
pull everything apart and set it all aside. After the entire machine
is disassembled, I begin the cleaning process. Everything gets washed
and dried, metal parts are buffed, polished, or brushed. Paint is
touched up where needed. Soldered connections are inspected and
cleaned up as needed. Even the wiring is cleaned for reuse wherever
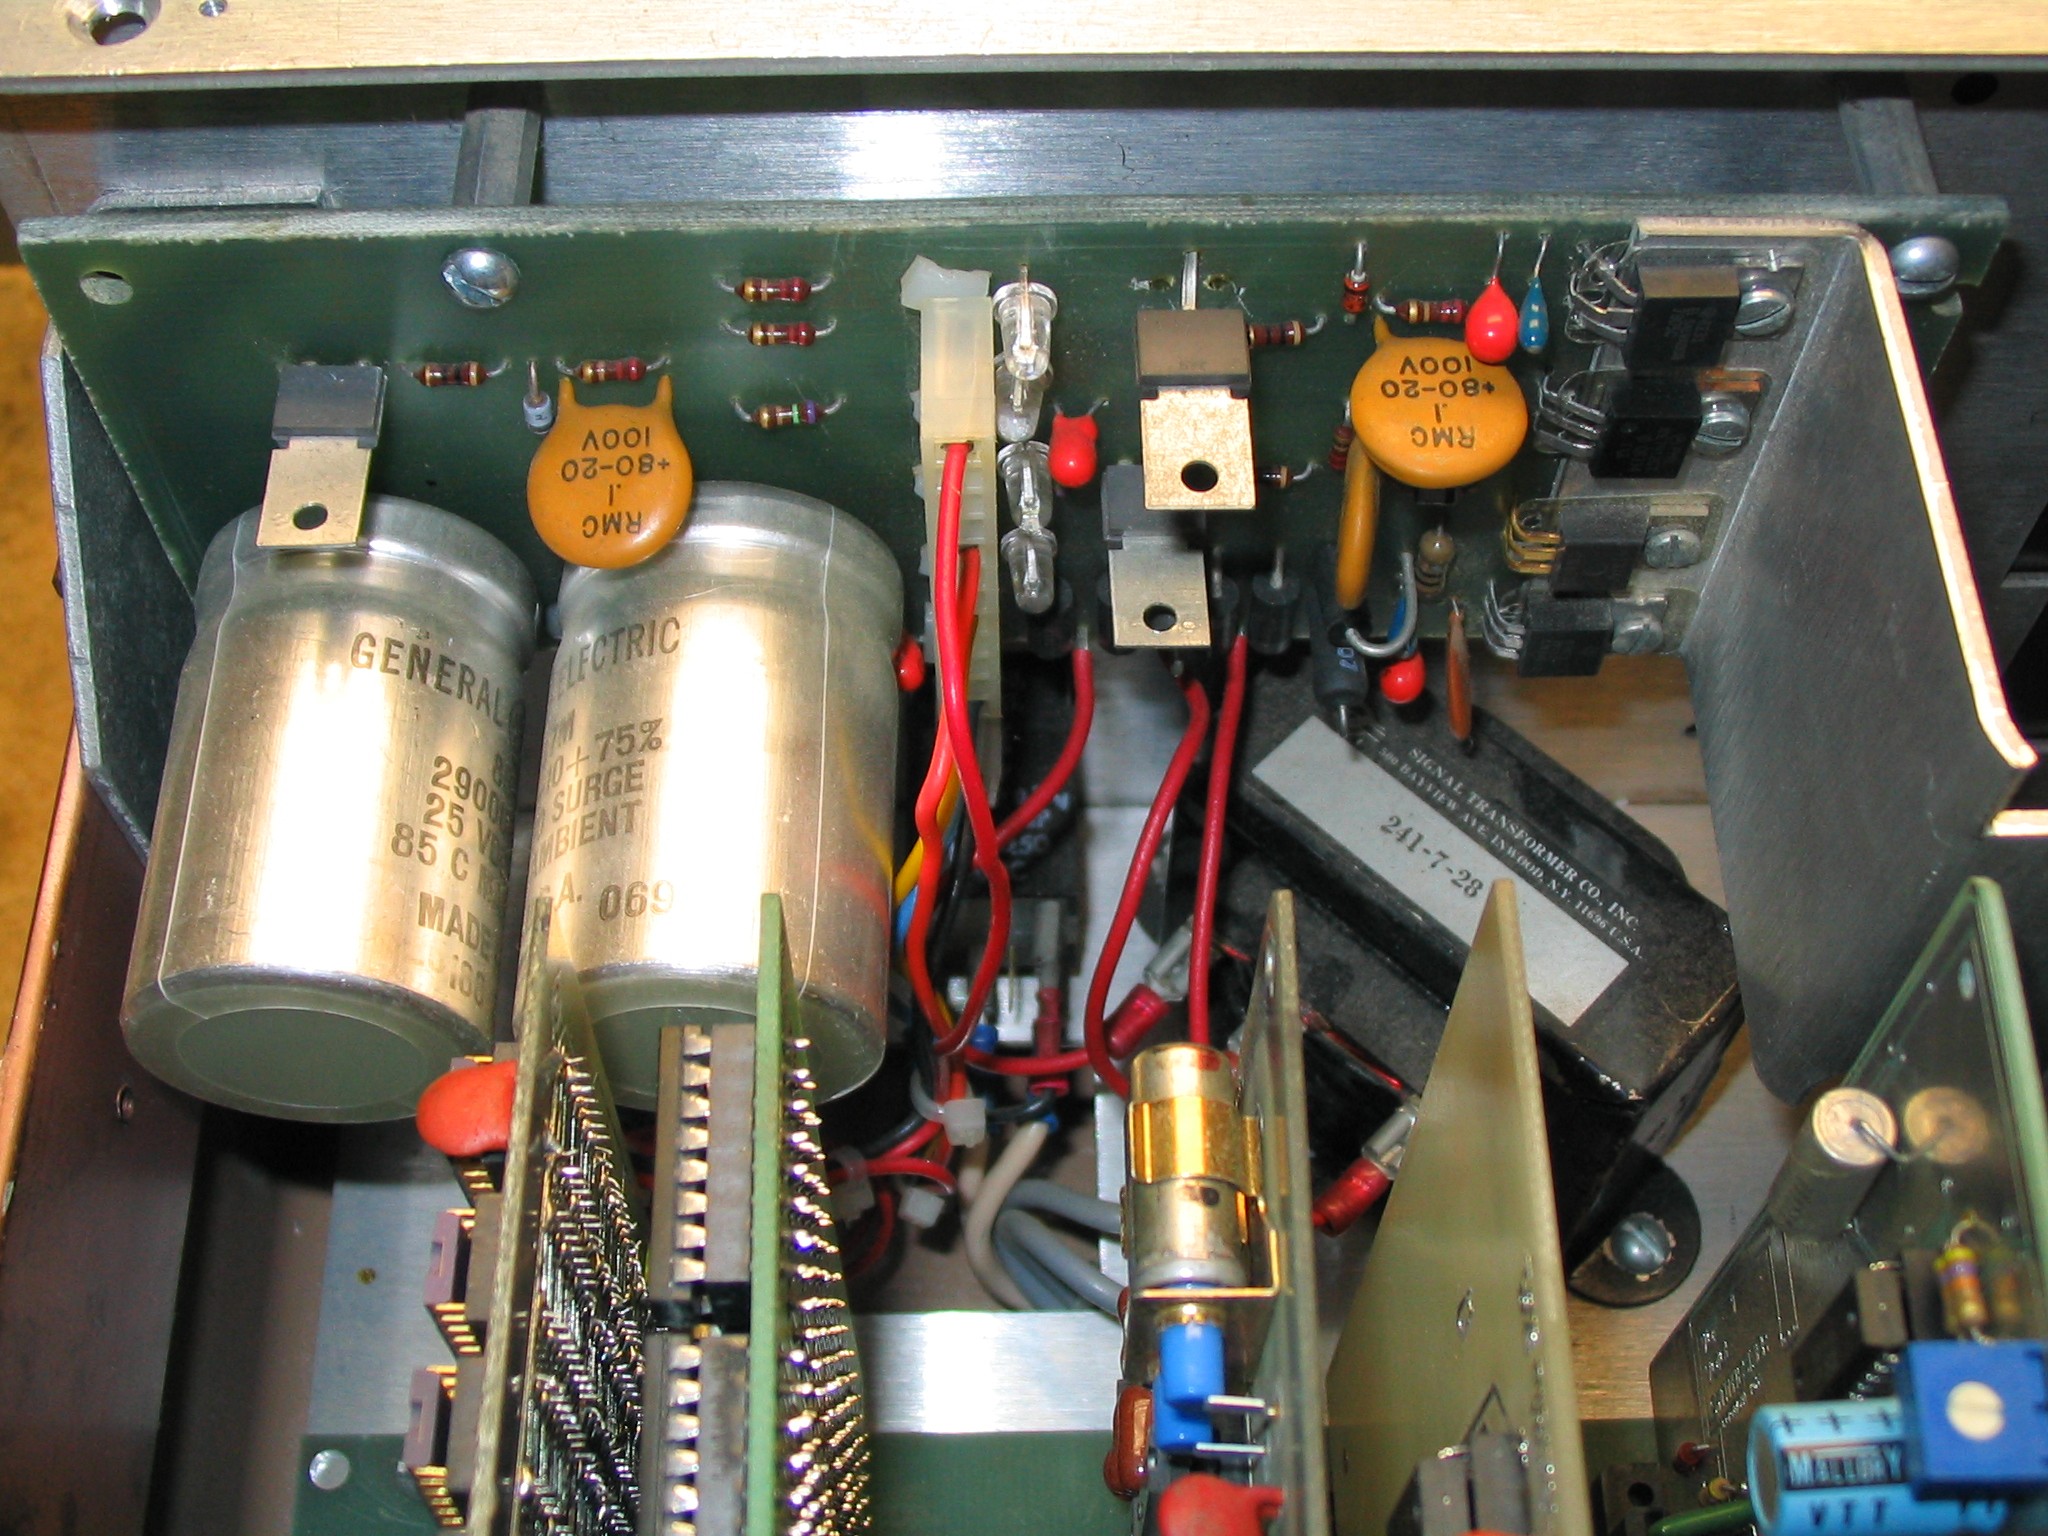
possible. I also disassemble, clean, repair, and pretty-up the power
supplies. This is all very time consuming!
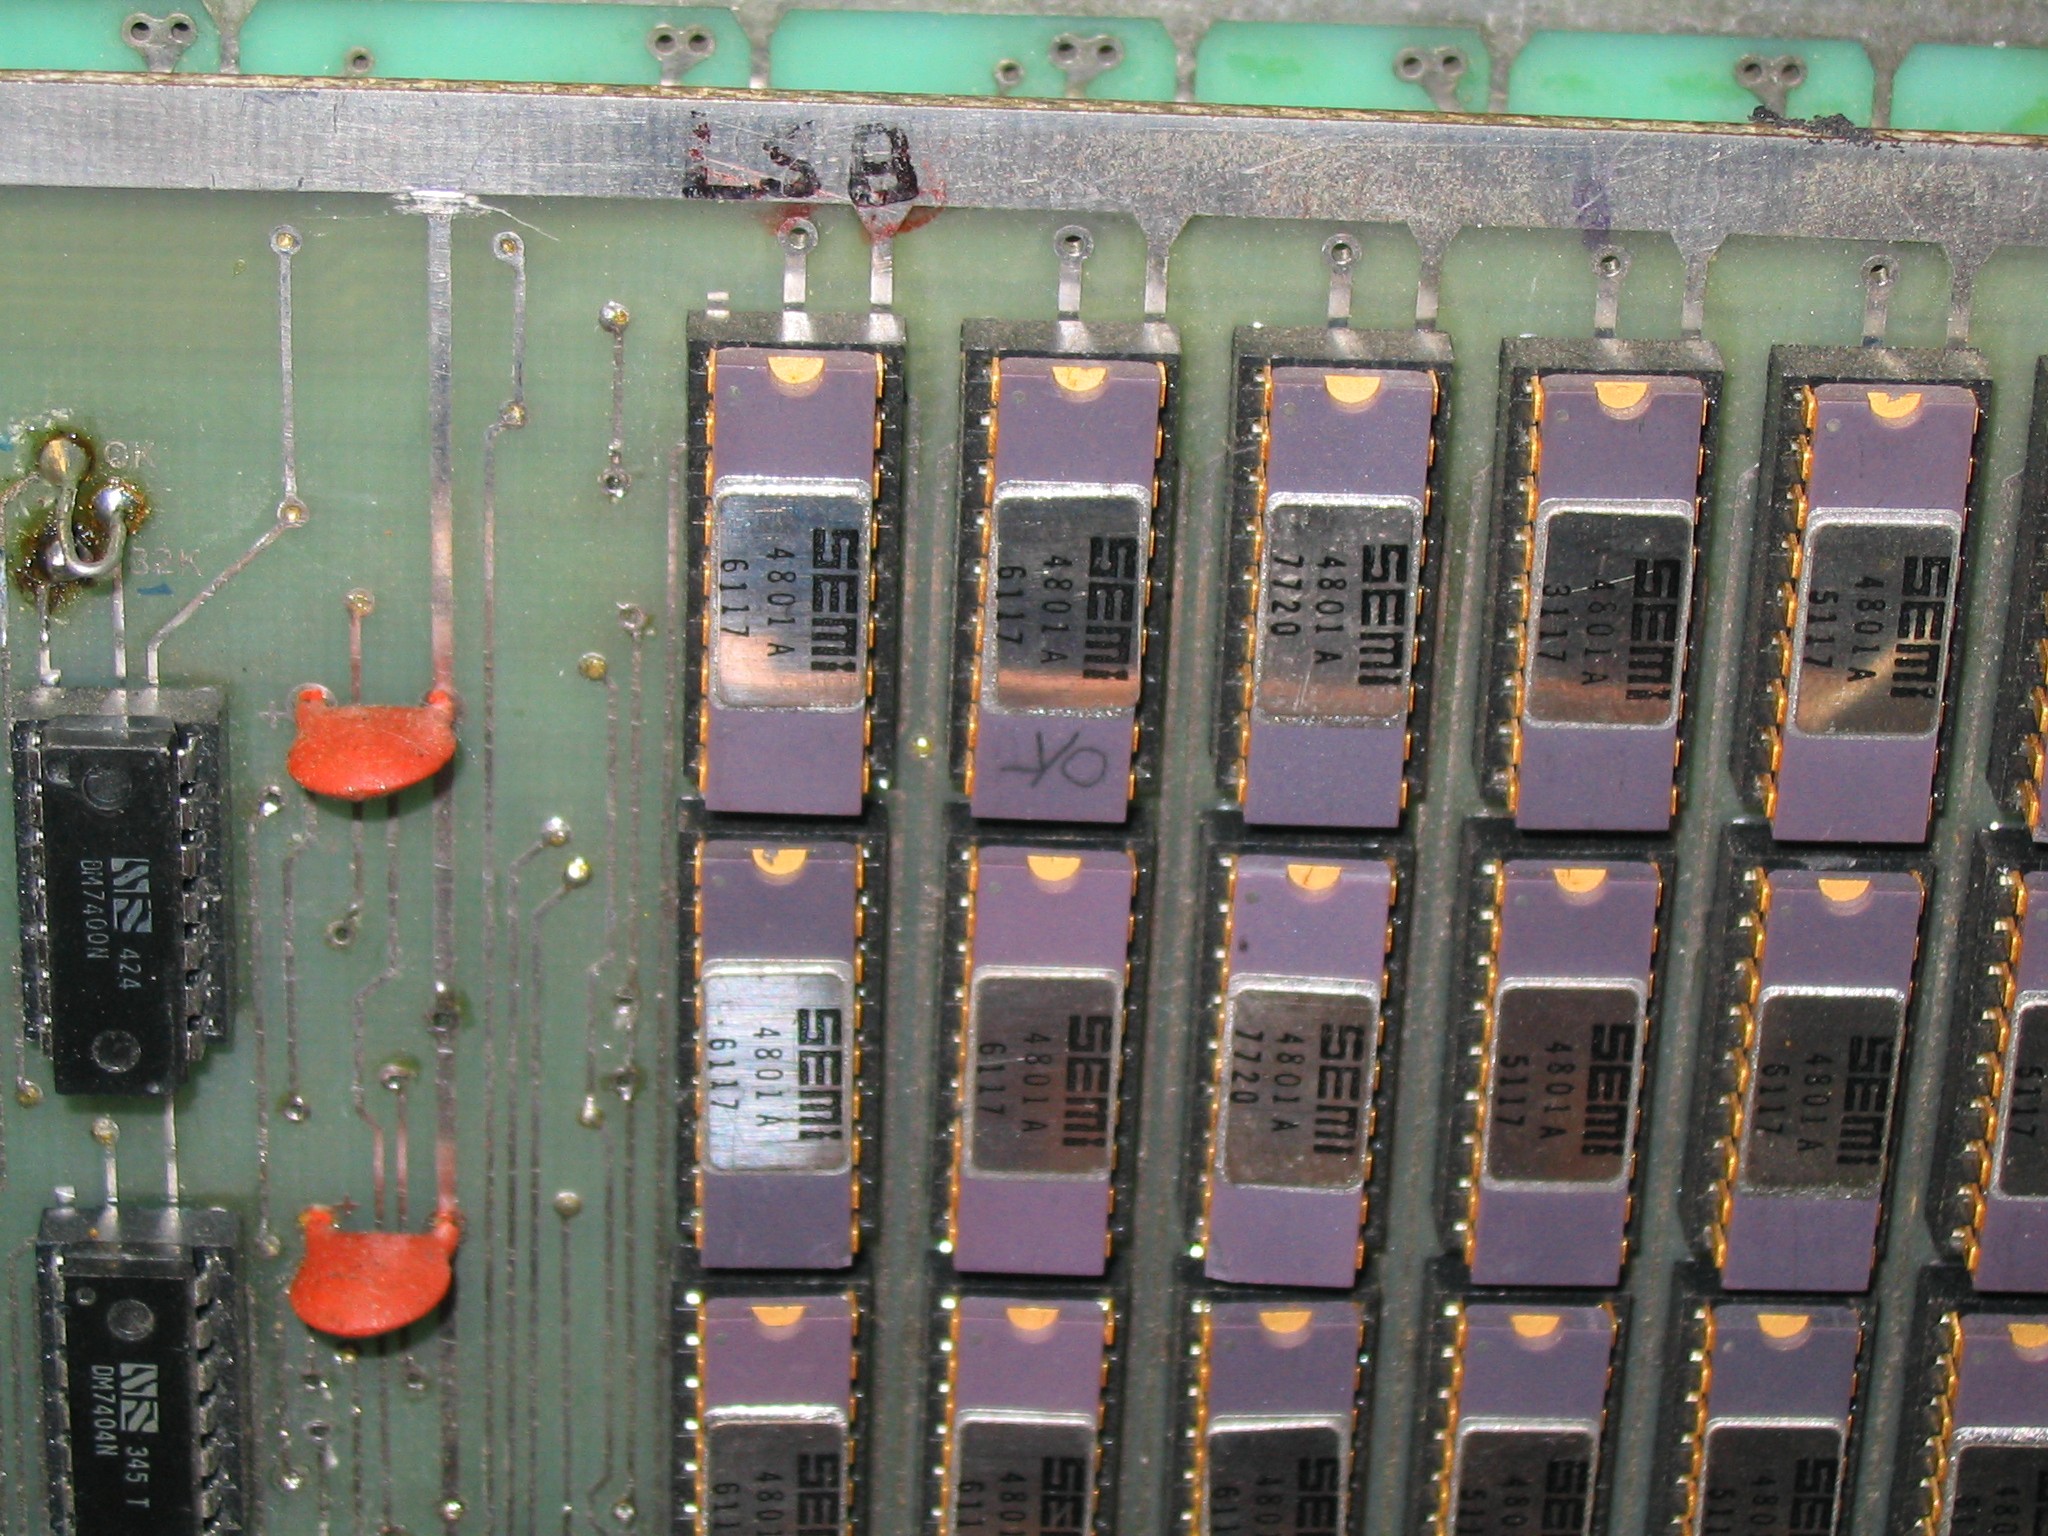
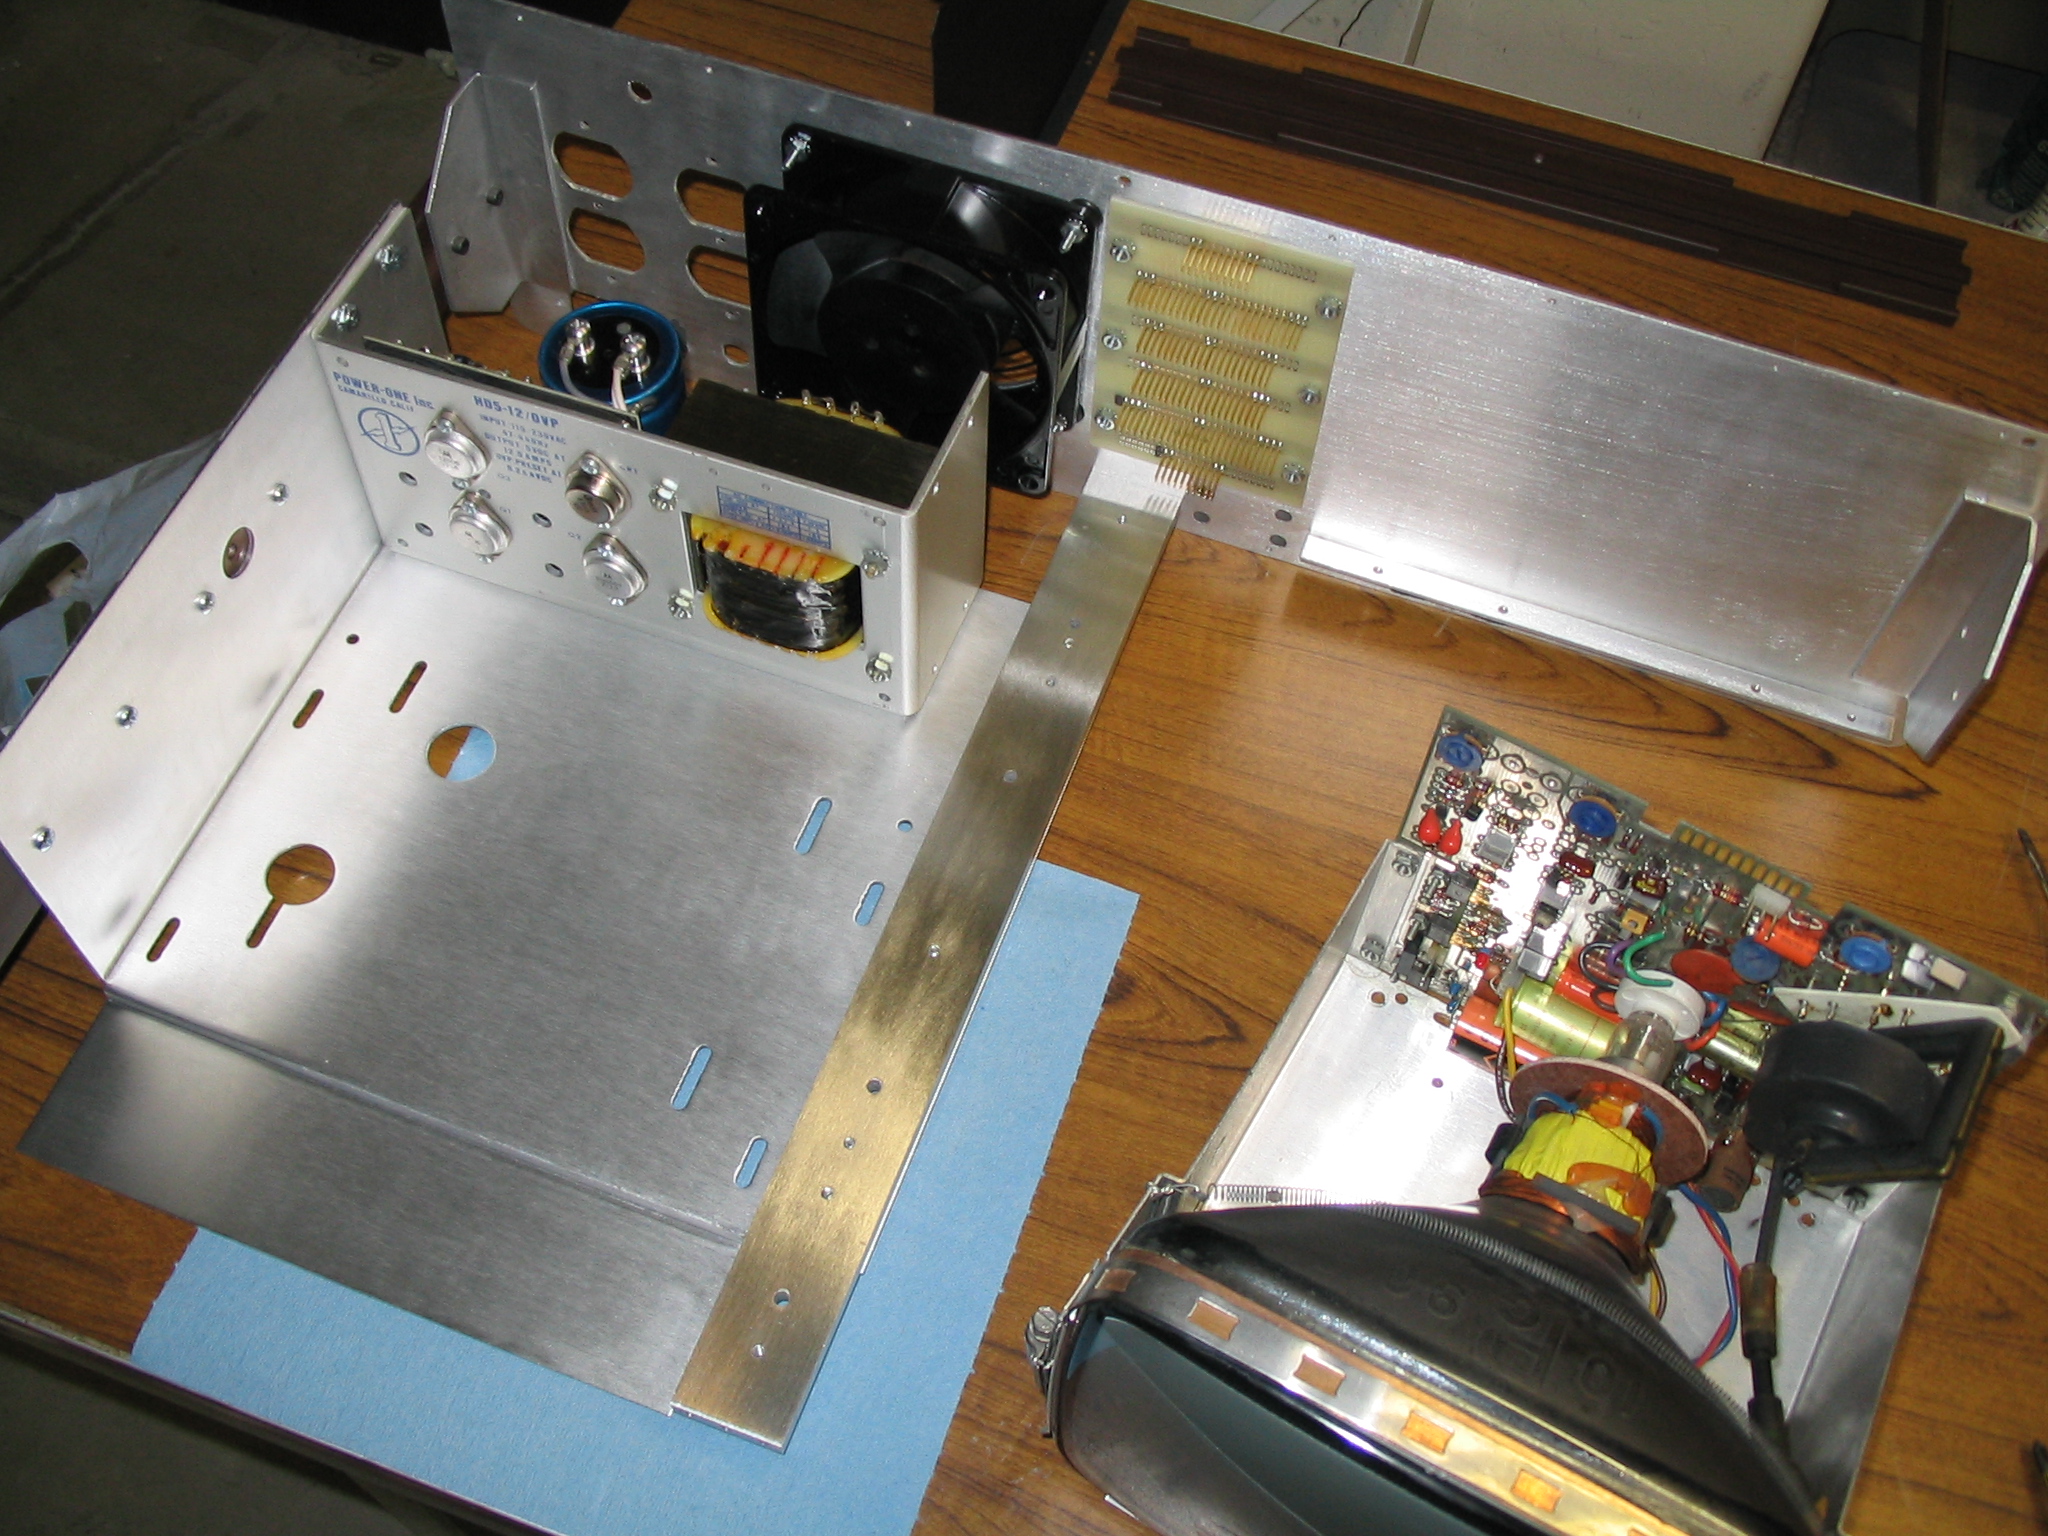
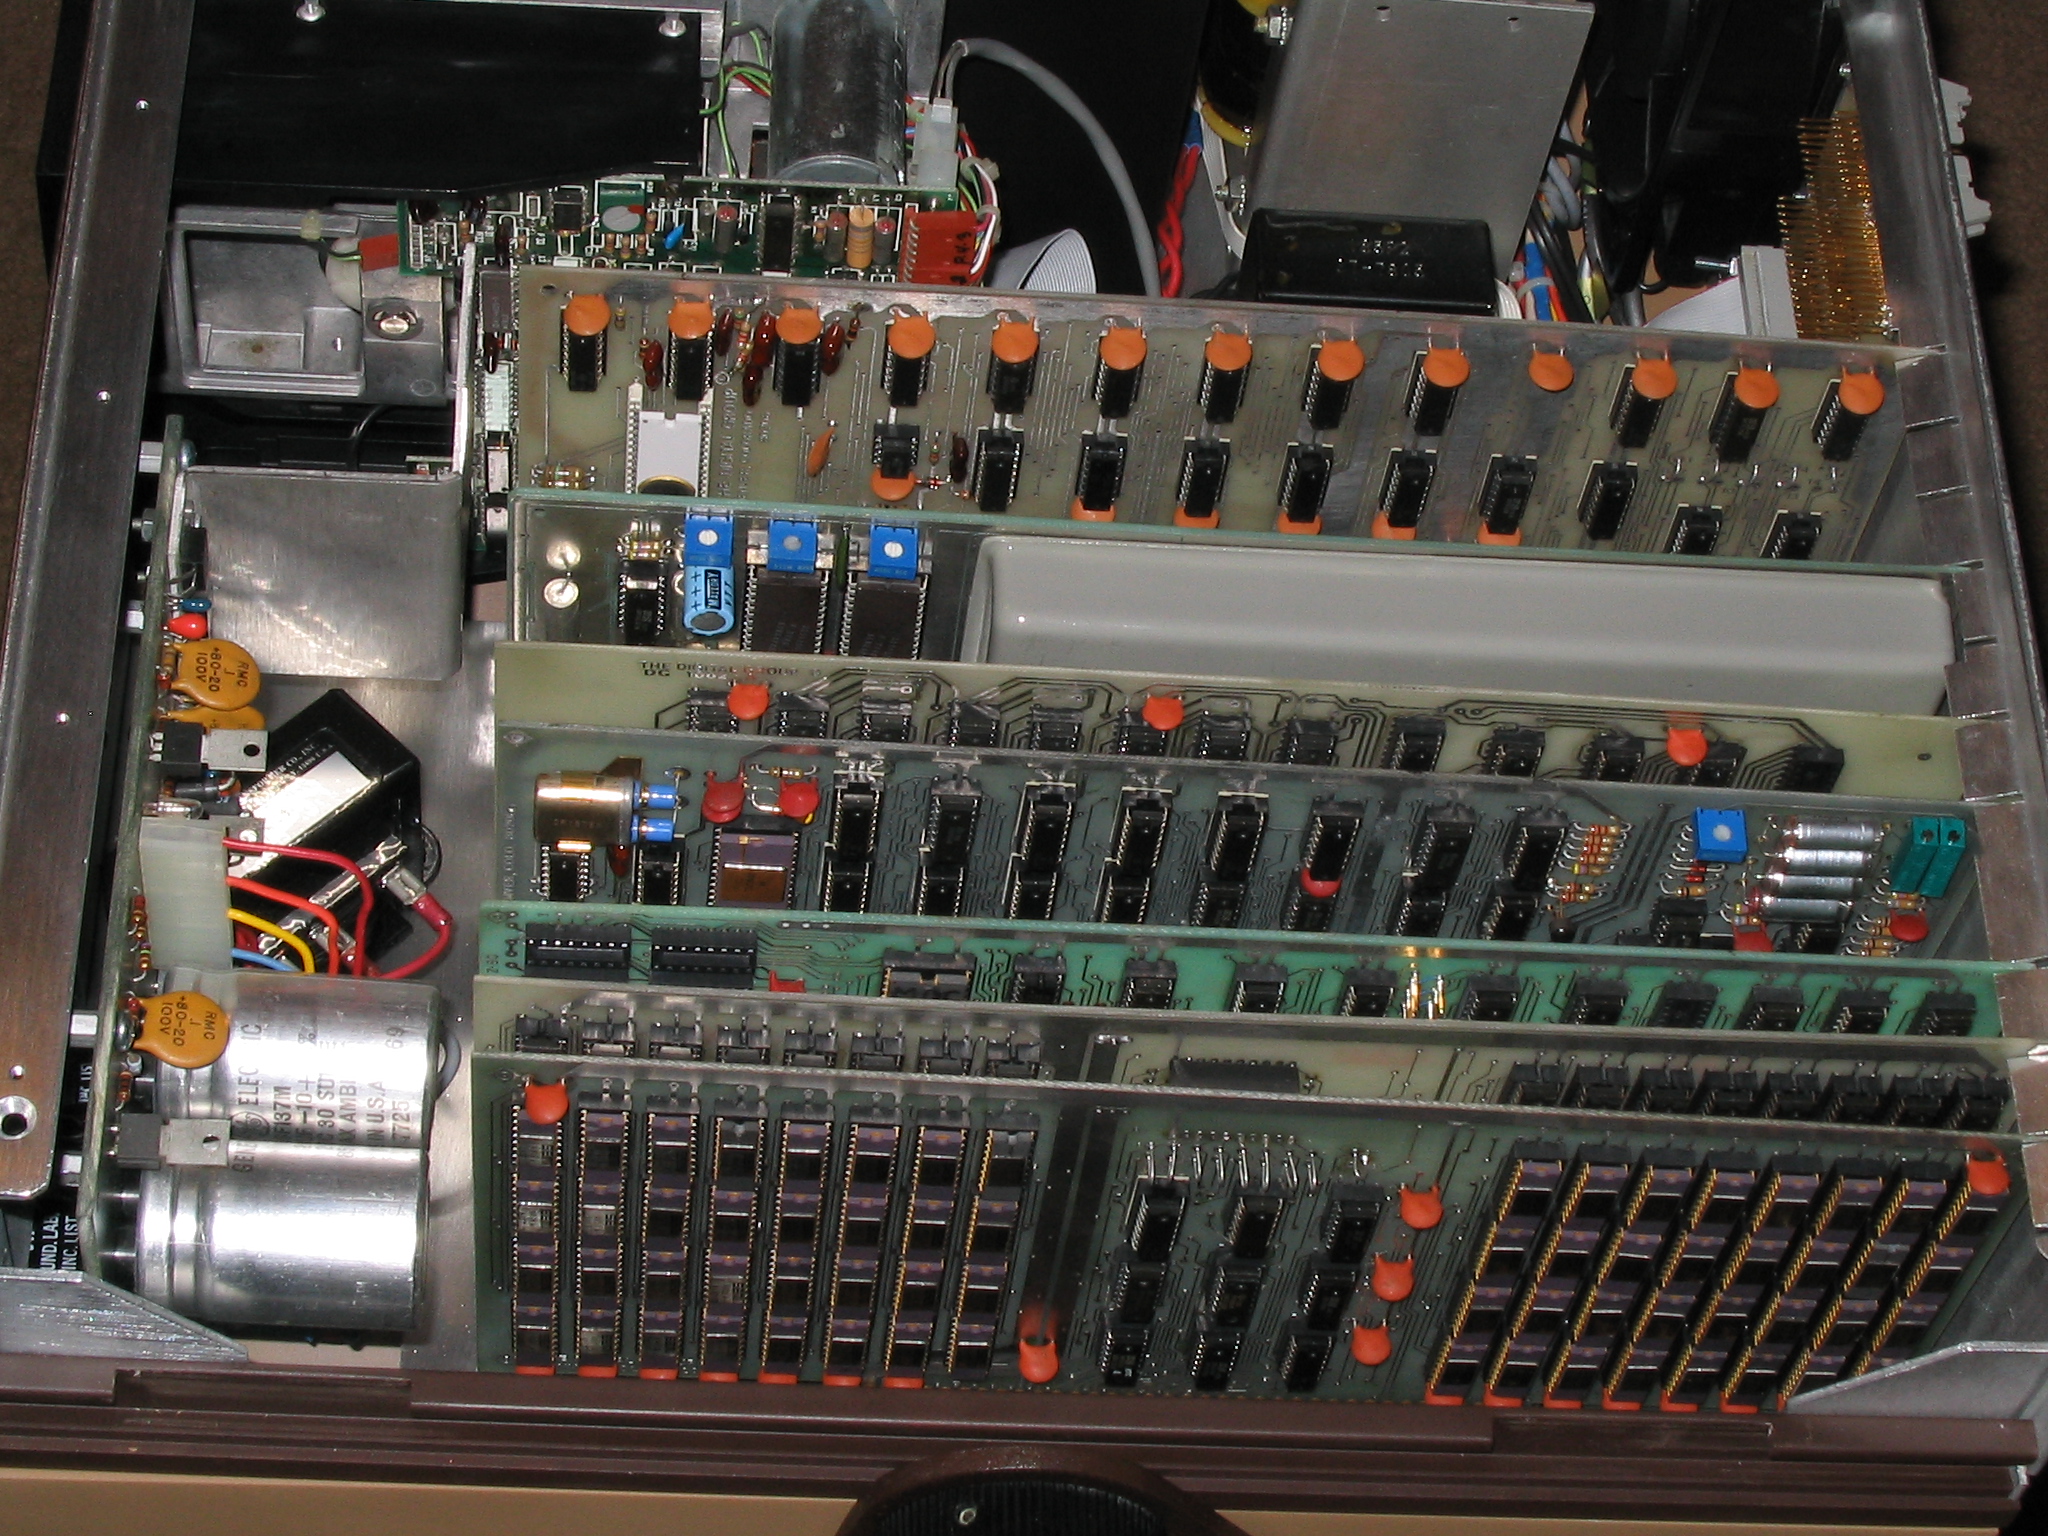
Next, I clean and repair all the circuit boards. The
boards of the Bytemaster were in good condition and required only a
good cleaning.
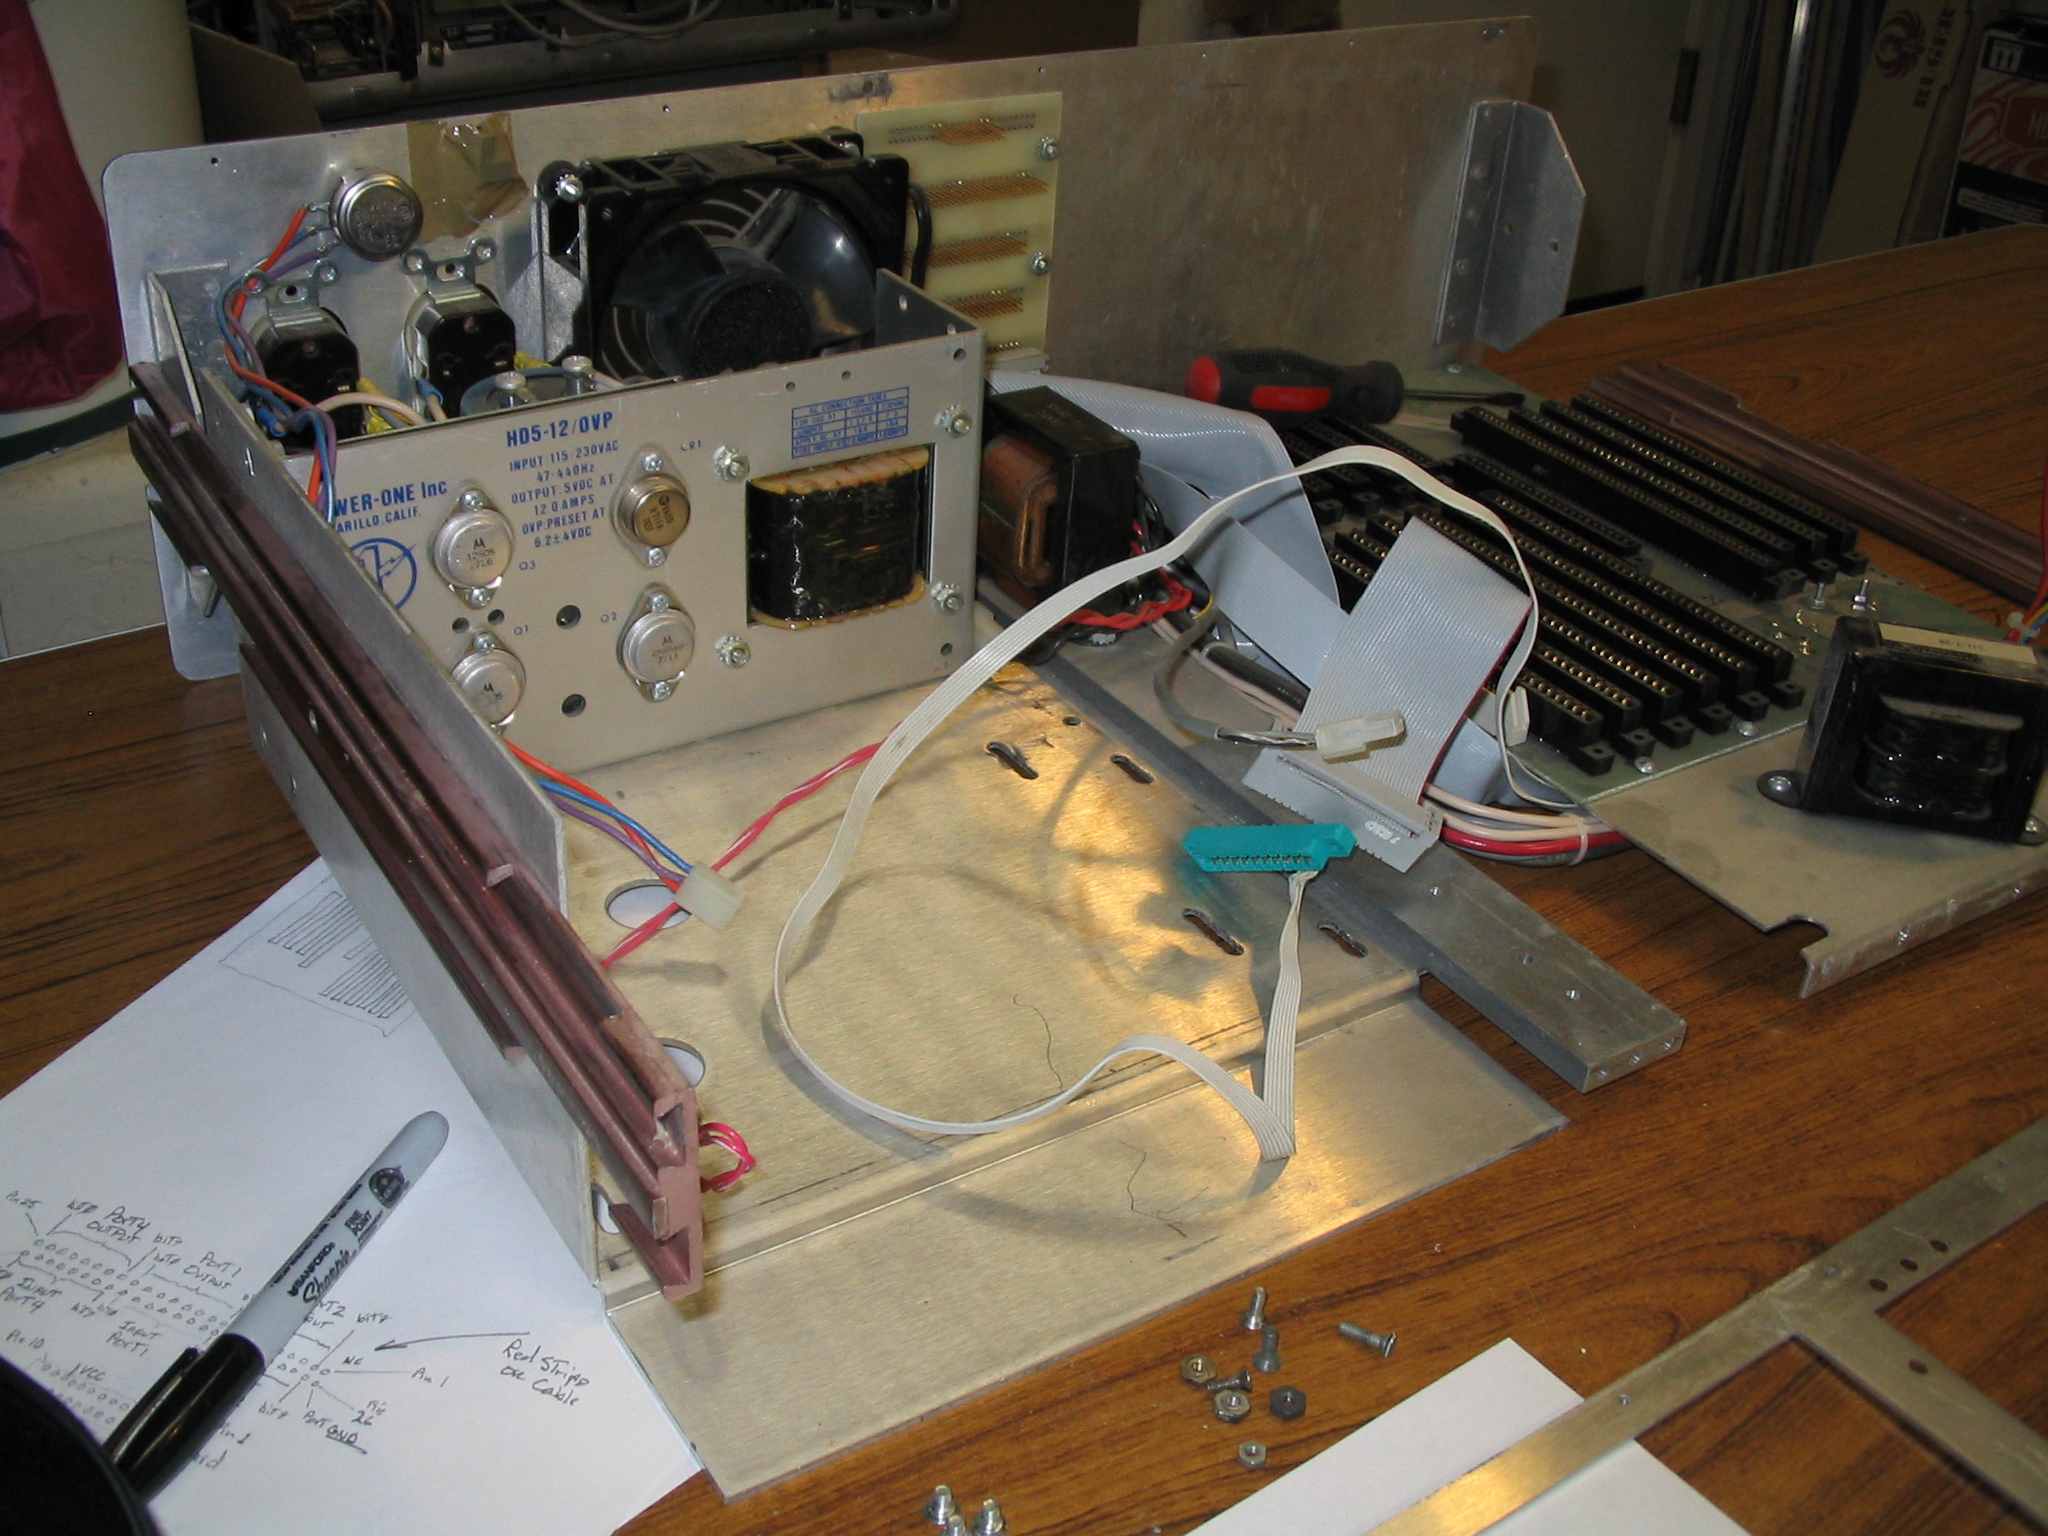
The wiring harness was completely rebuilt using as
much of the original wire as possible. I clean the wire with a solvent
and attach new connectors on the ends. Everything is buttoned down
with wire ties, as the original.
|
|
|

|
|
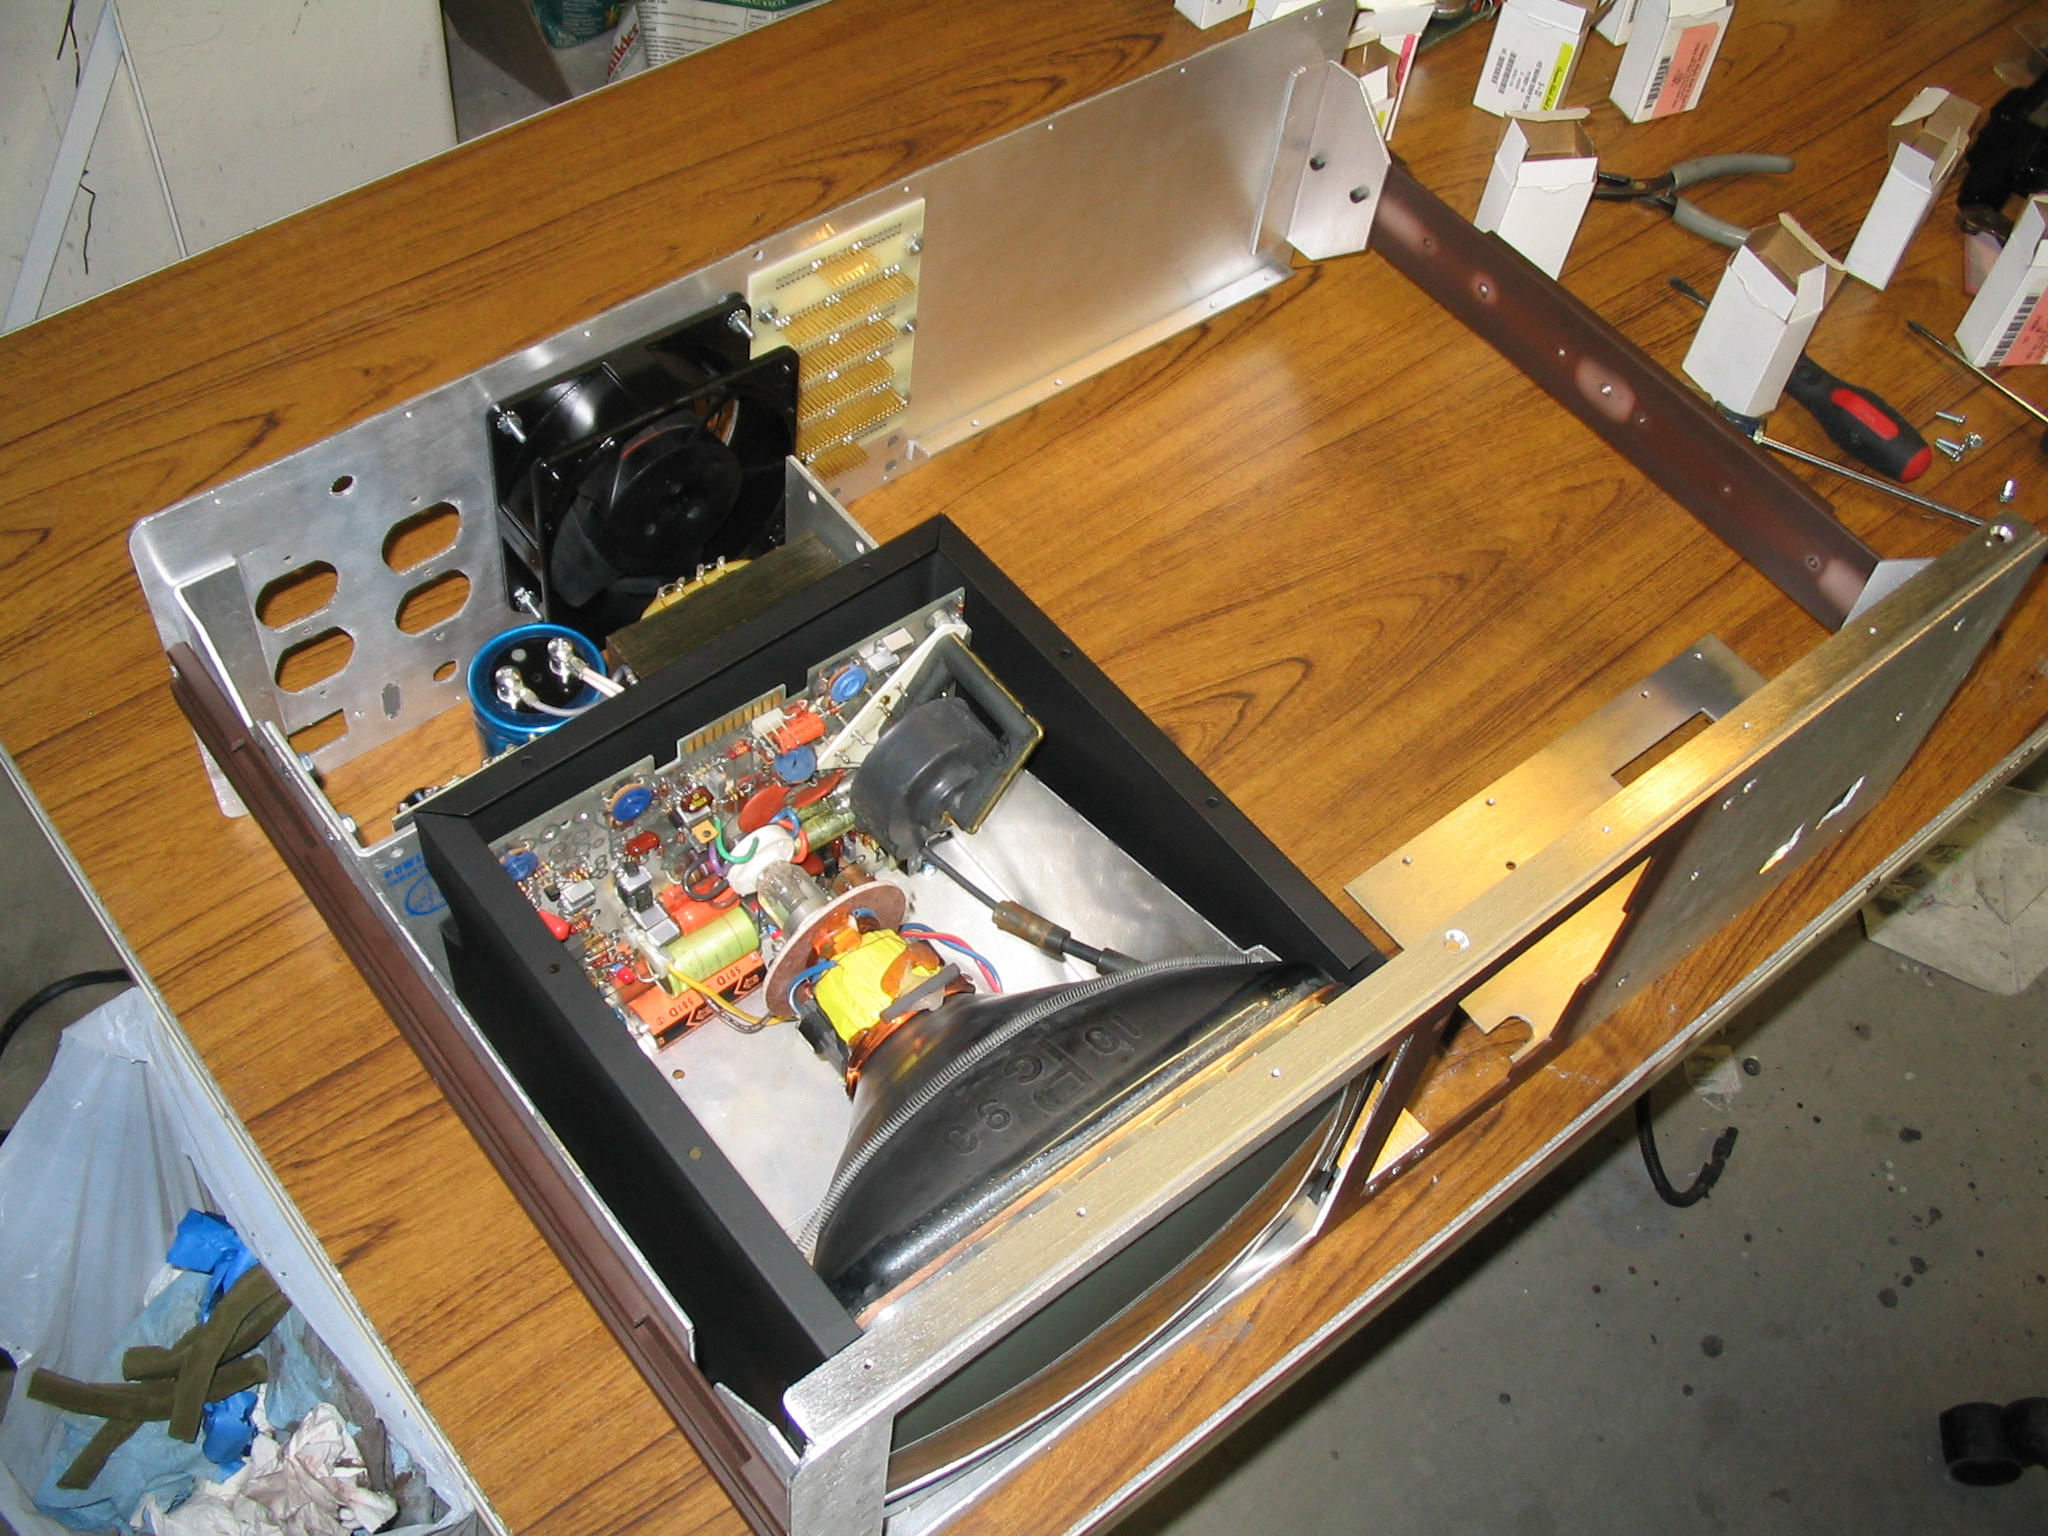
The Mini Bytemaster, returned to kit form, now ready for
reassembly.
|
|
|
|
|
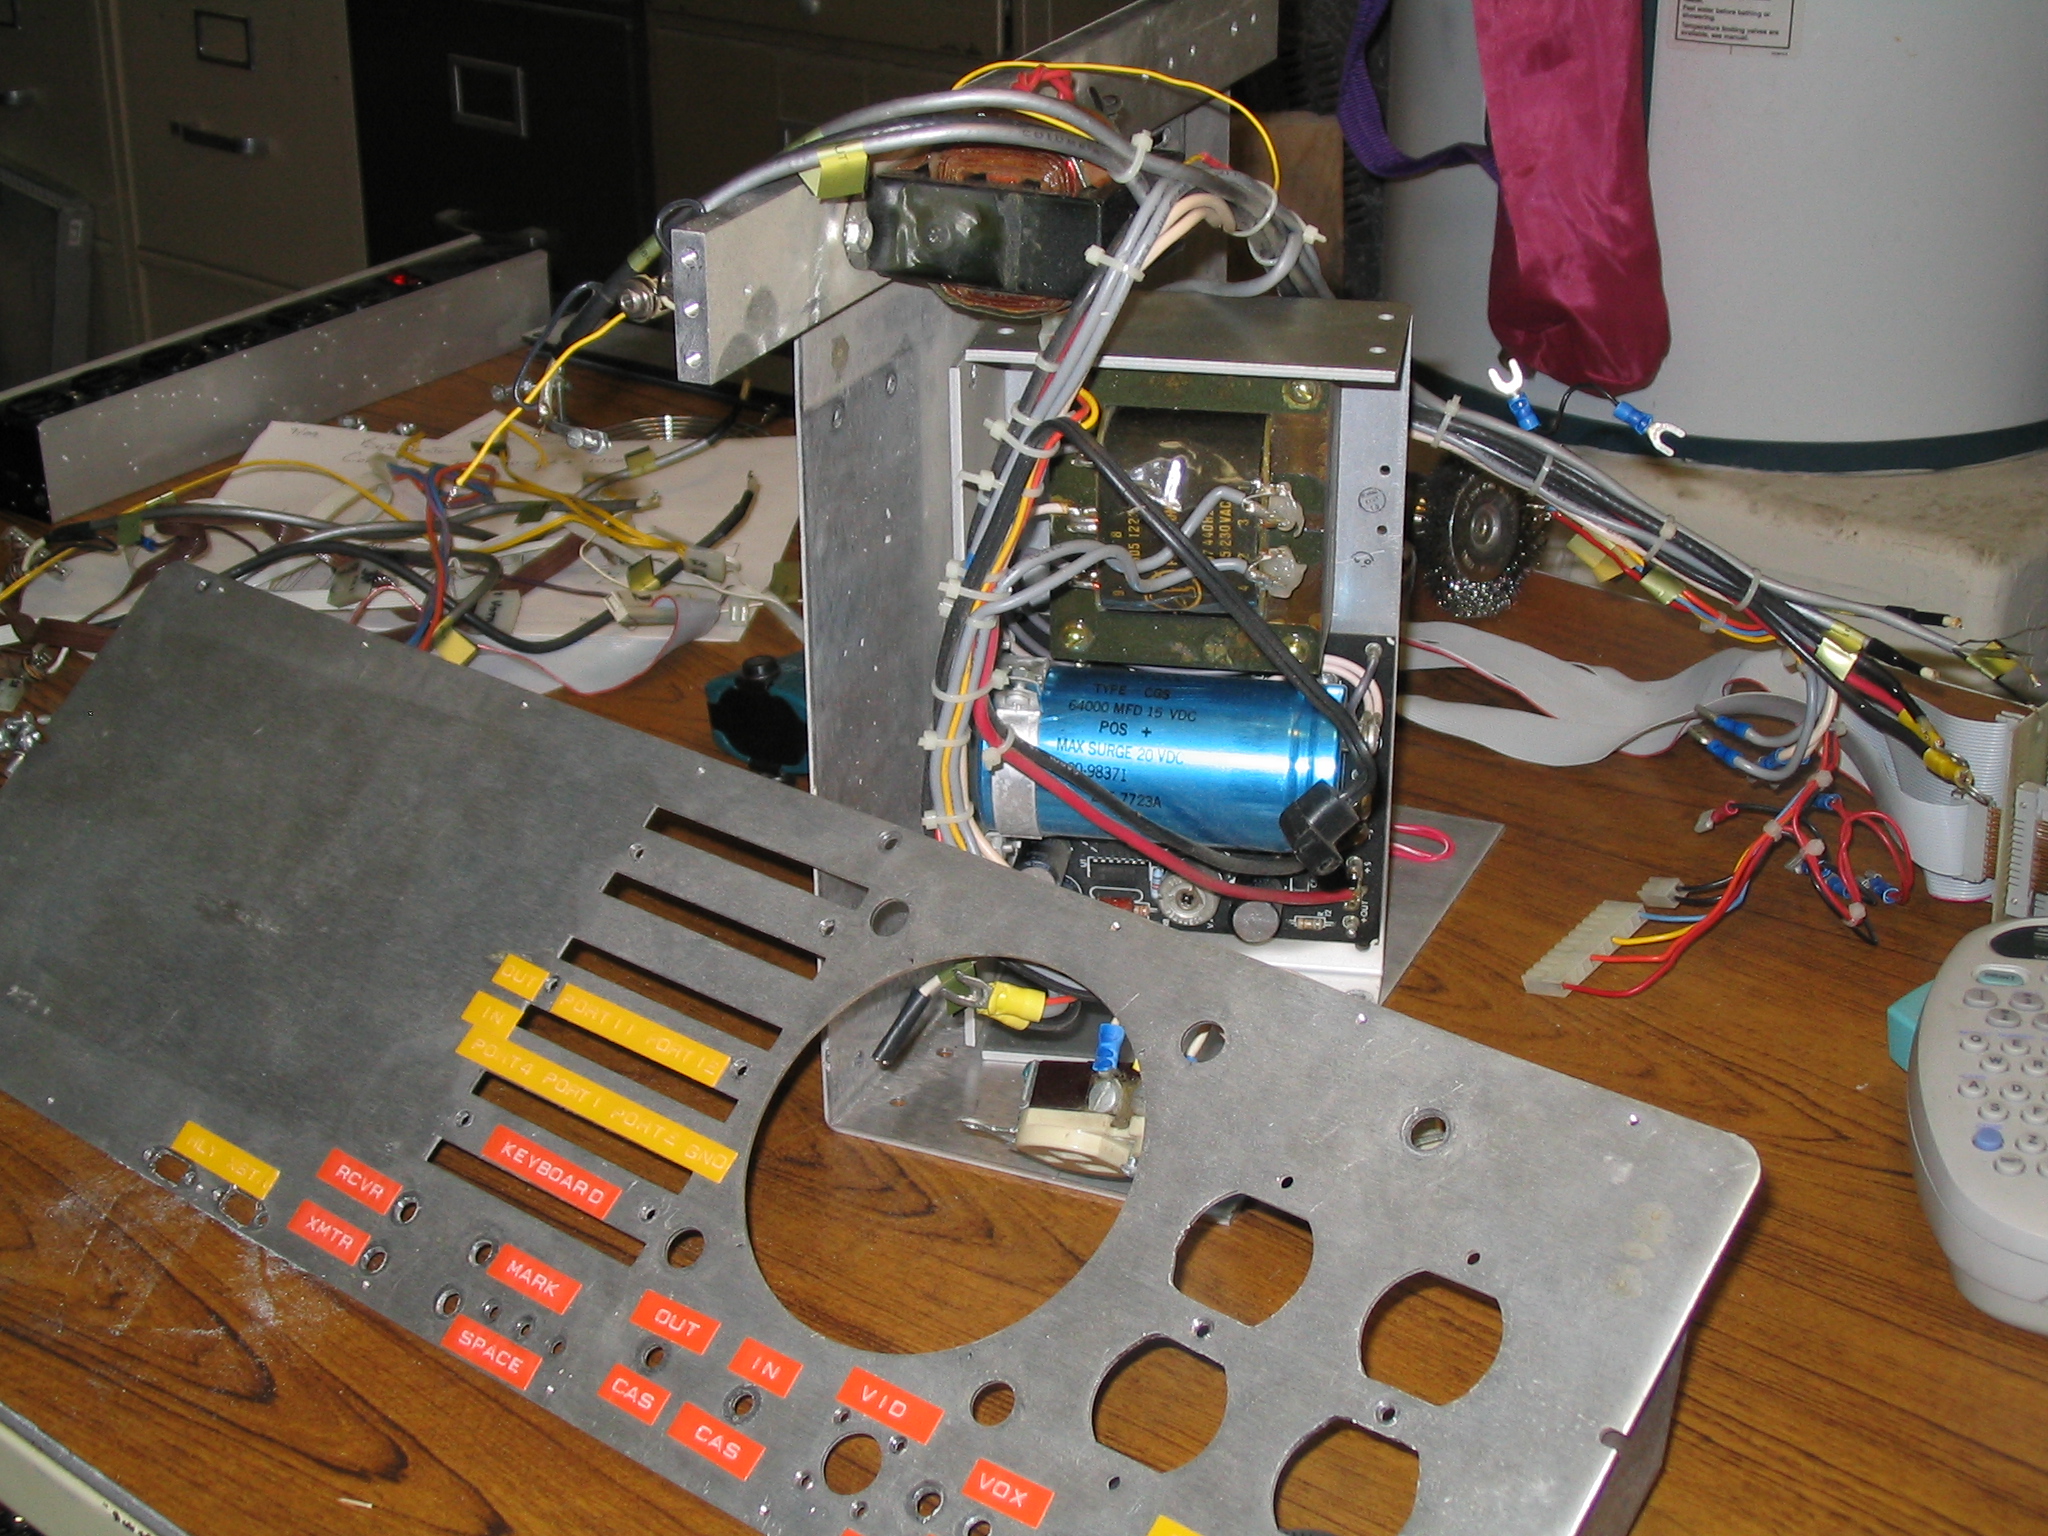
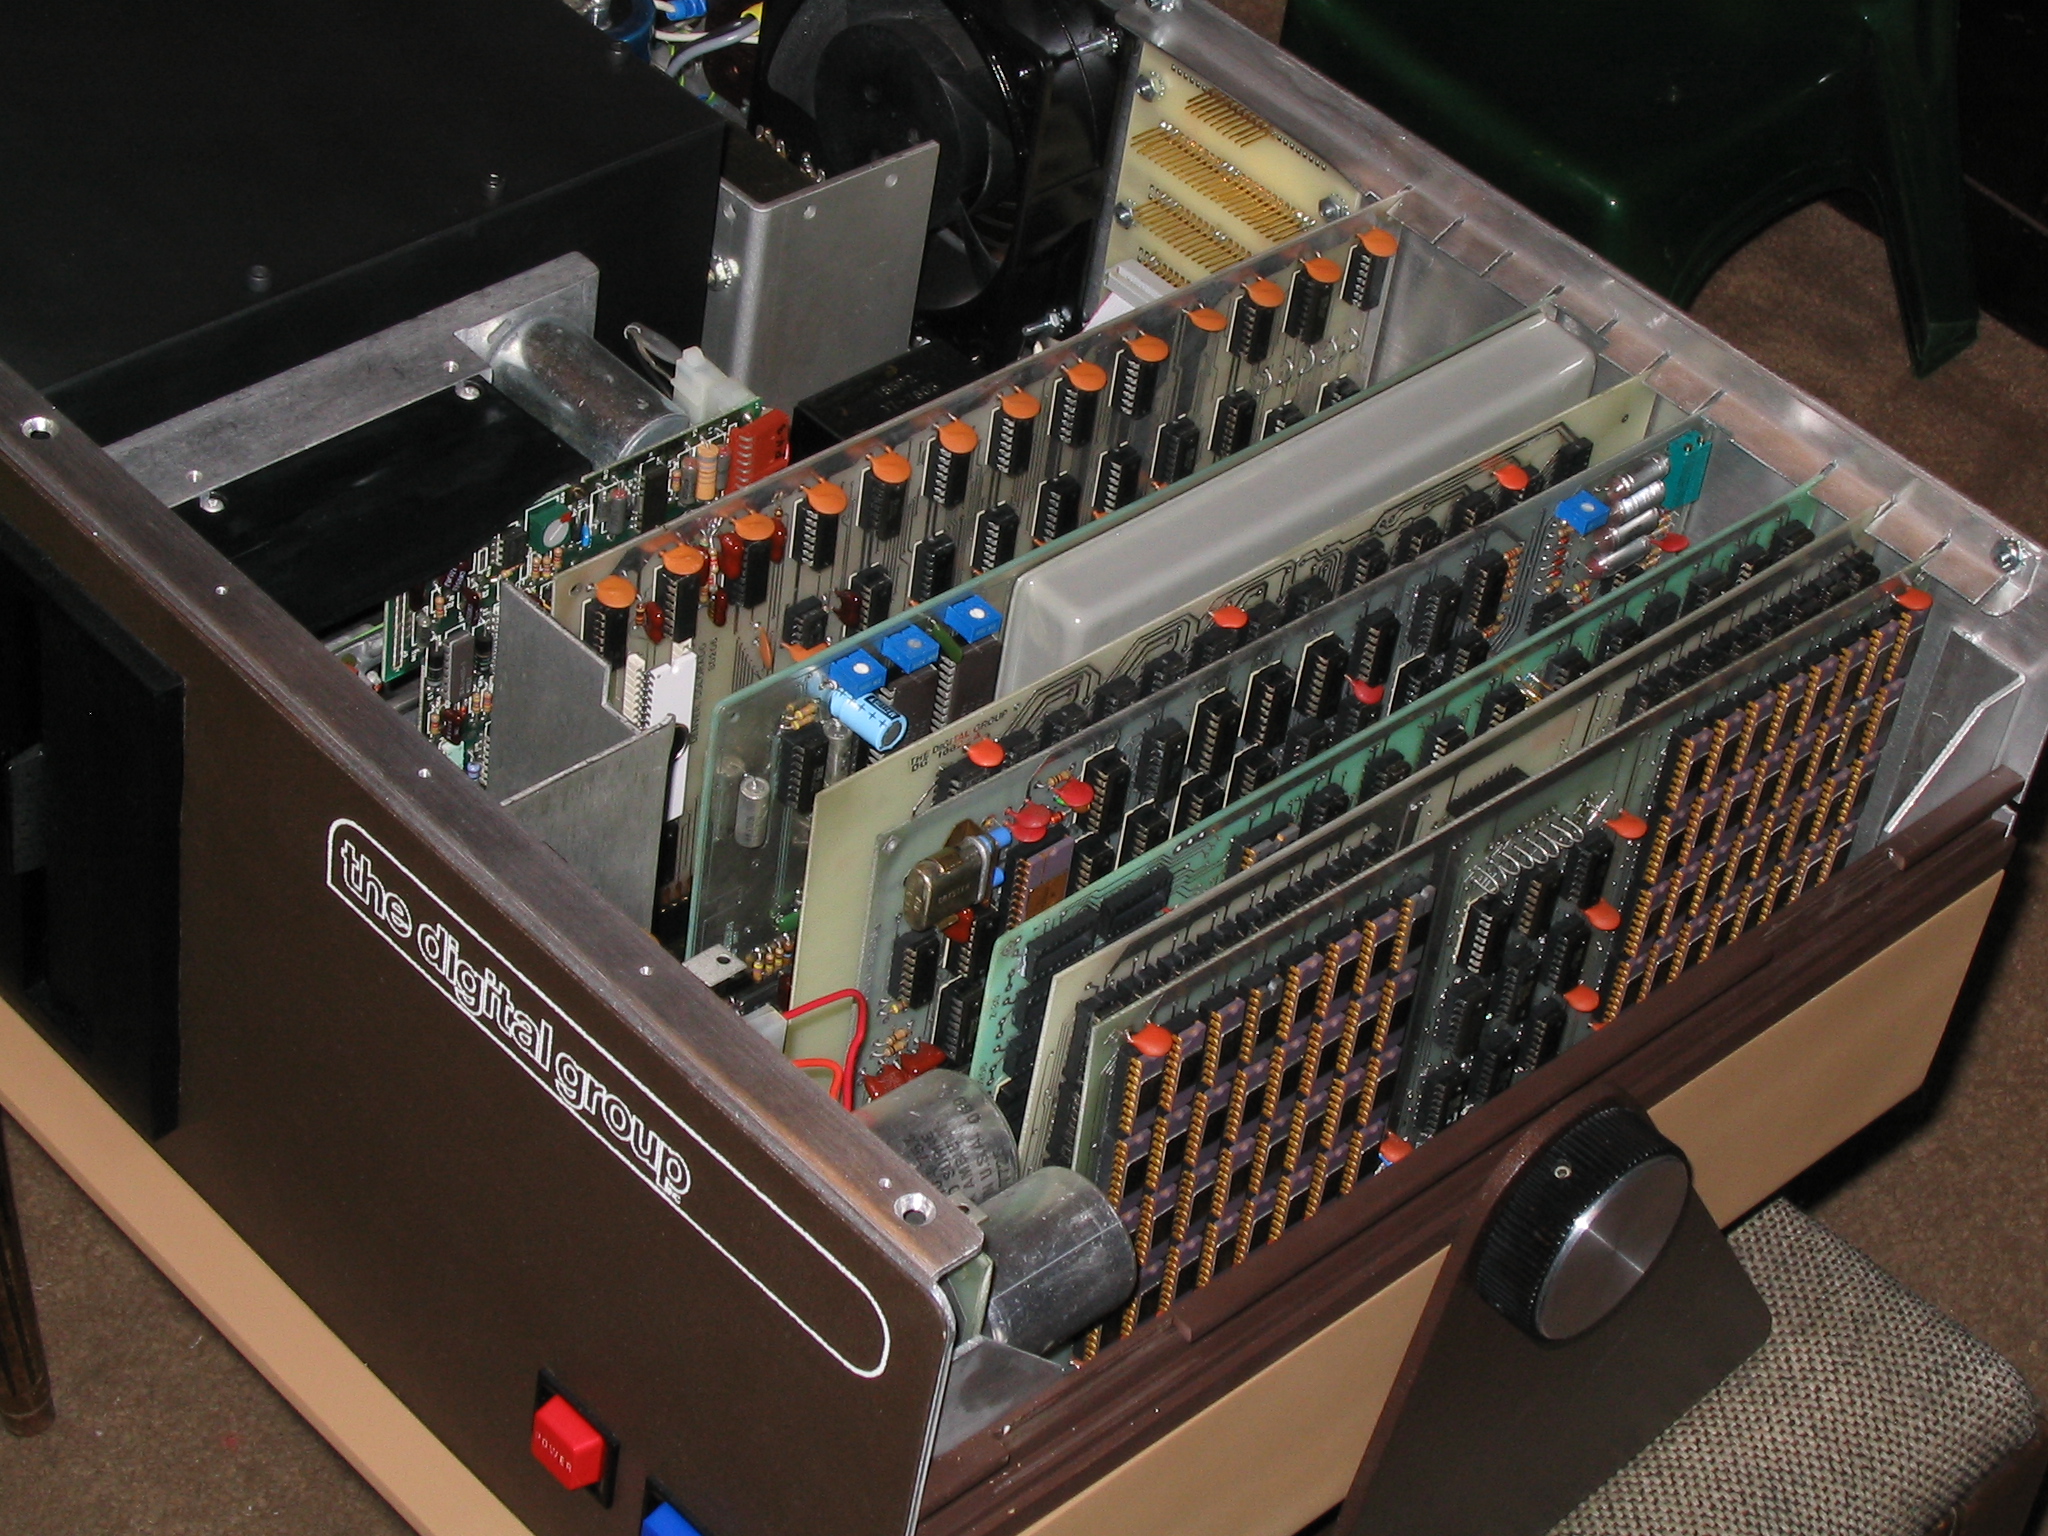
Reassembly
Now for the fun part! Everything is reassembled as
though from a kit. In this case, I had to make things up as I went
along, but I've done this before! All went well, and the whole
assembly process took only a few hours.
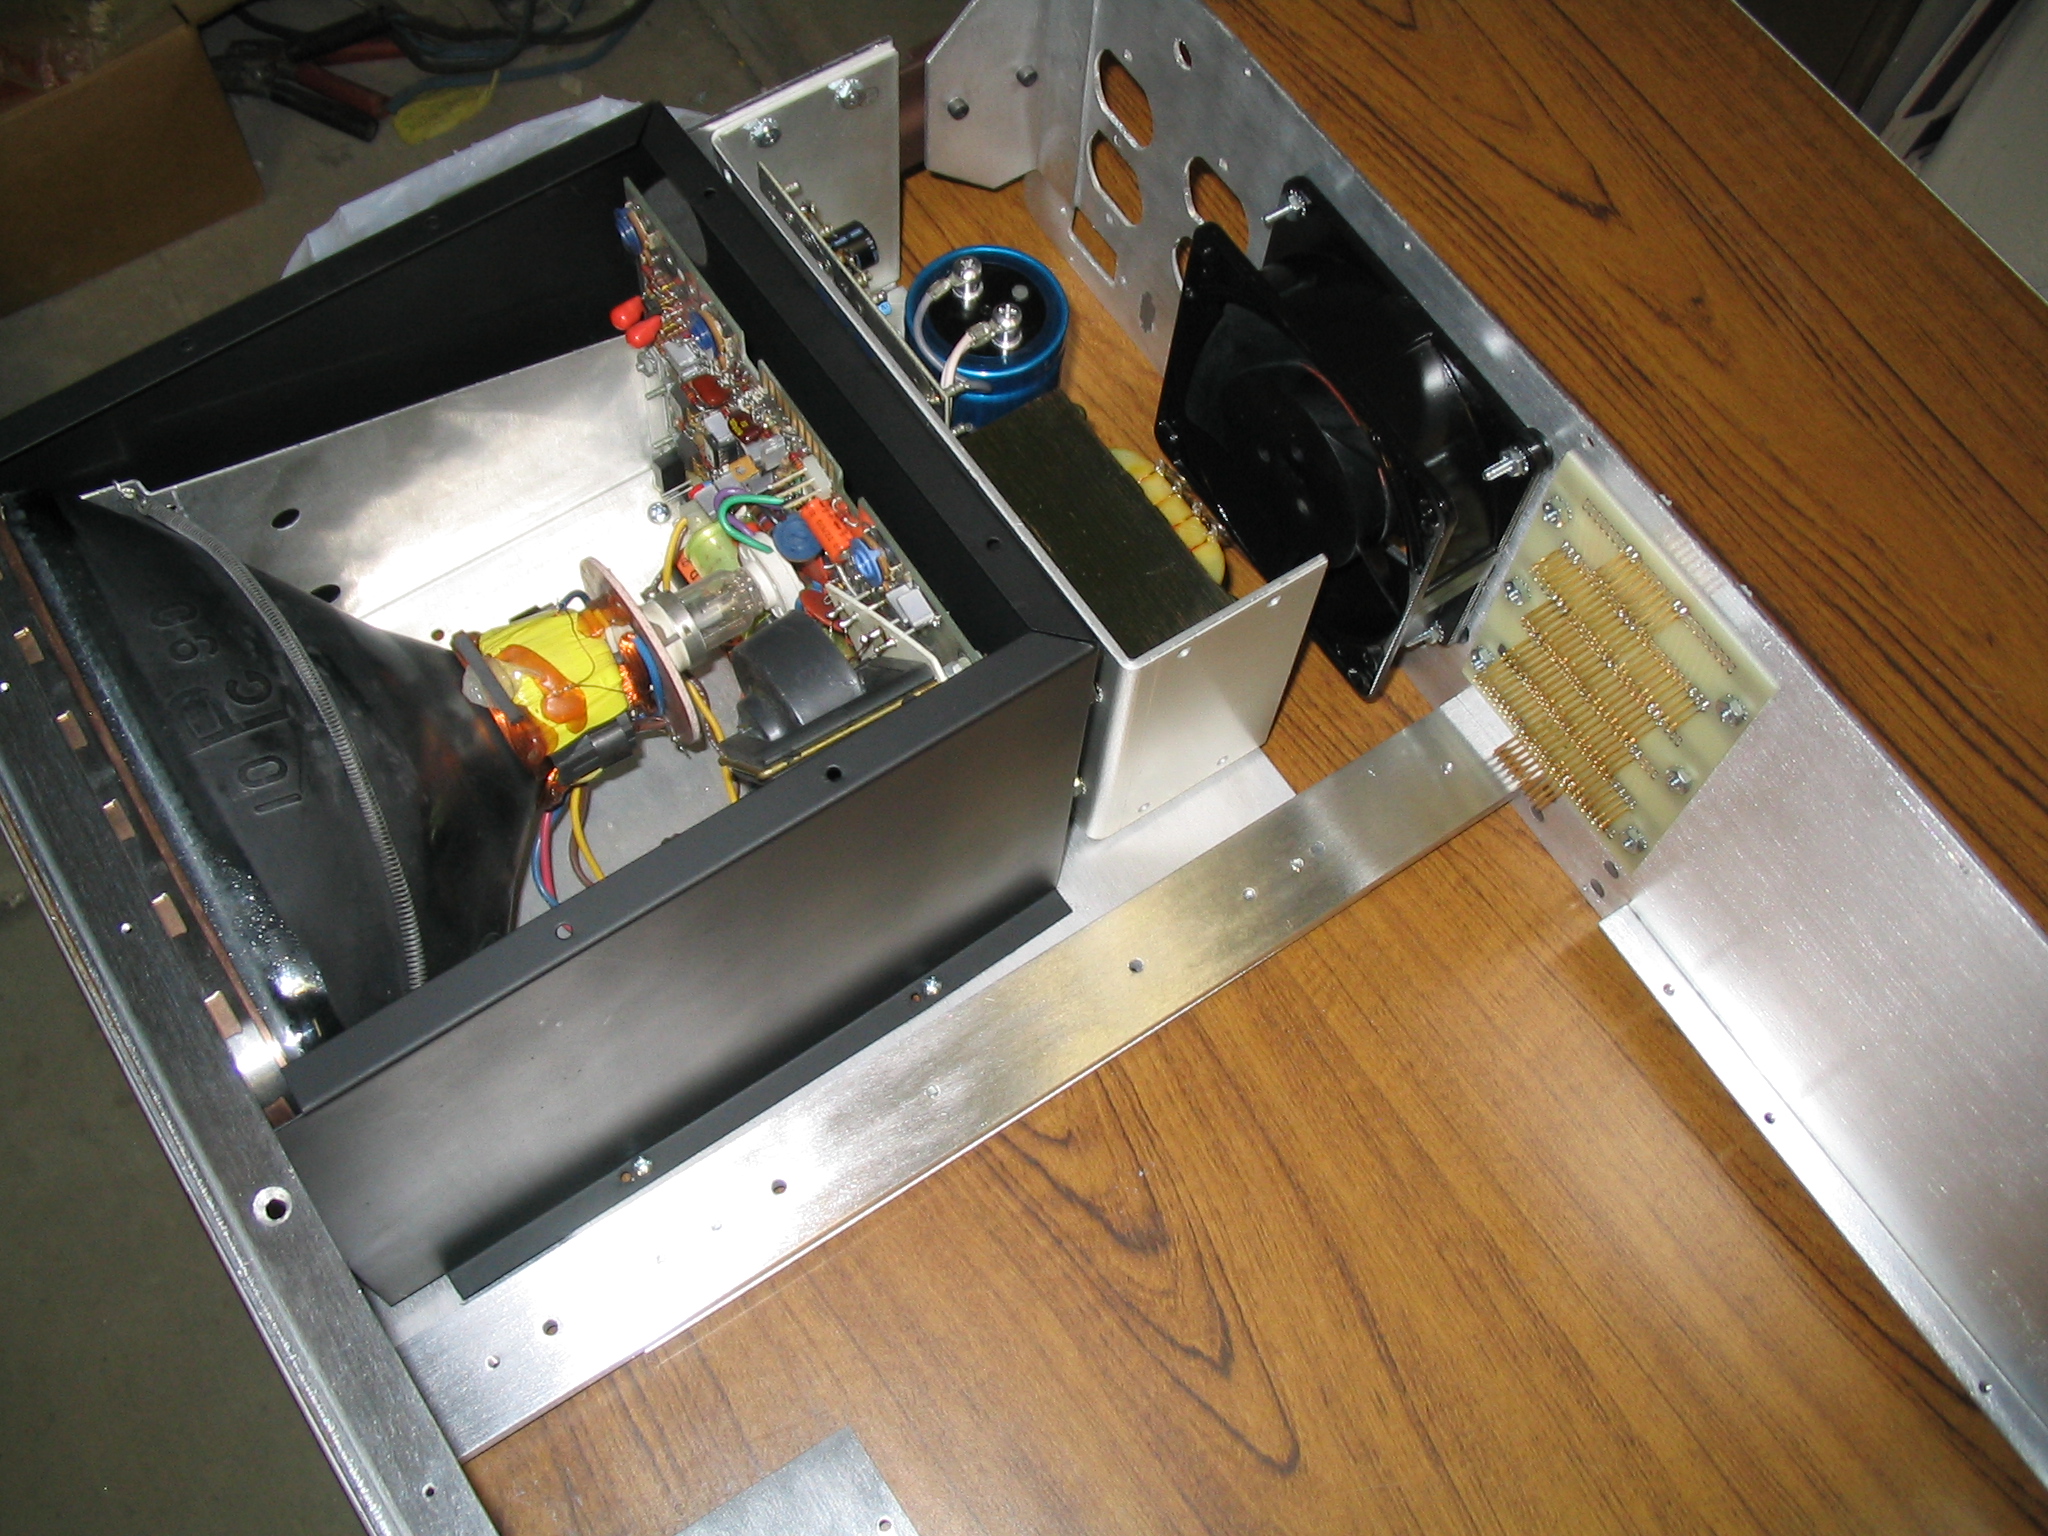
The paint on the front aluminum piece seen in the photos,
hides an original blemish--the plastic front cover was cut too large for
the disk drive. This
was a simple fix that worked great. Another fix was the addition of a card
guide--the Bytemaster as received had none, and the cards were loose and
free to rattle around. I felt this was needed, especially since this
machine was to make a two thousand mile round trip to the West coast for
VCF 7.0.
And now for the photos...
|
|
|
|
|
|
|
|
|
|
|
|
|
|
|
|
|
|
|
|
|
|
|
|
|
|
|
|
|
|


